A Review of my 2019 Wood Working Projects
After buying a house in 2018, I suddenly had a garage. And what do you do with a garage? Make things! I decided to do a year in review of the things I made in 2019
The Work Bench
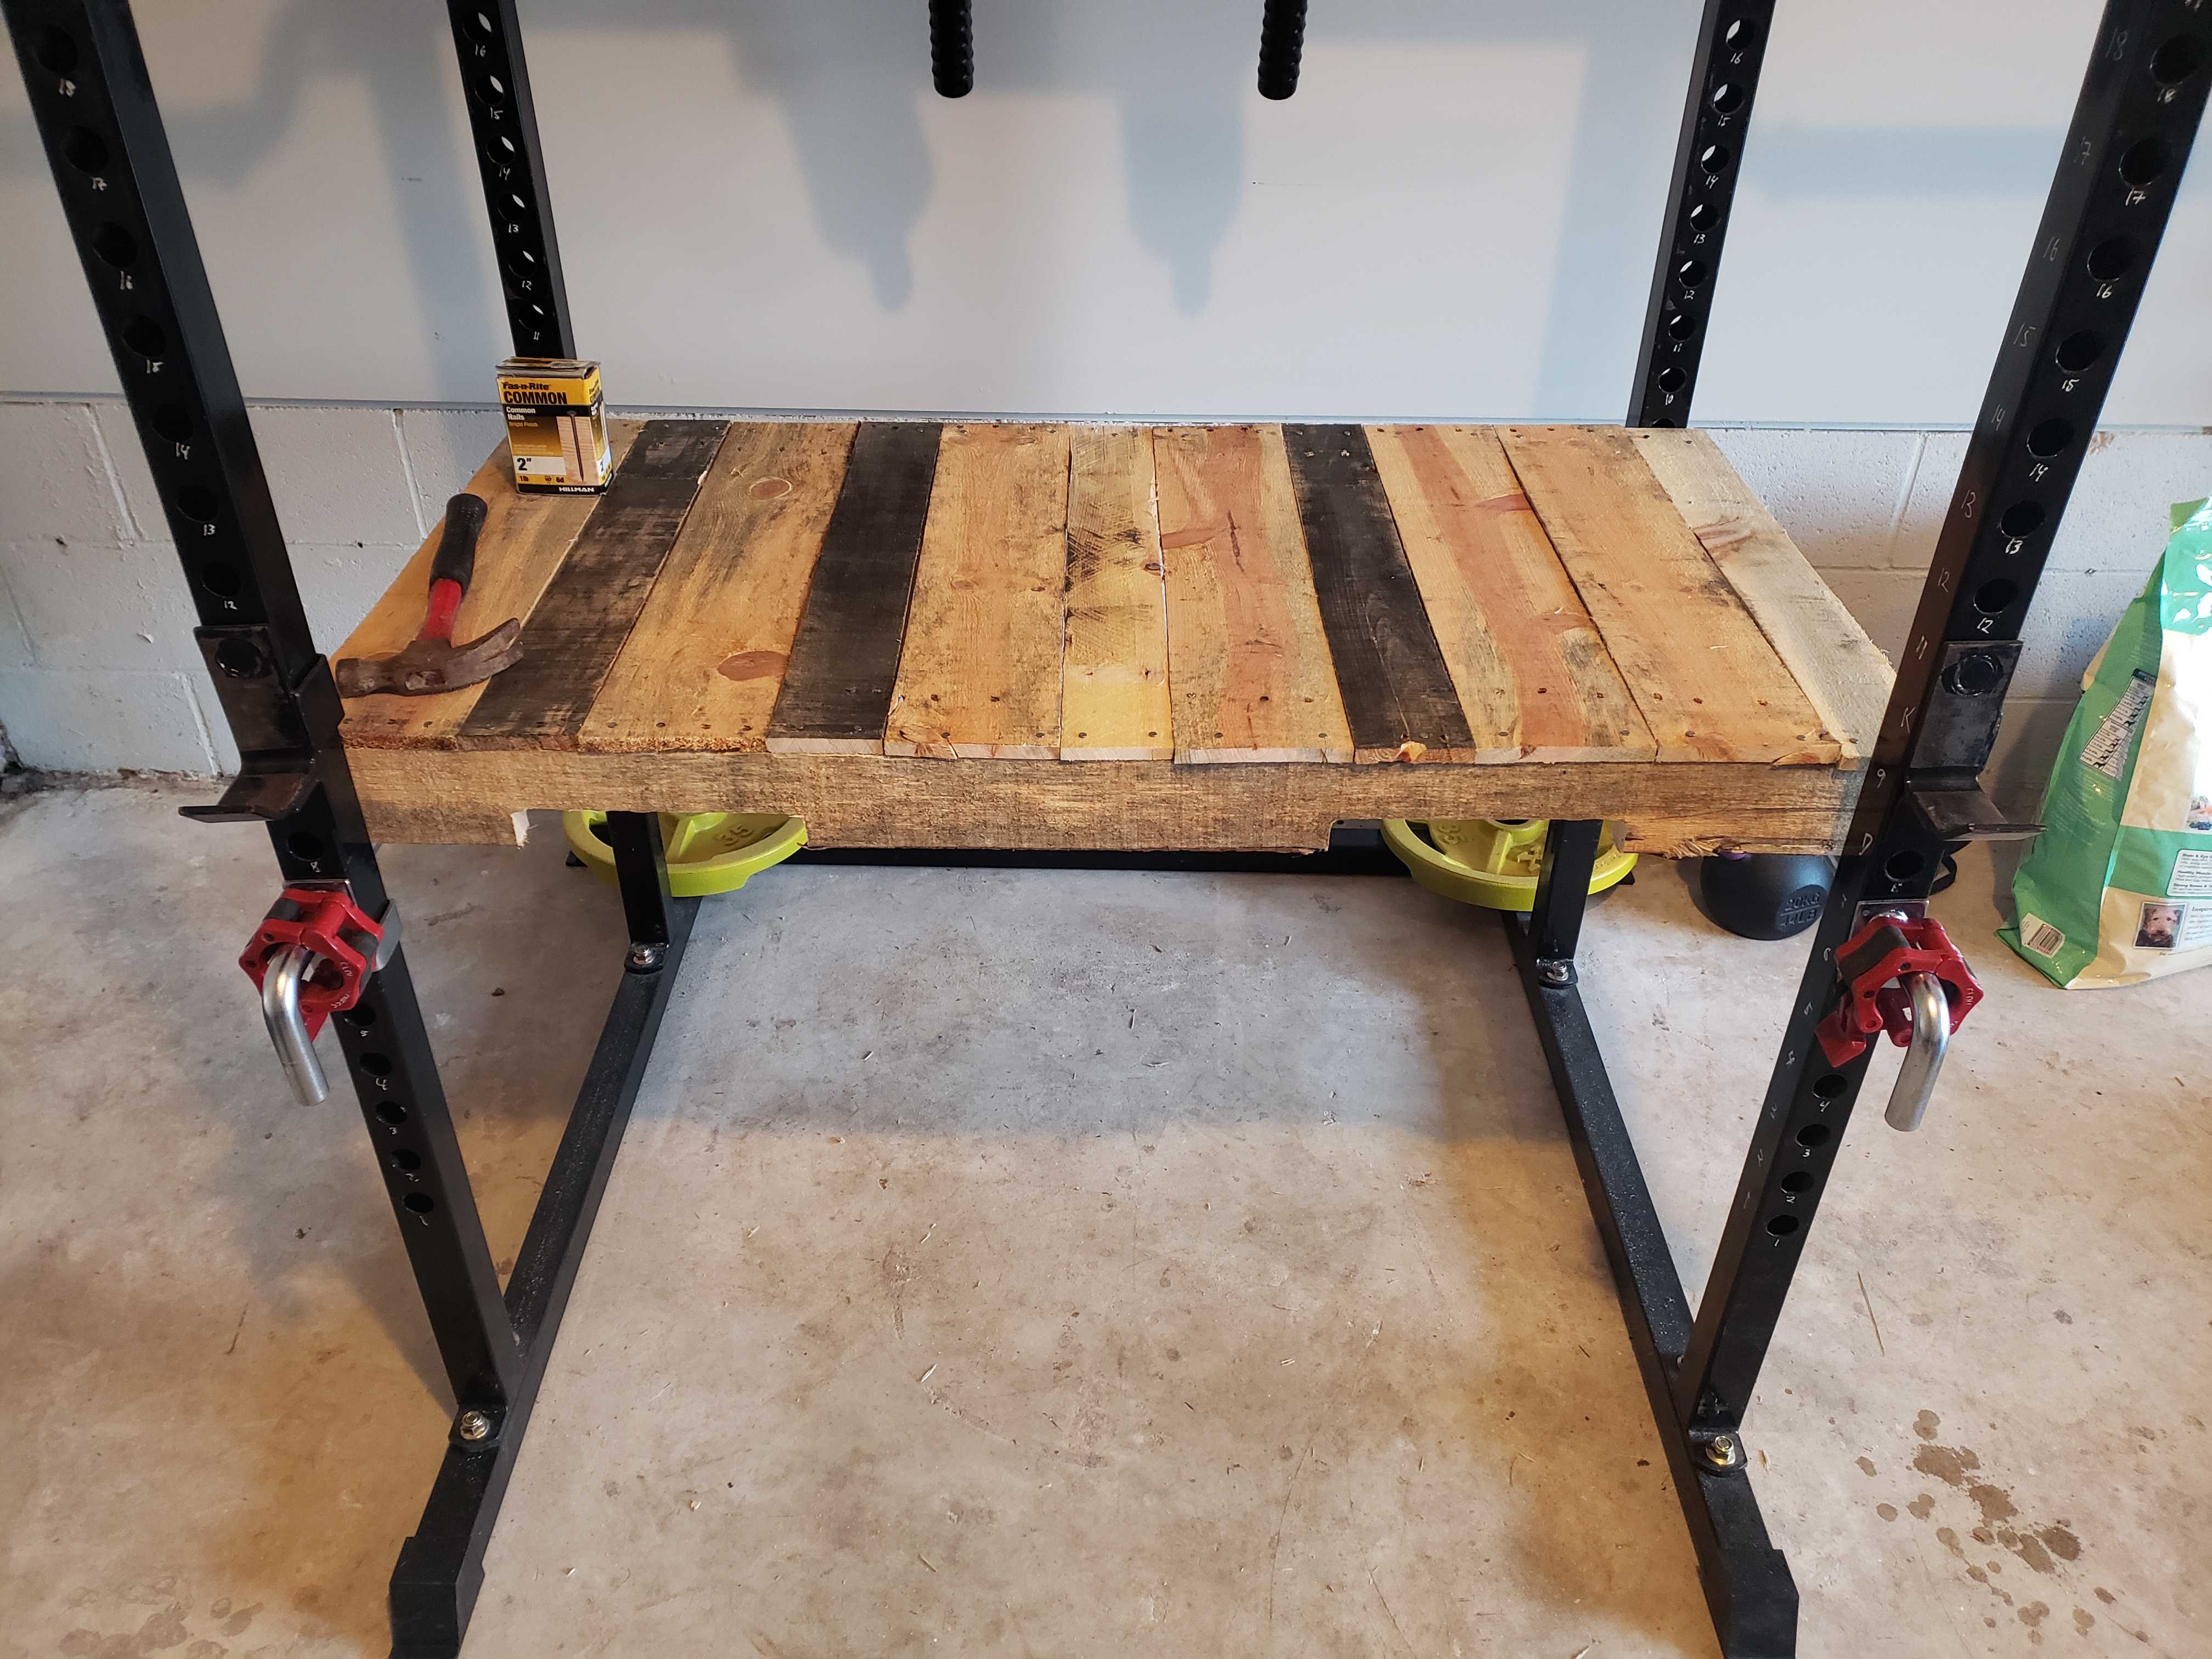
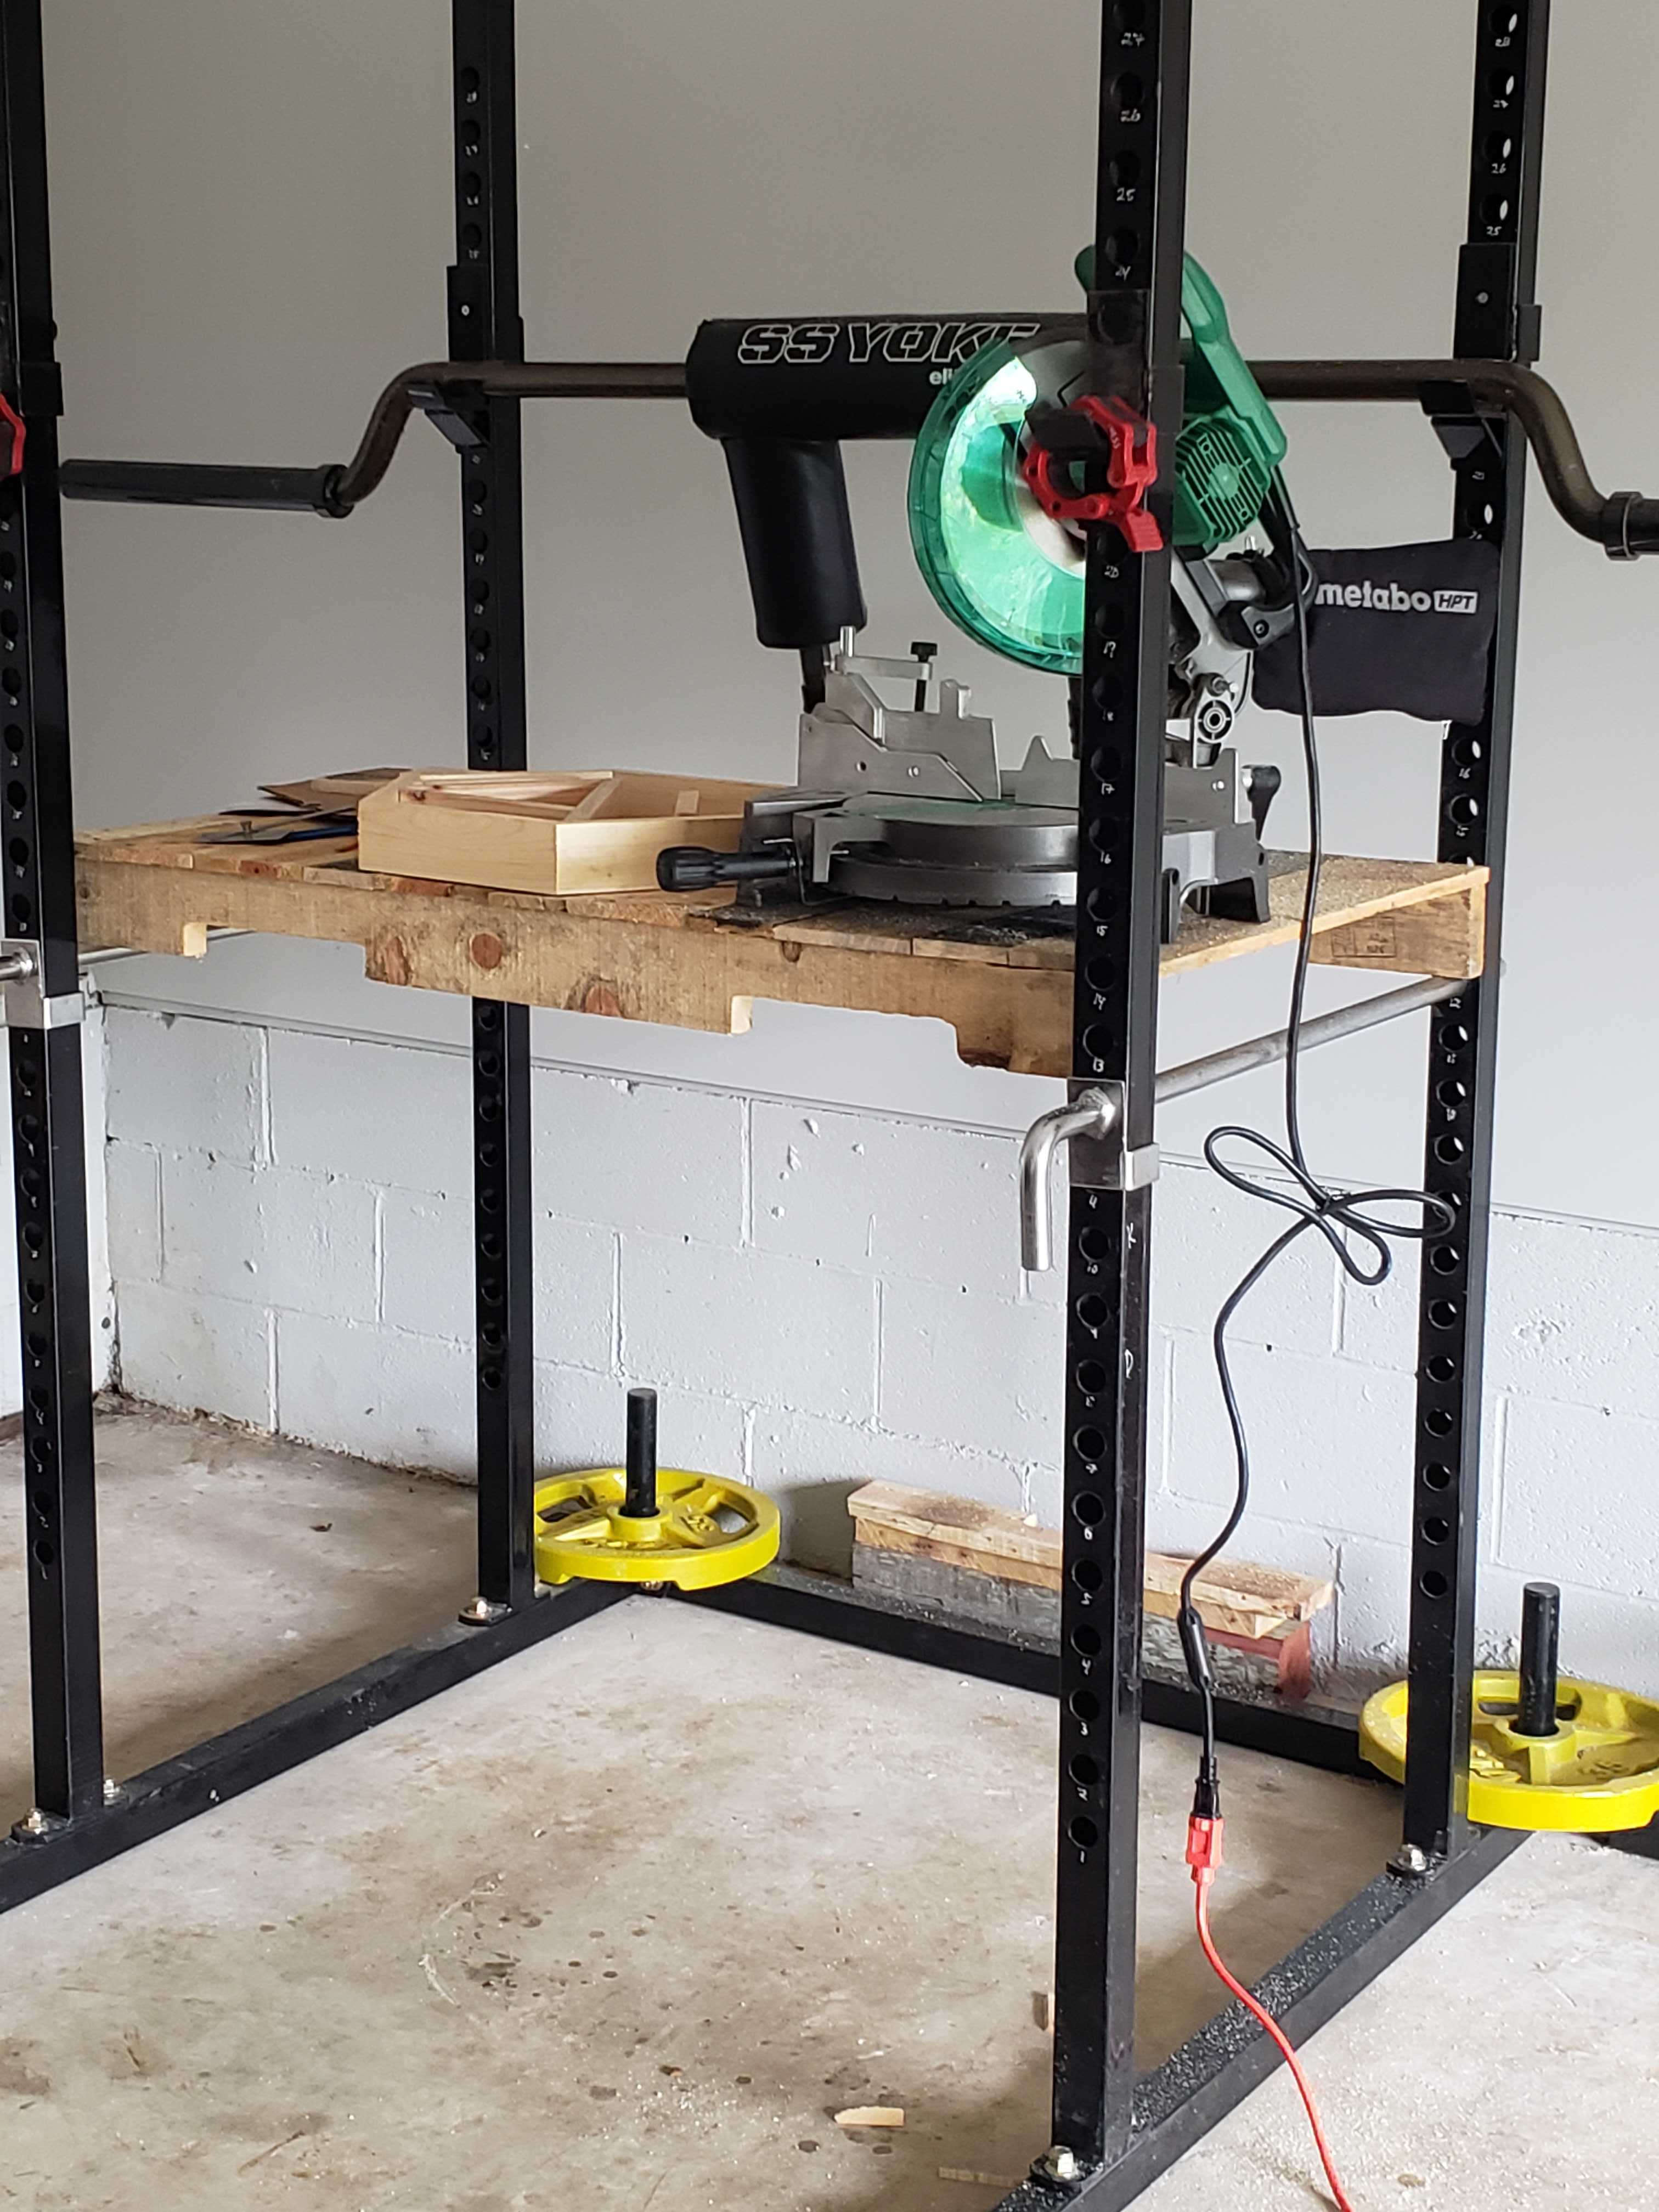
Every garage needs a work bench. In an effort to save space and utilize what I currently had, I decided to build a work bench that fit inside my squat rack. Using the safety pins, I build a “bench top” that fit inside the rack on the safety pins. Now I had a height adjustable work bench! Made from used pallets, the work bench works well. The only thing I would do next time, would be to make the top level.
Pallet Wood tables
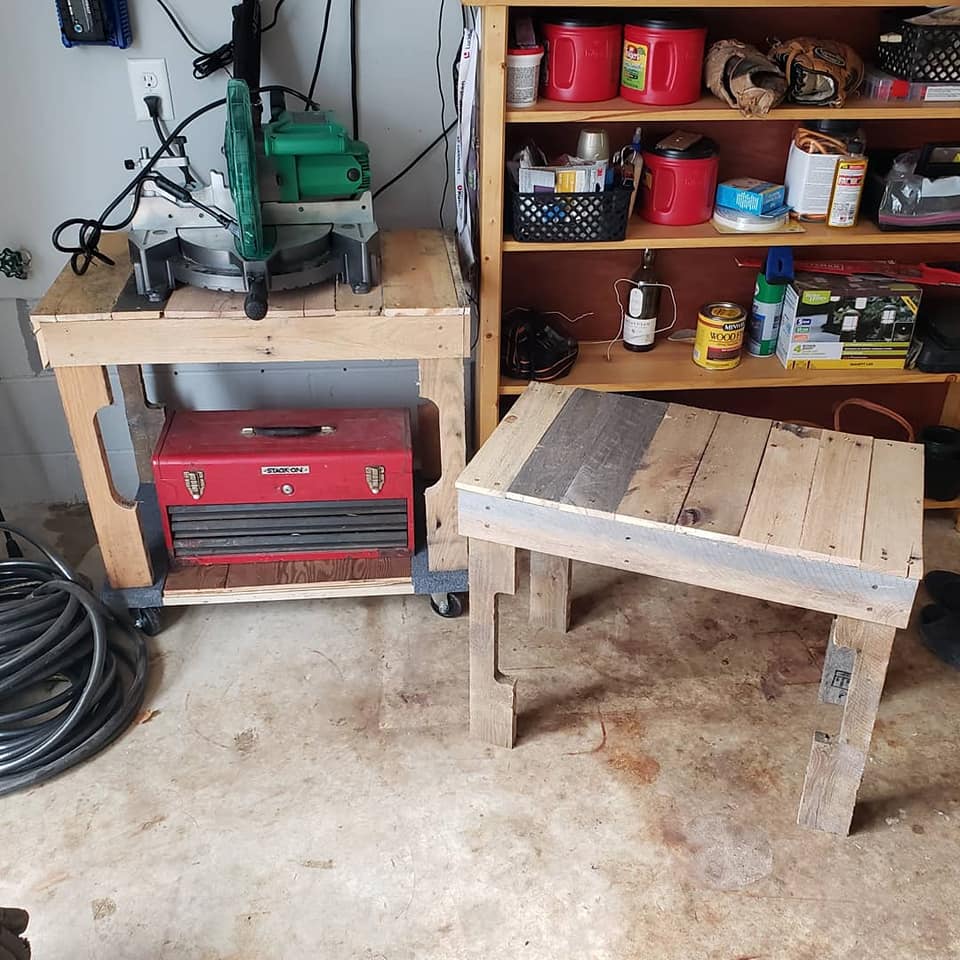
To store my growing tool collection, I created some pallet wood tables to hold my miter saw and whatever other tools I may need to store.
The tables can be stacked or unstacked.
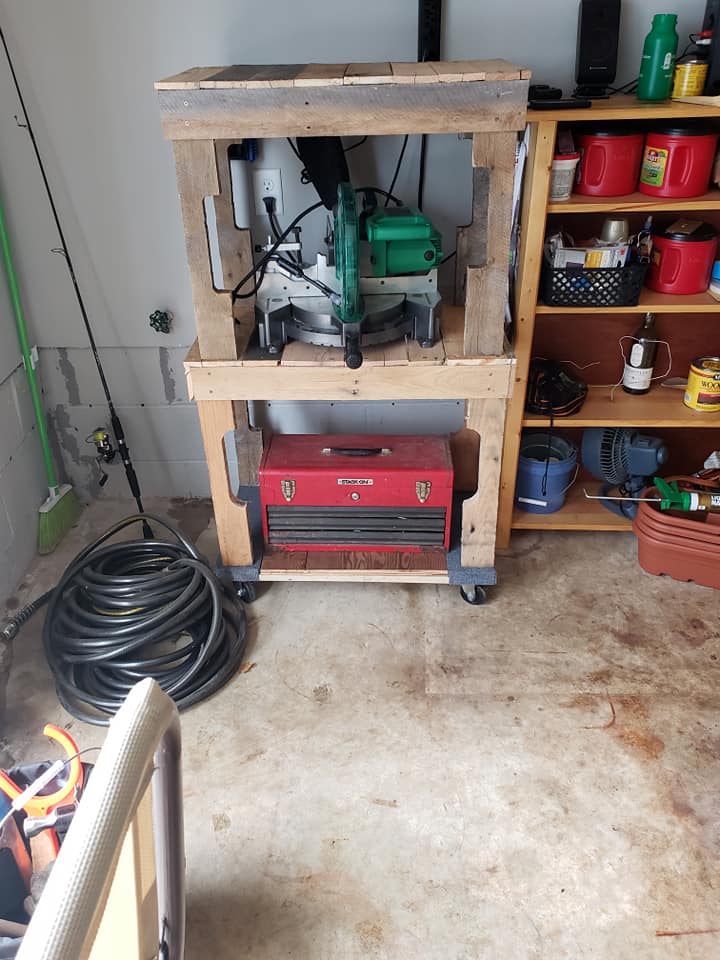
But most of the time, the tables stay stacked on a moving dolly to ease in sweeping the garage or getting the dog’s ball when it ends up behind the tables.
Bar Holder
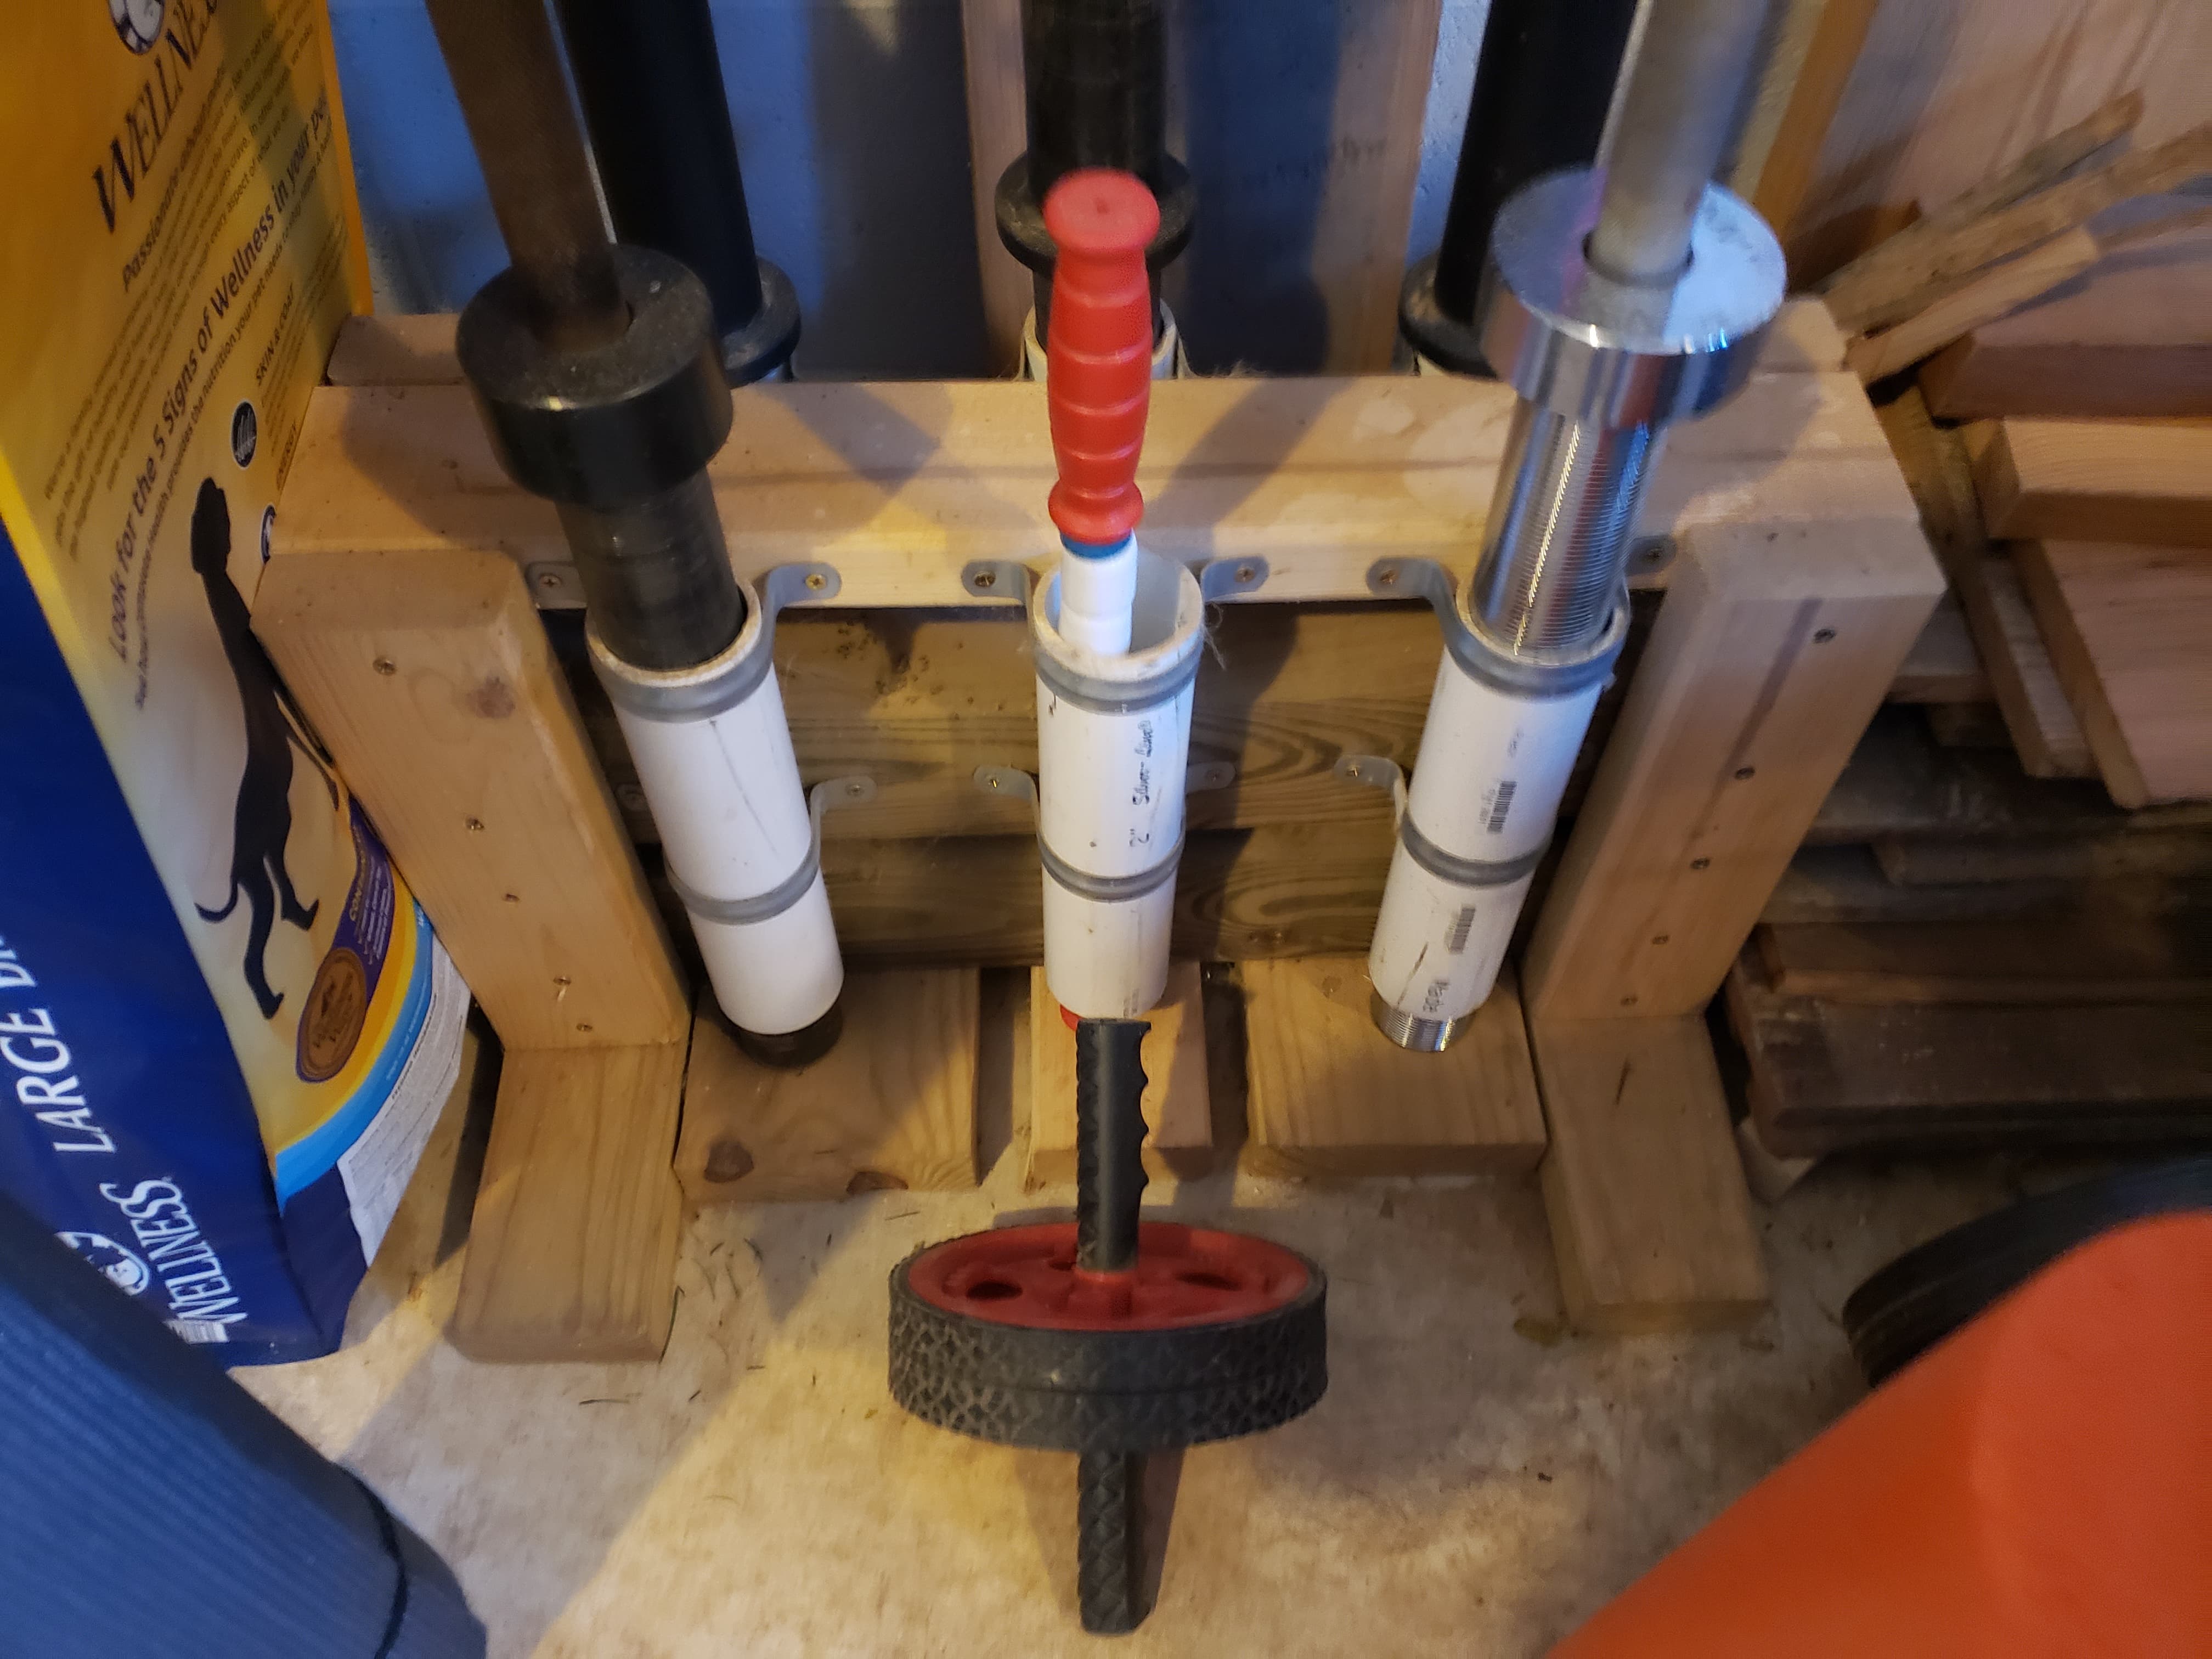
I have a small gym setup in my garage and could not stand having my bars lying on the ground. To solve this, I created the simplest barbell holder I could find and started building. It took roughly 45 minutes to make the holder and has been worth every penny and minute of effort.
Hexagons and Mountains
My wife was looking for some decorations for the house. When showing them to me, I said, in all of my misplaced confidence, “I can do that easily”. These was quite a learning curve from the rough pallet wood I’d been working with previously. Mistakes and rough edges that are noticeable in the garage get a pass, but inside that was no longer the case. Aside from now needing to be of a higher quality, I quickly learned that cutting angles seemed to be a much larger learning curve than expected.
Once I got past these issues and made a few Lowes trips, I managed to make some decent decorations.
Hexagons
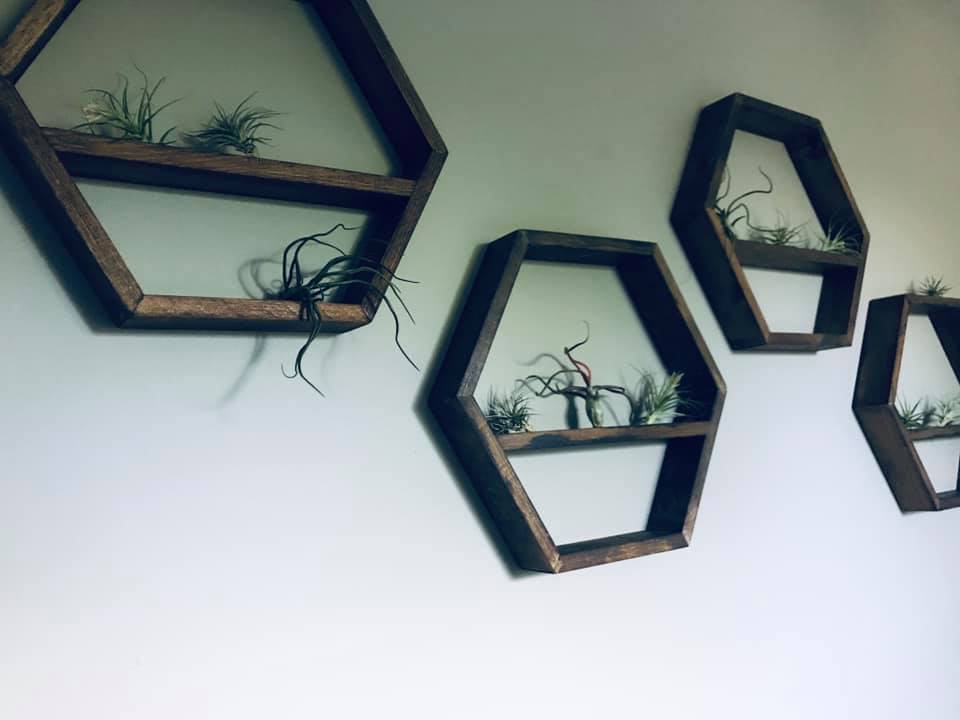
The hexagons started out being difficult until I found an article that mentioned all angles were 30 or 60 degrees. Then a light bulb flickered and I was off to the races building these. Each middle “shelf” in the hexagon has 3 small cuts in it to hold some air plants.
Mountains
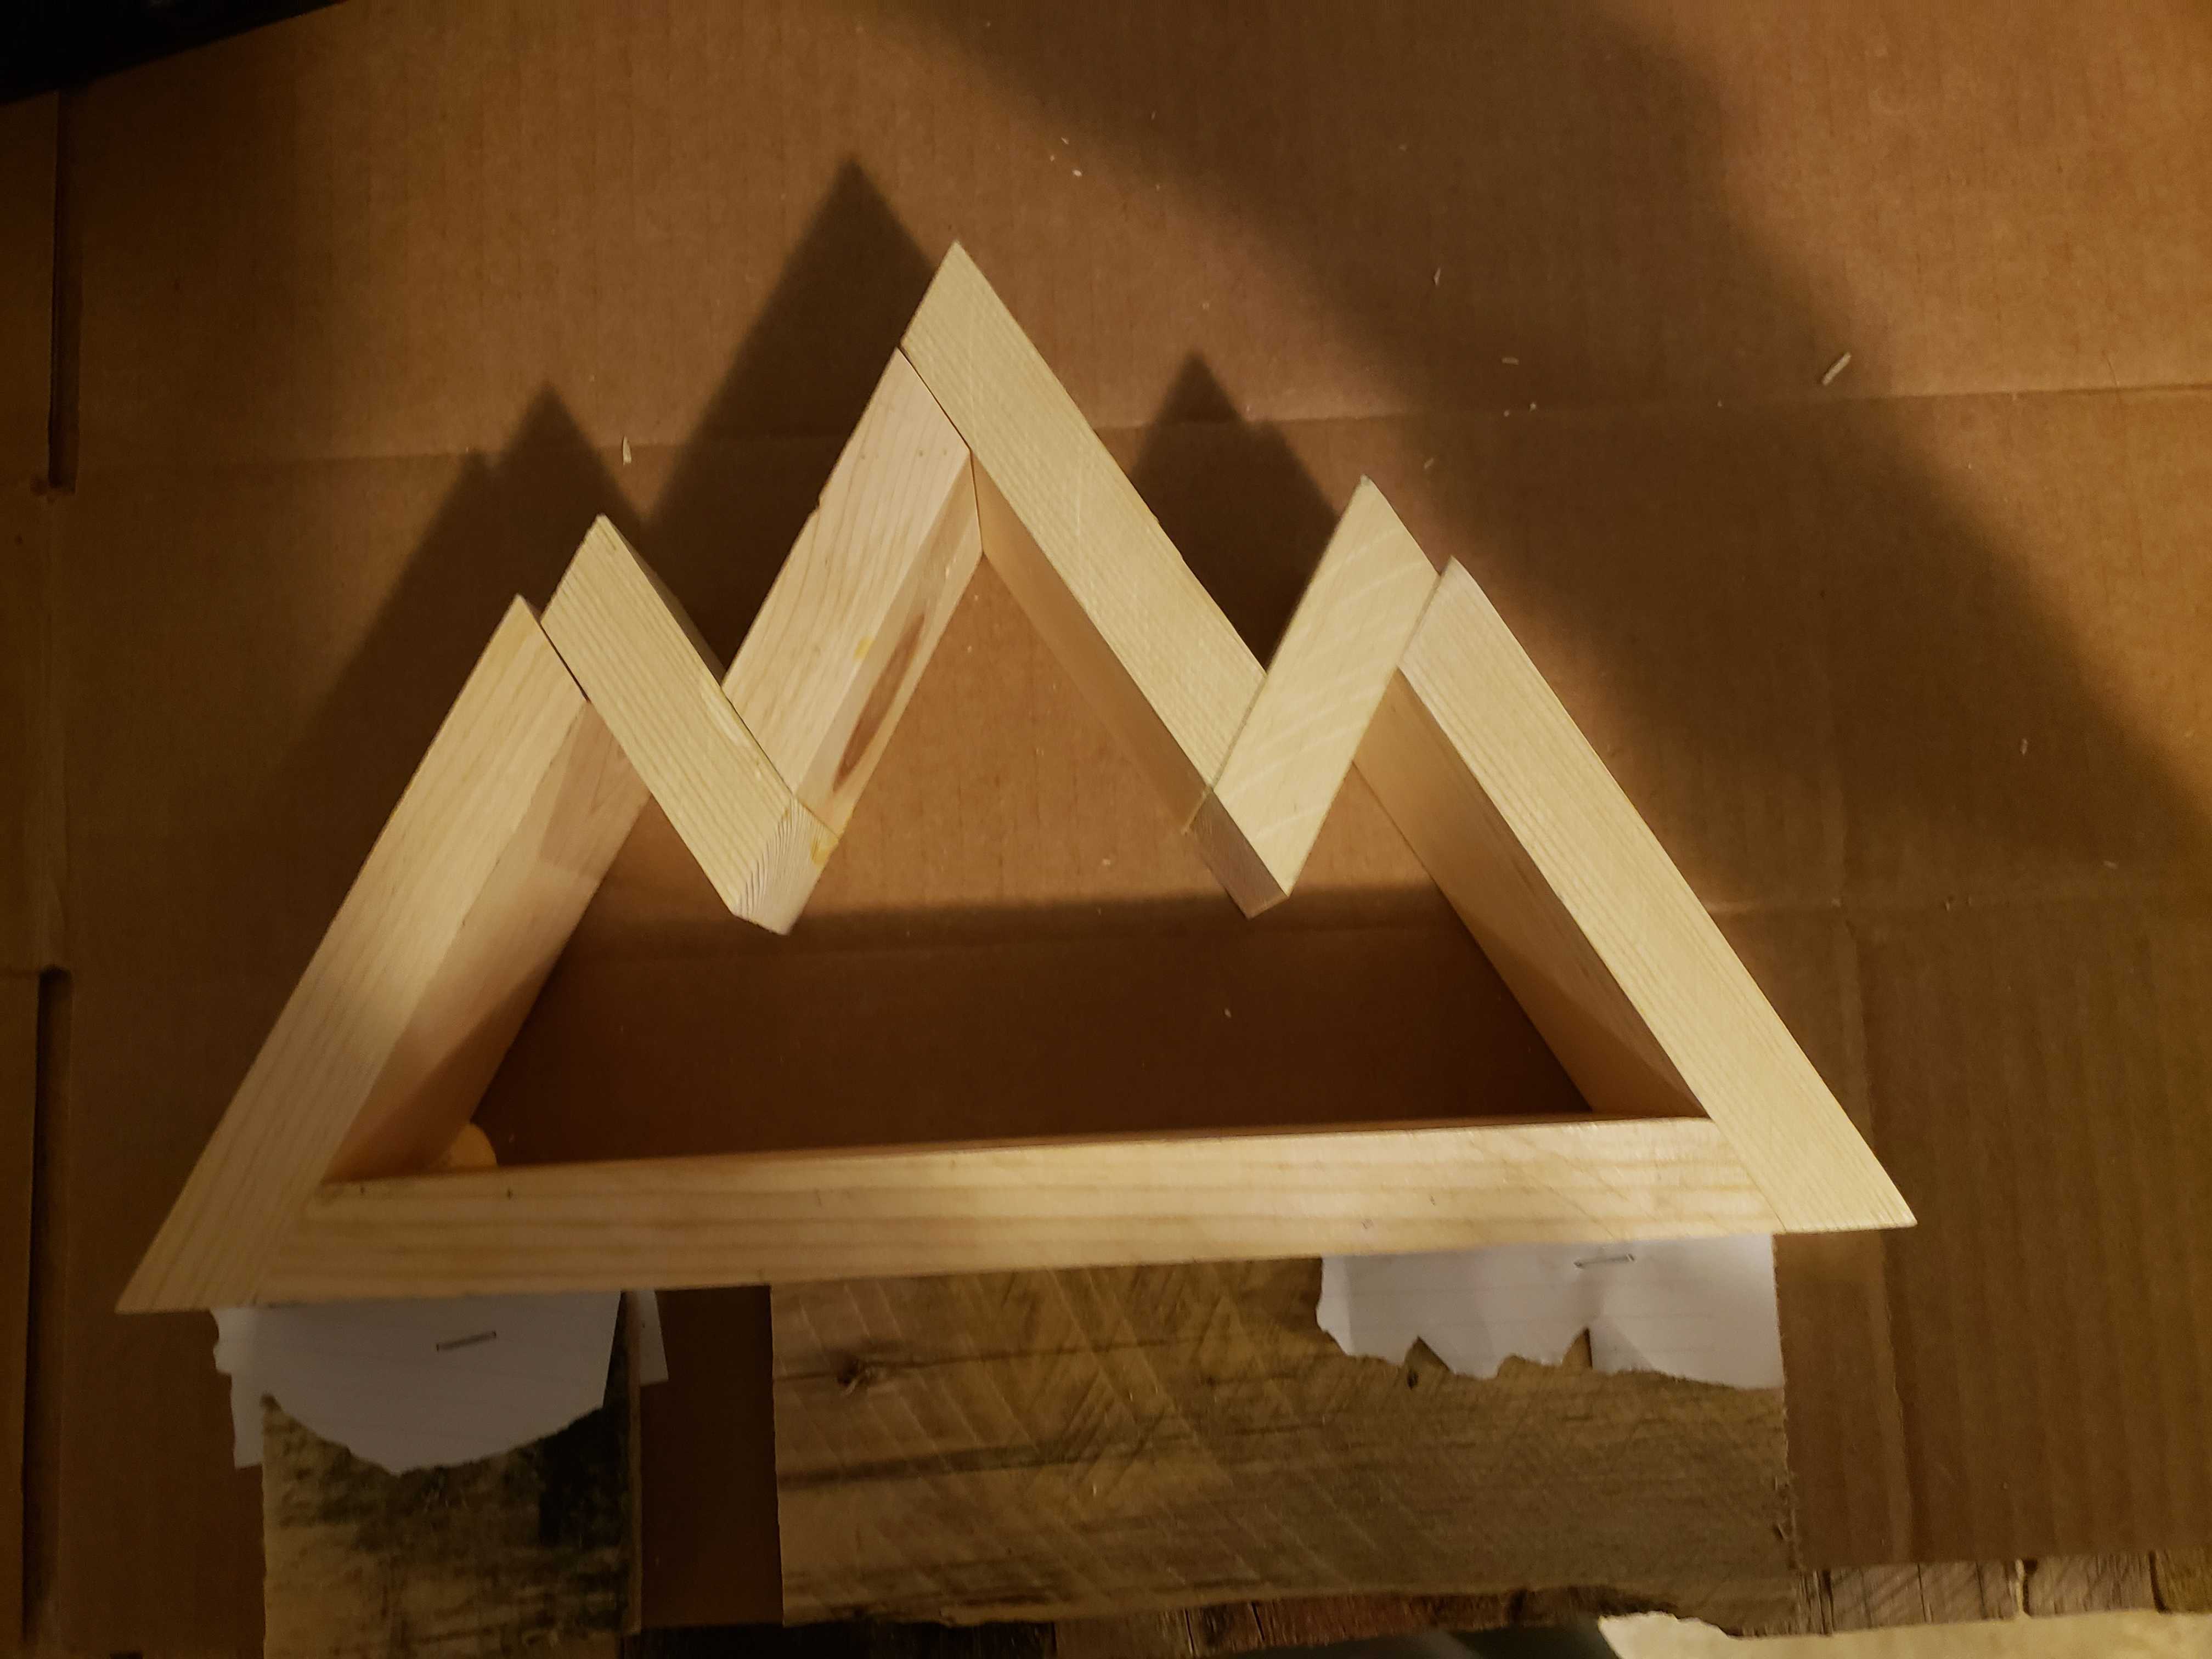
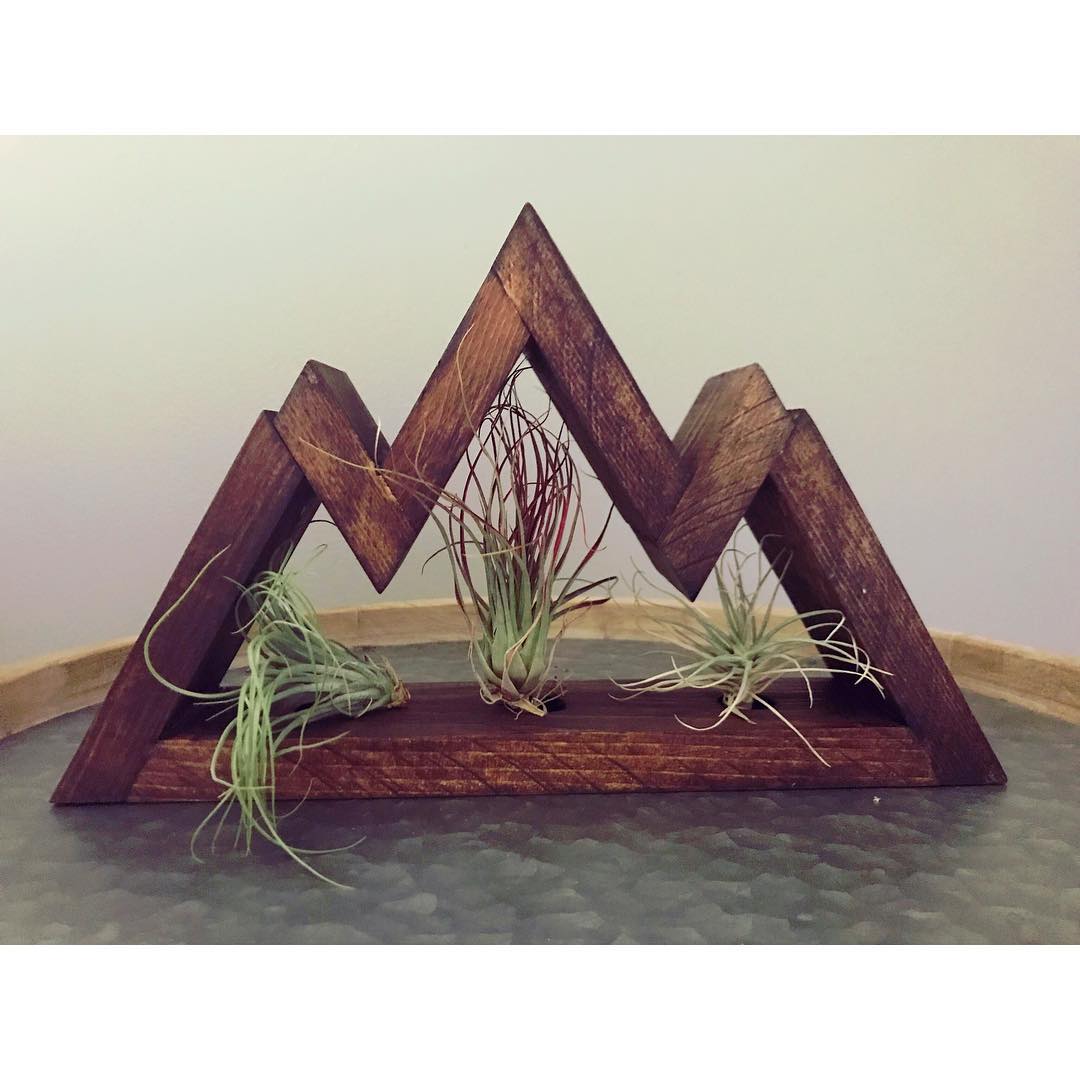
The Mountains were made out of left over hexagon wood, when I’d figured out angles and had some scraps lying around. The finishing touch for them, is a small cut out where we’re able to put some small air plants.
Dresser
To furnish our home, we were looking for a dresser for our guest room. After seeing the prices of dressers (used or not), I flippantly said, “Yea, I can easily do that”. So I found some plans and started building the dresser.
Most of the build was pretty straight forward:
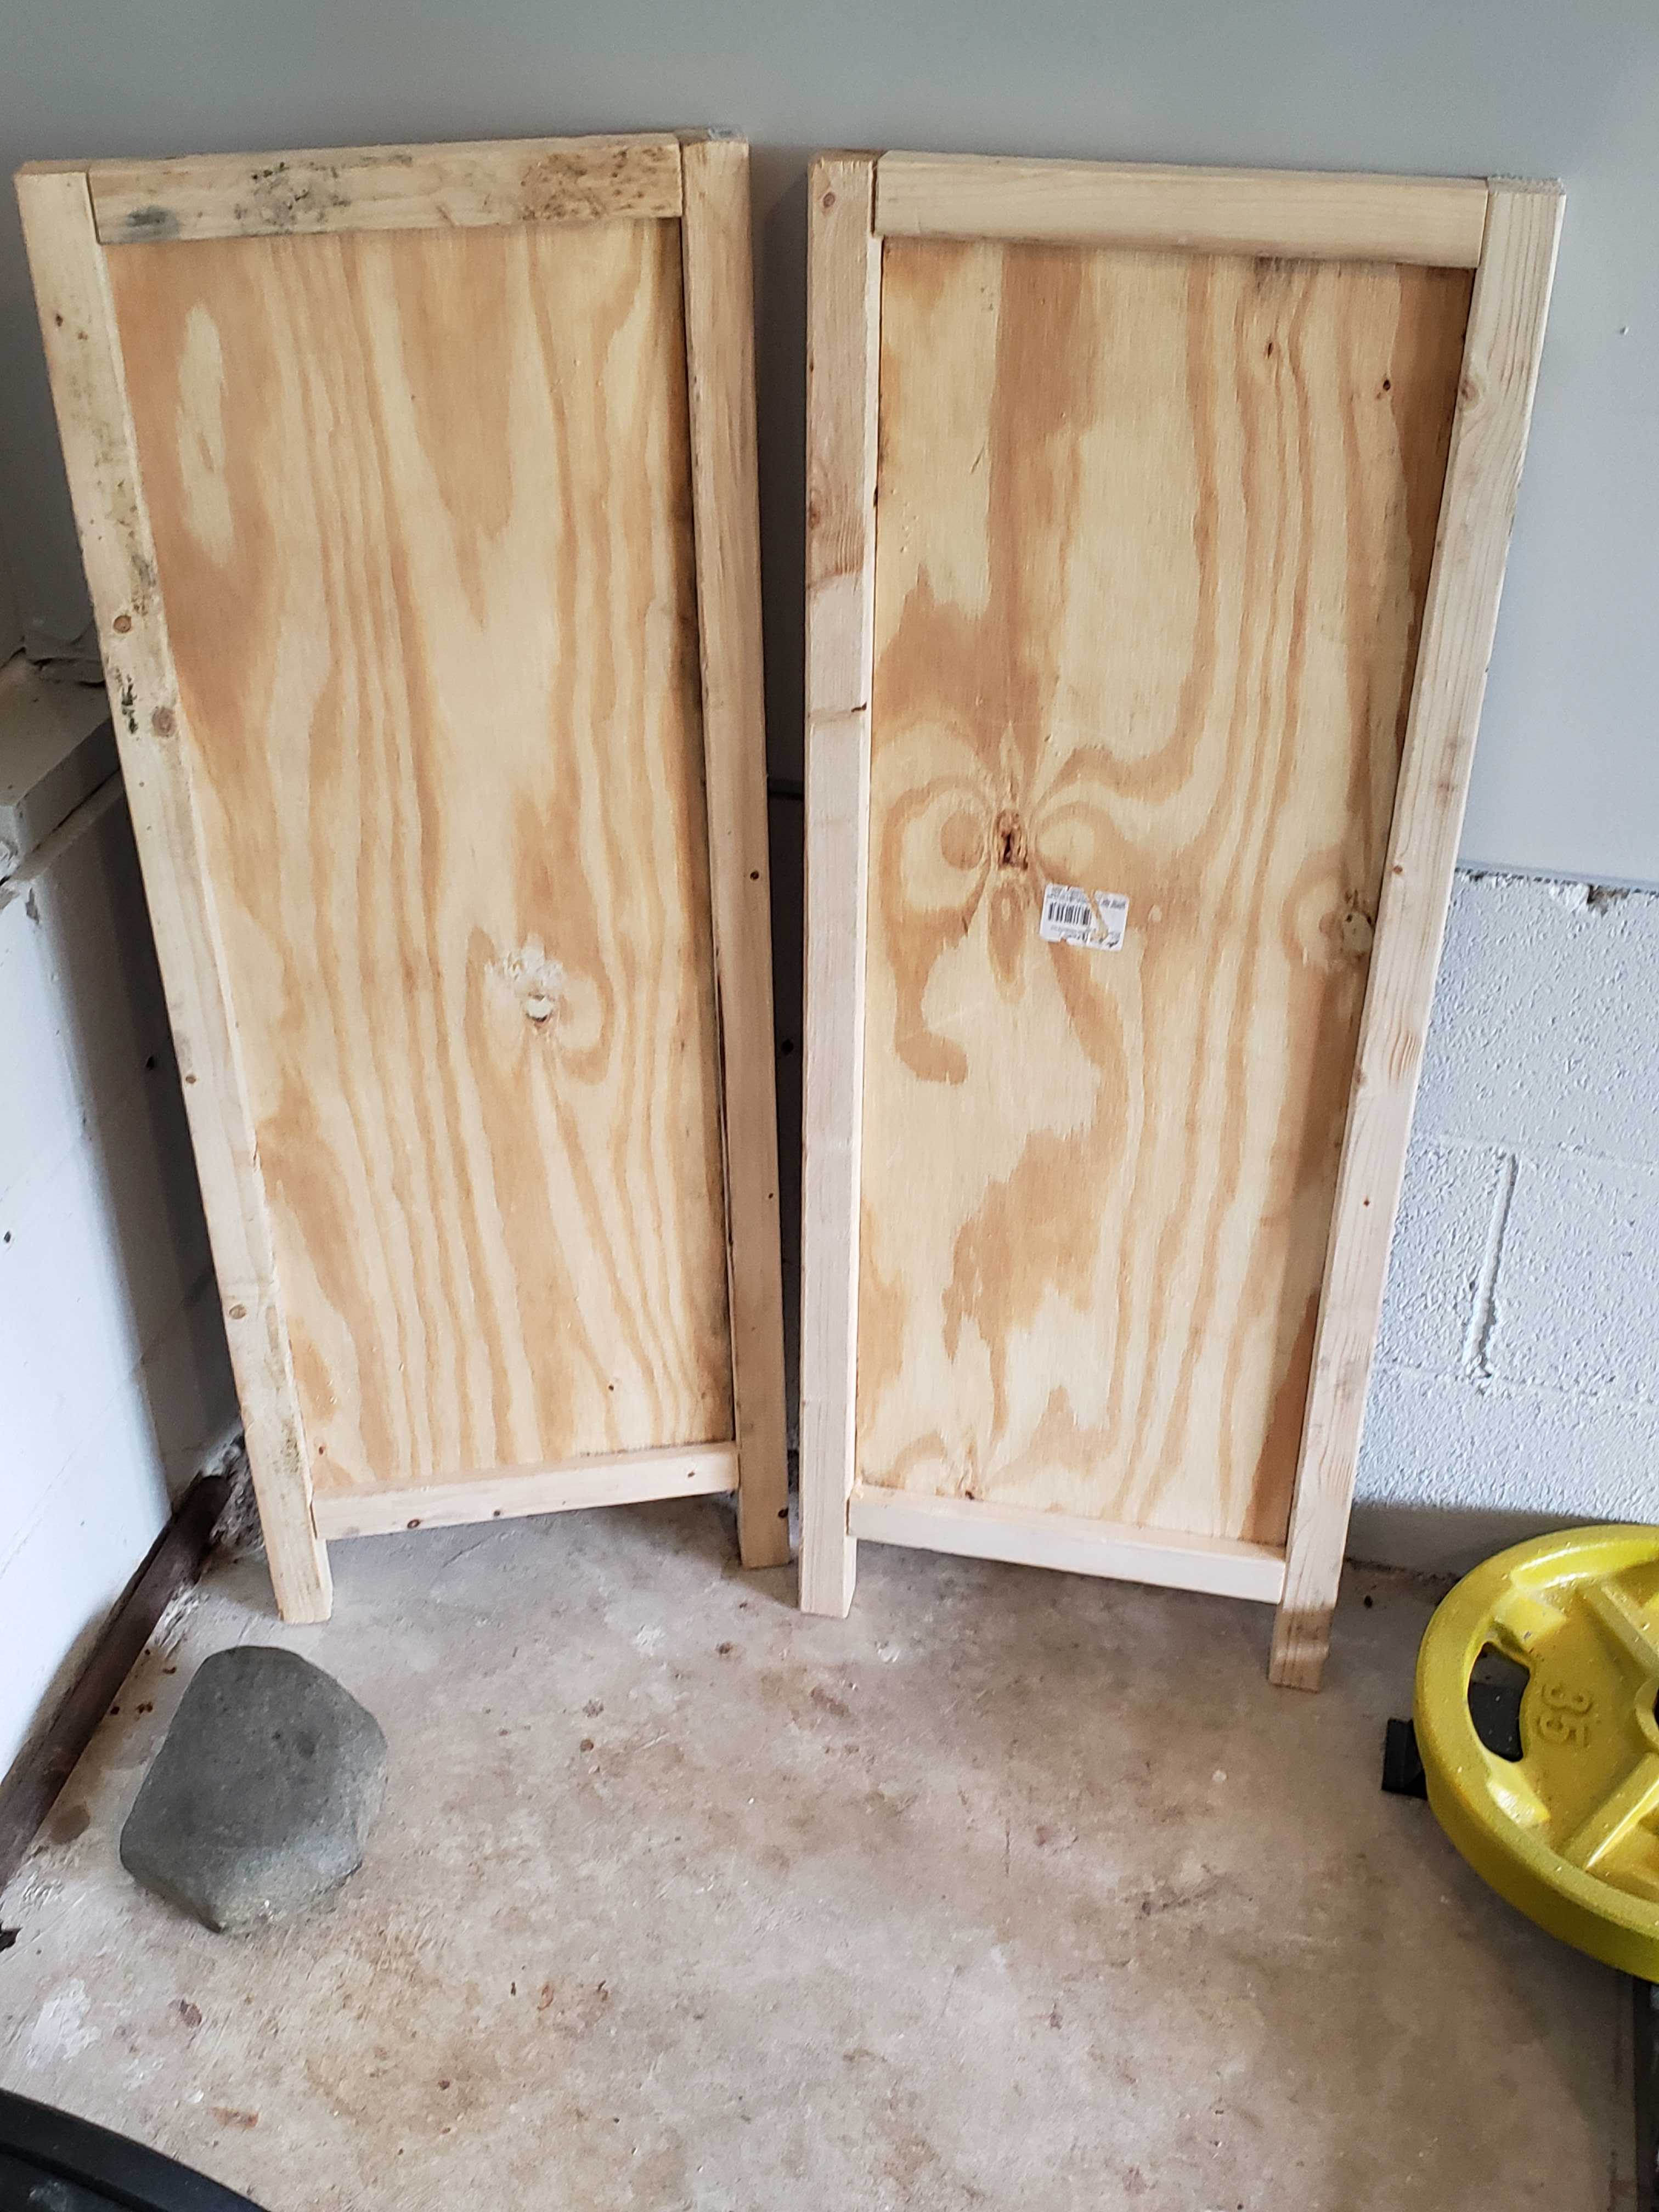
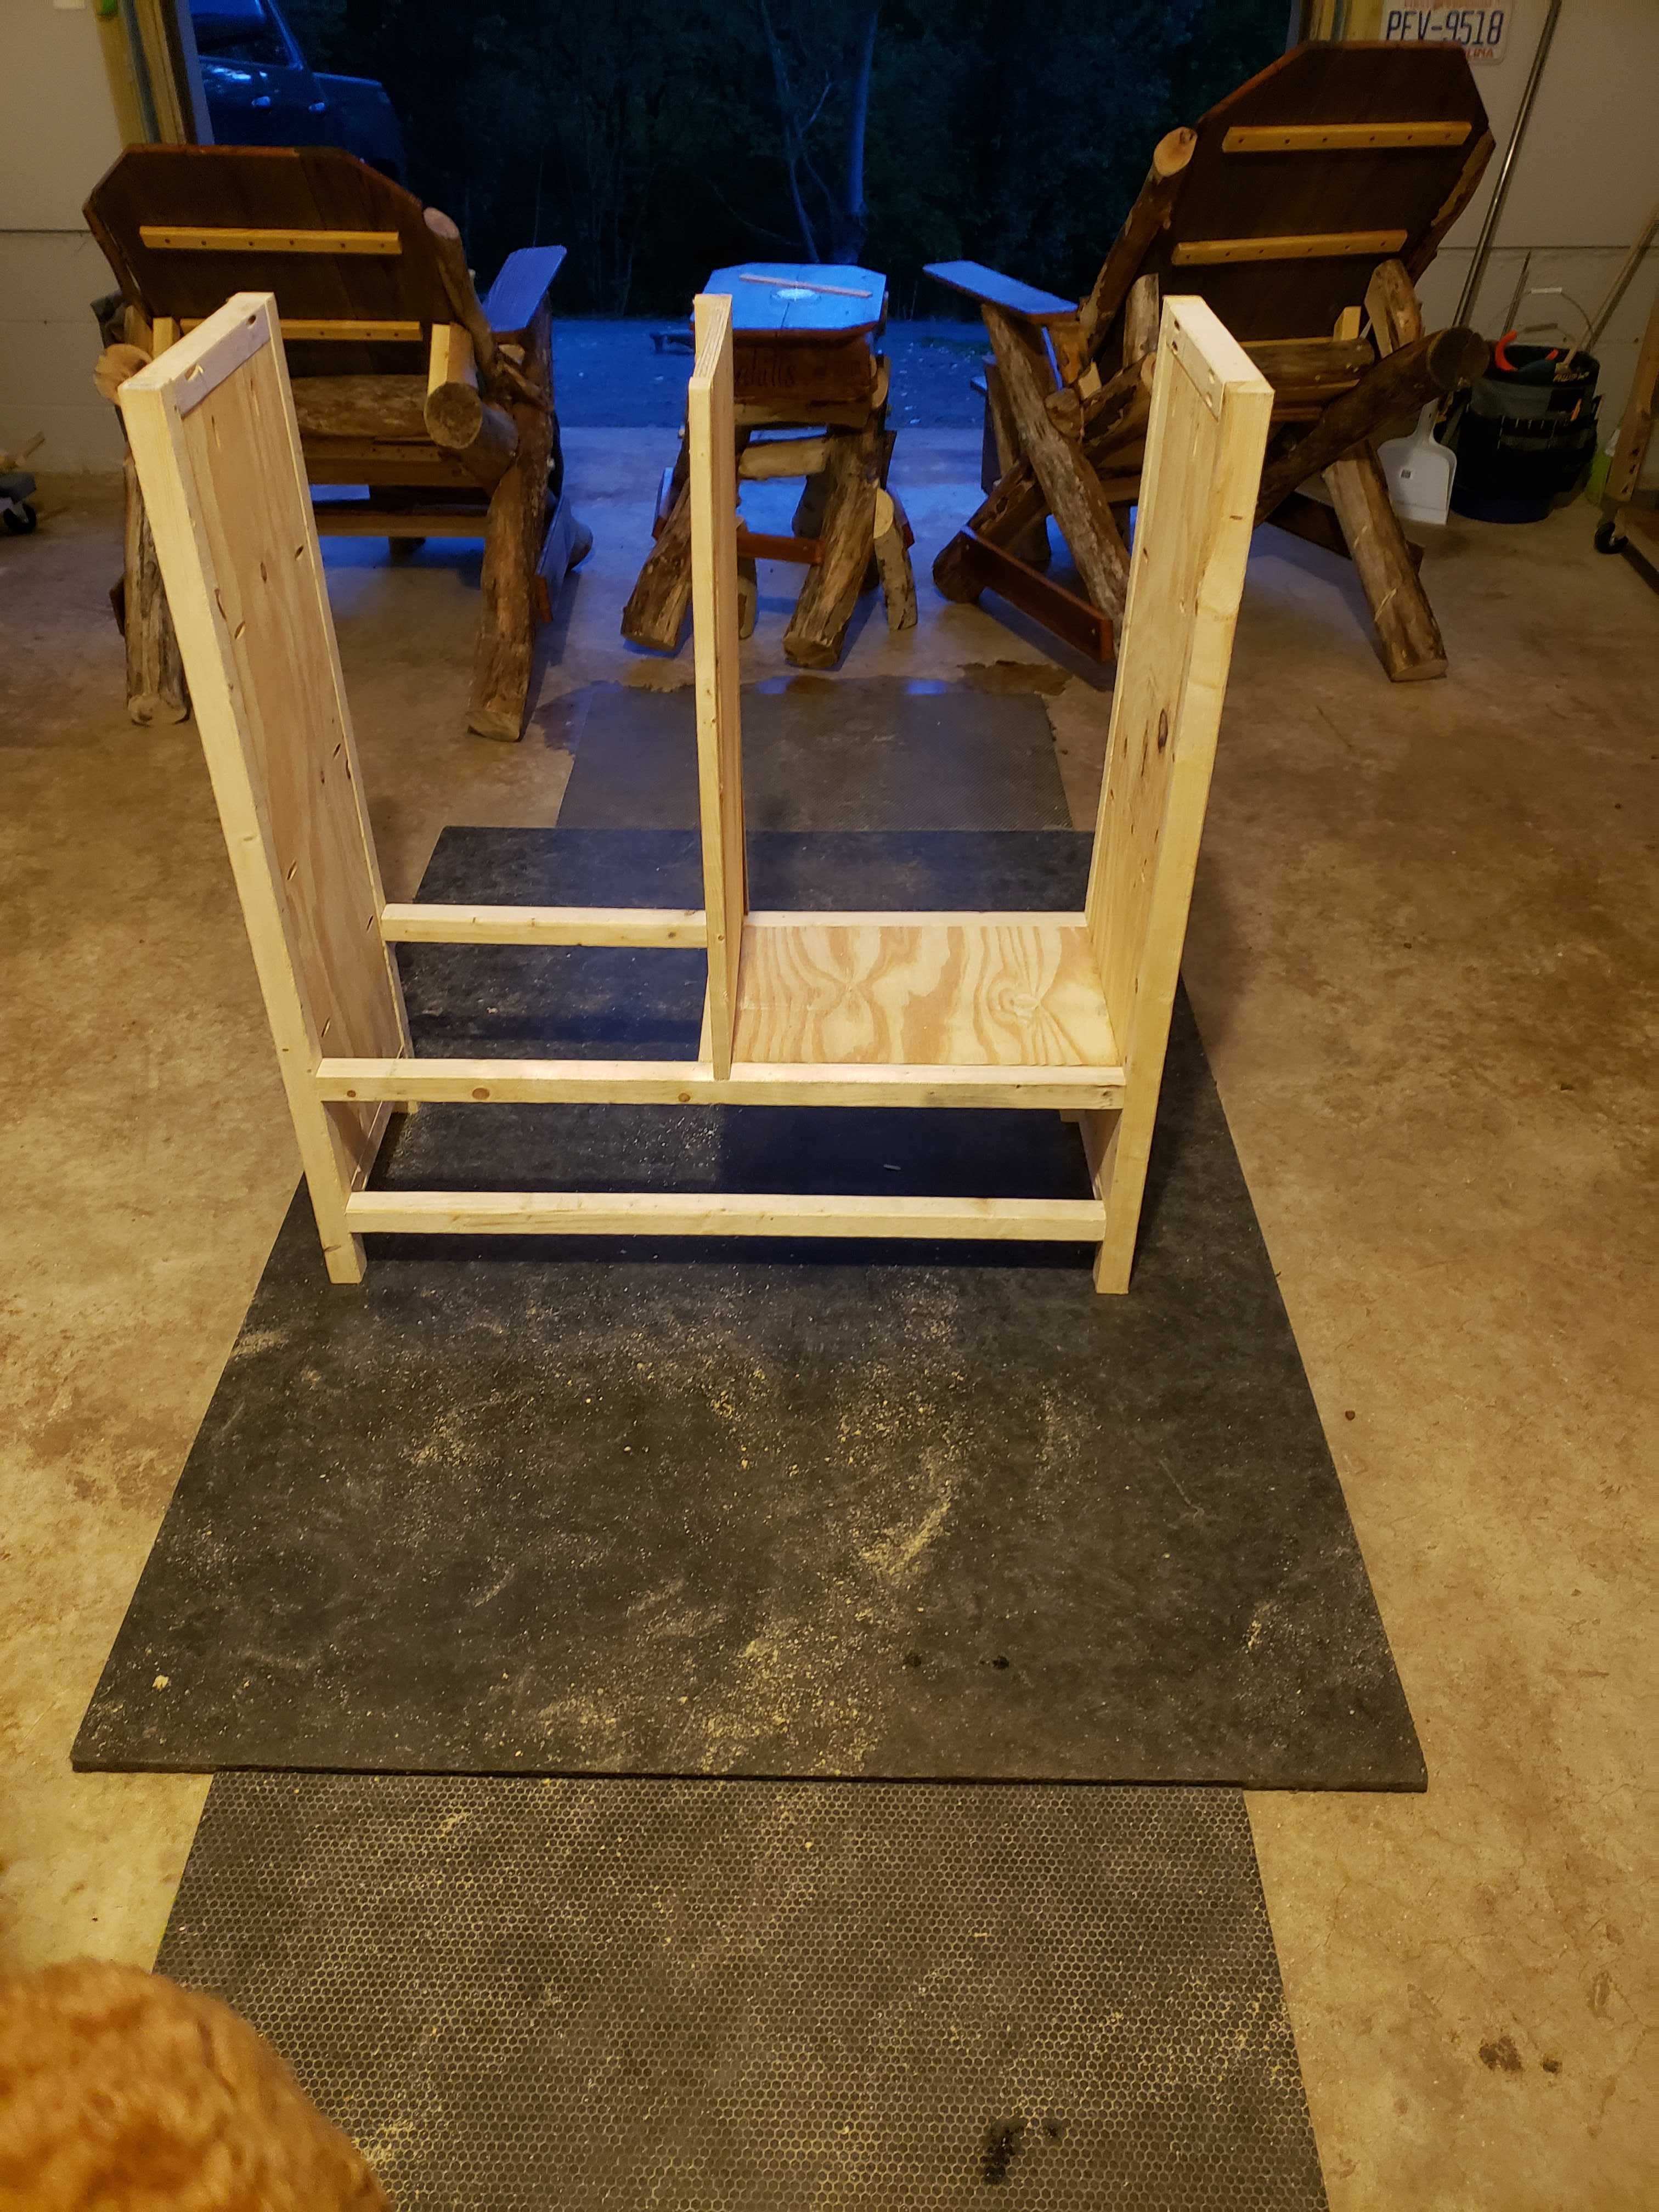
I started running into trouble when building the drawers. While they seem simple, they’re tedious. I’ve much more respect now for those who build dressers who use joinery like dove tails for drawers.
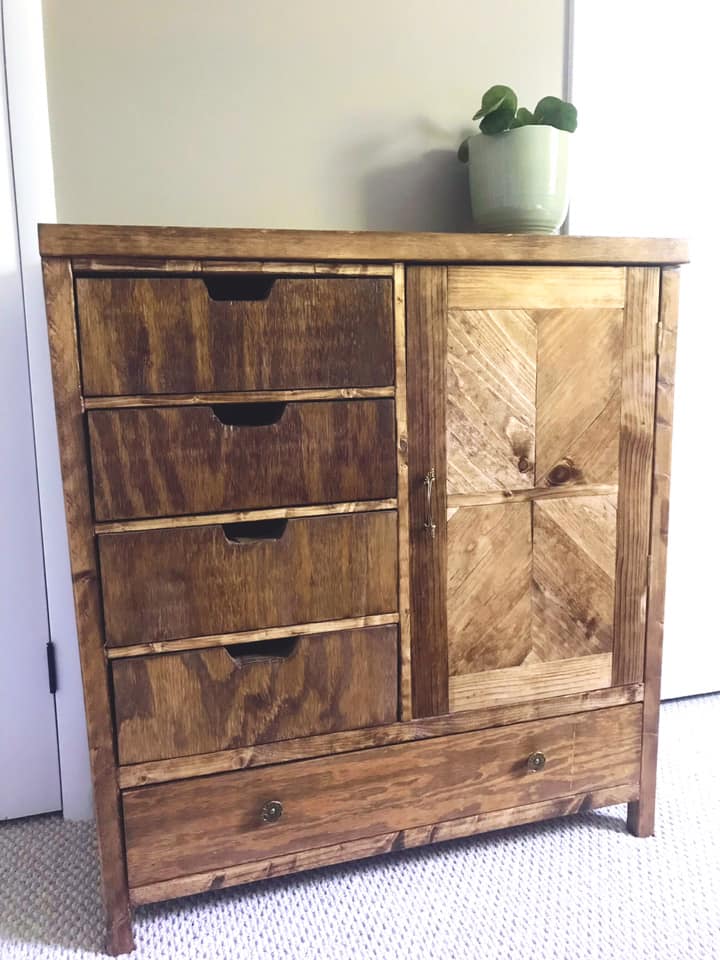
The other final hurdle was creating the door design. This took nearly a full day and 2 trips to Lowes to get the cuts right, but I think it was worth the effort (my wife you pushed me to make the door, rather than a plain door and it was worth it).
The final result works well for a guest room.
TV Stand
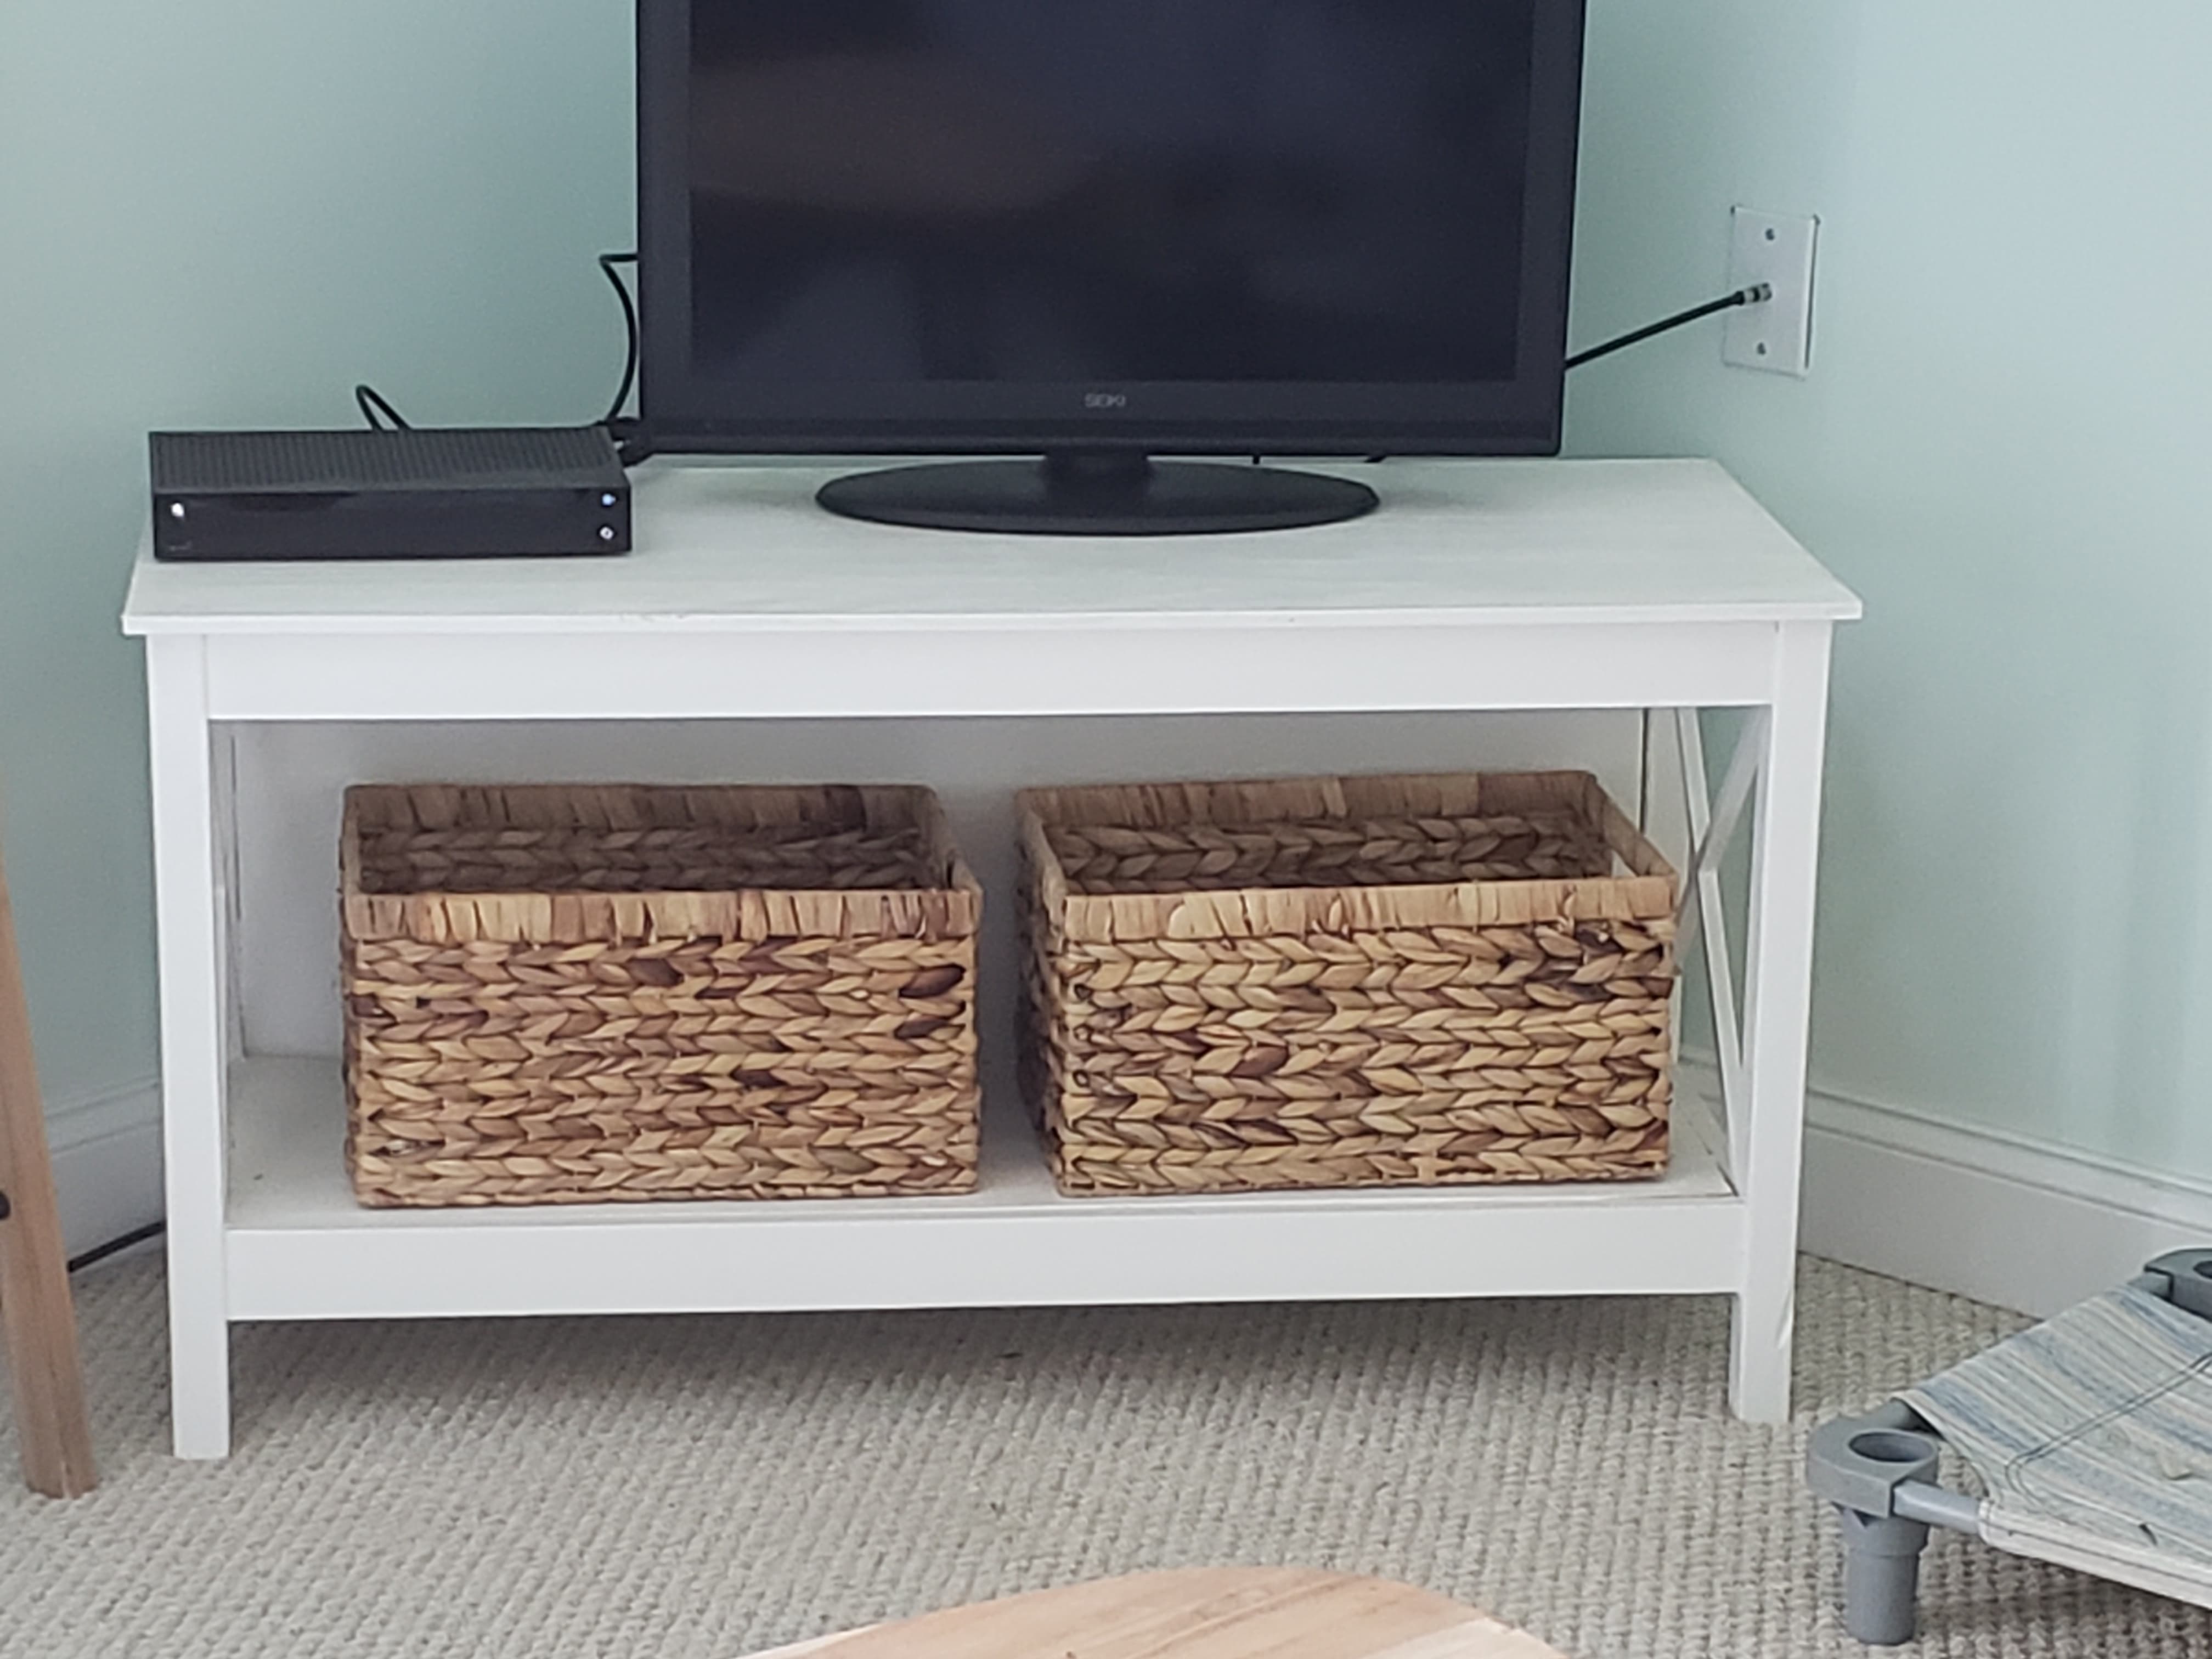
Next up, was a TV stand that was desperately needed. We decided on the XLeg TV stand and I started building.
This build was very easy after the dresser.
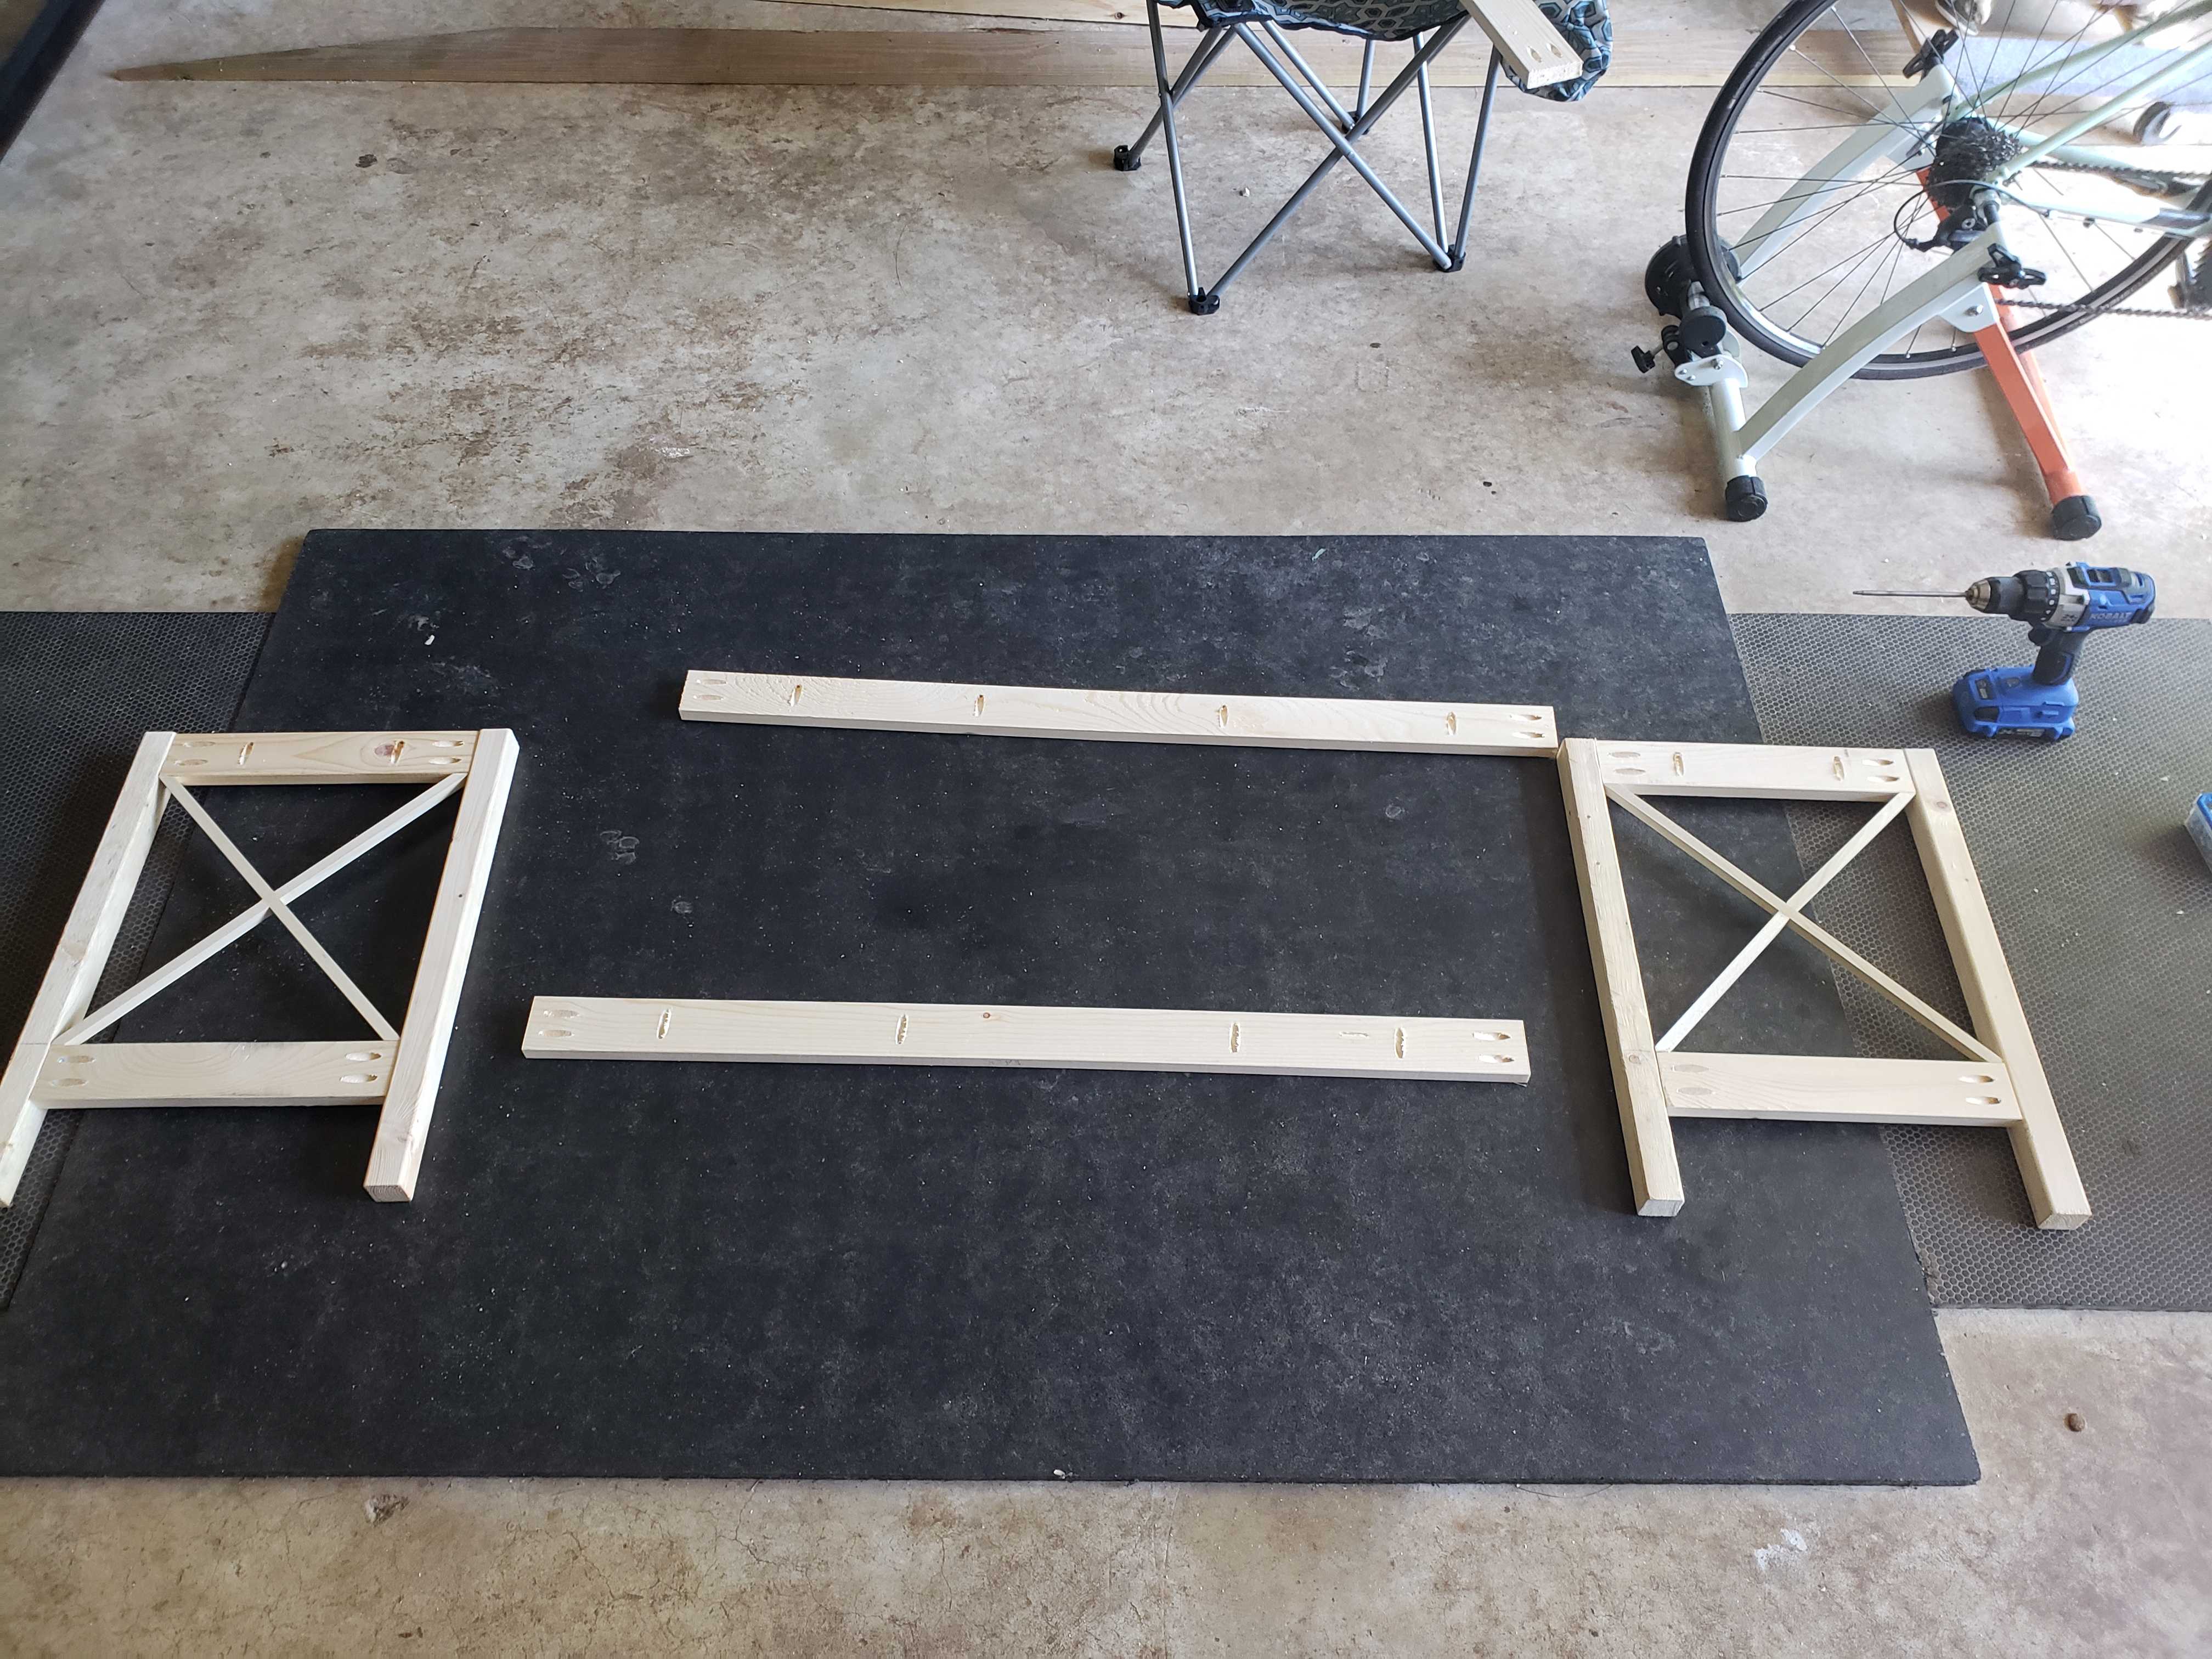
It only took a day’s worth of effort to put together.
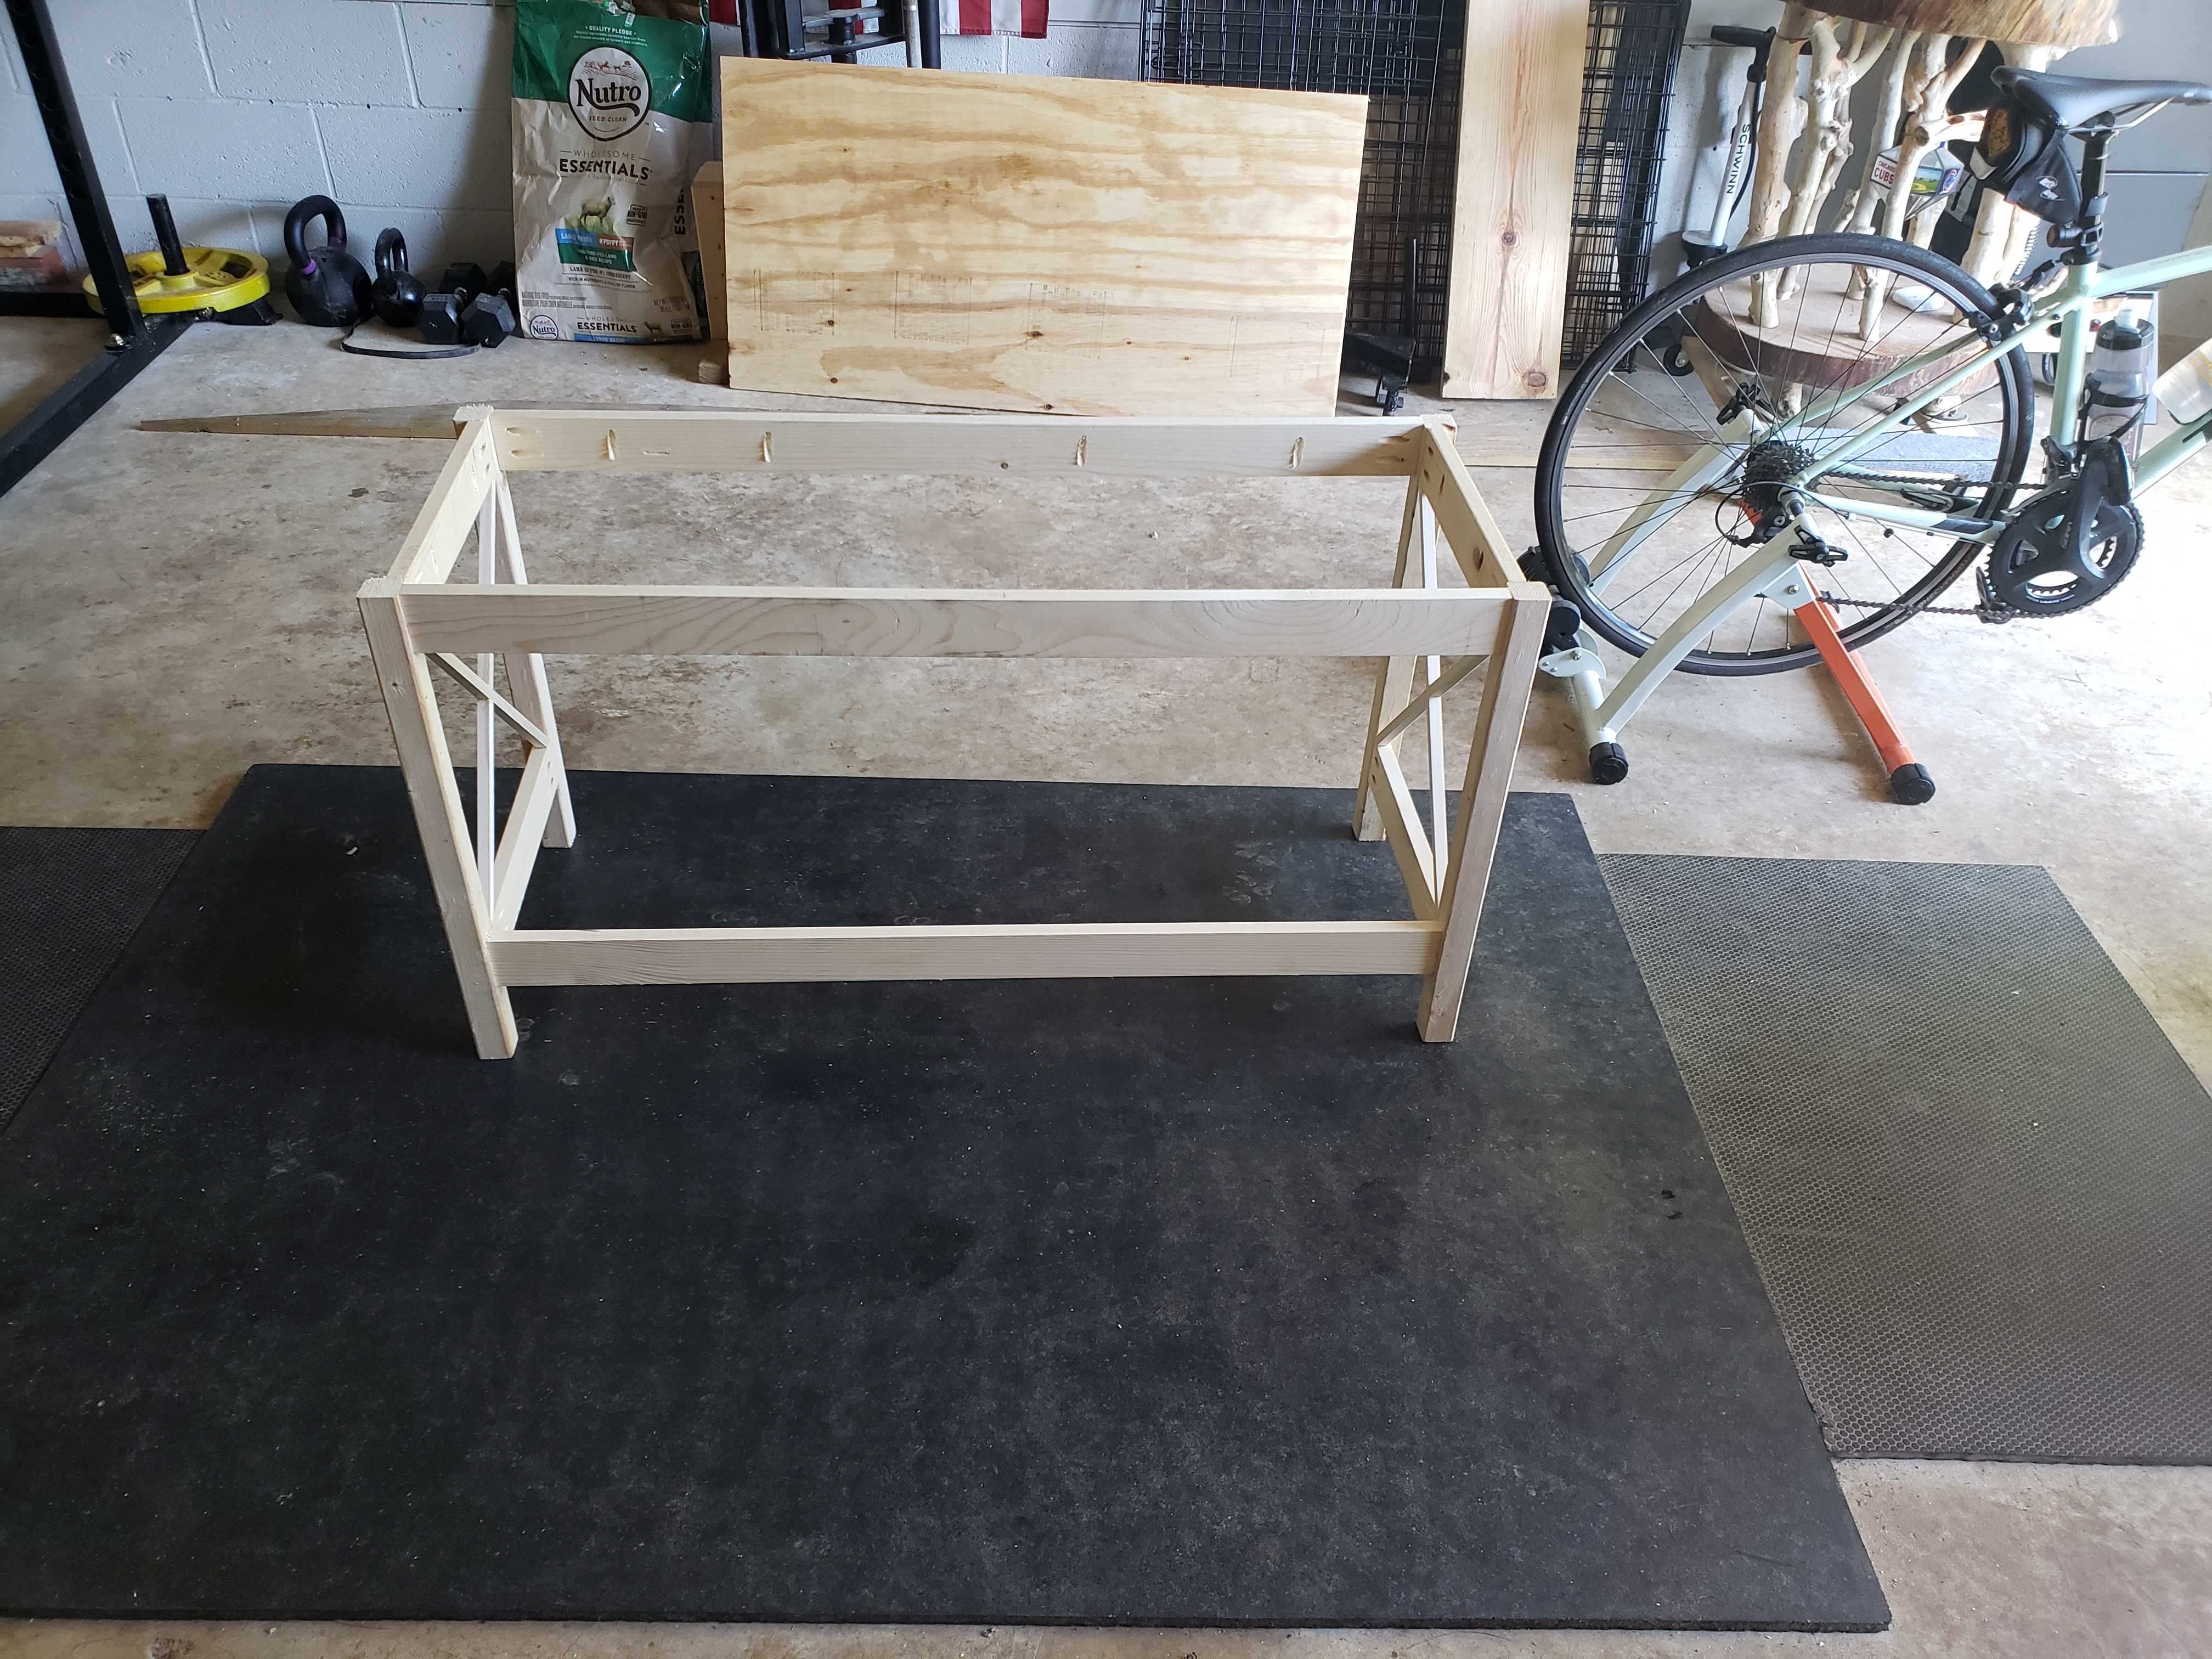
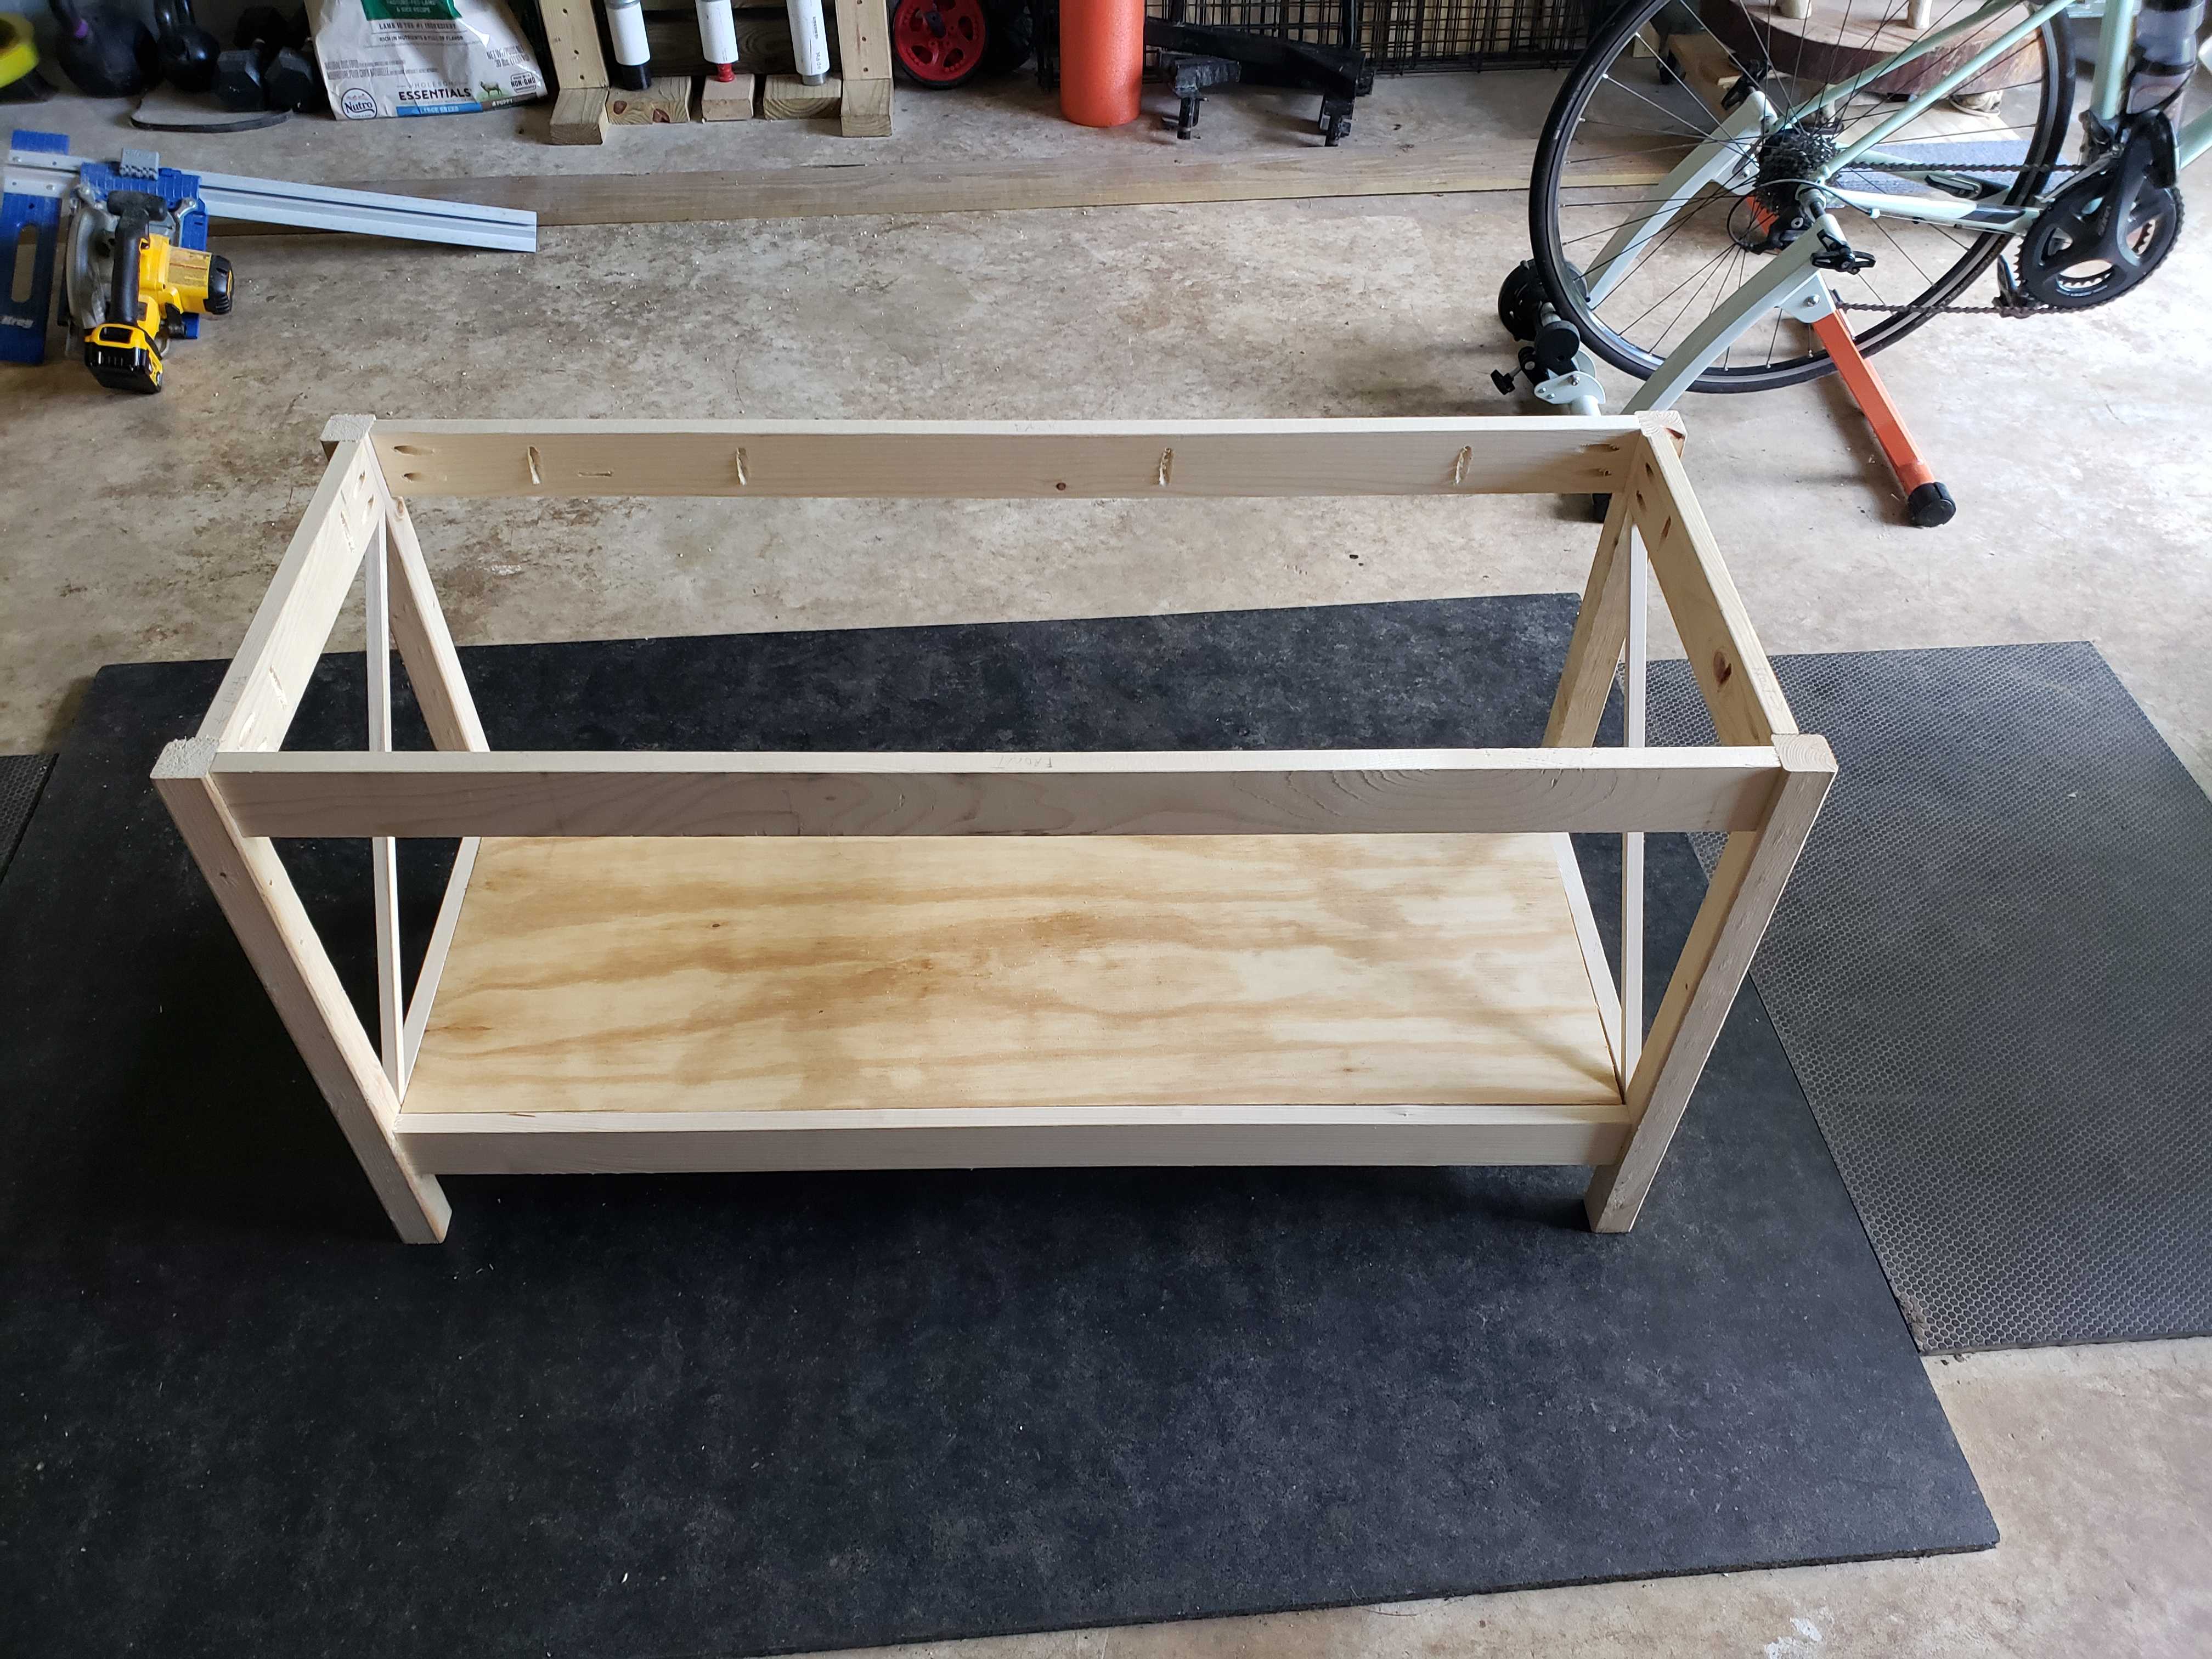
Sanding and painting was done over a week or so after work.
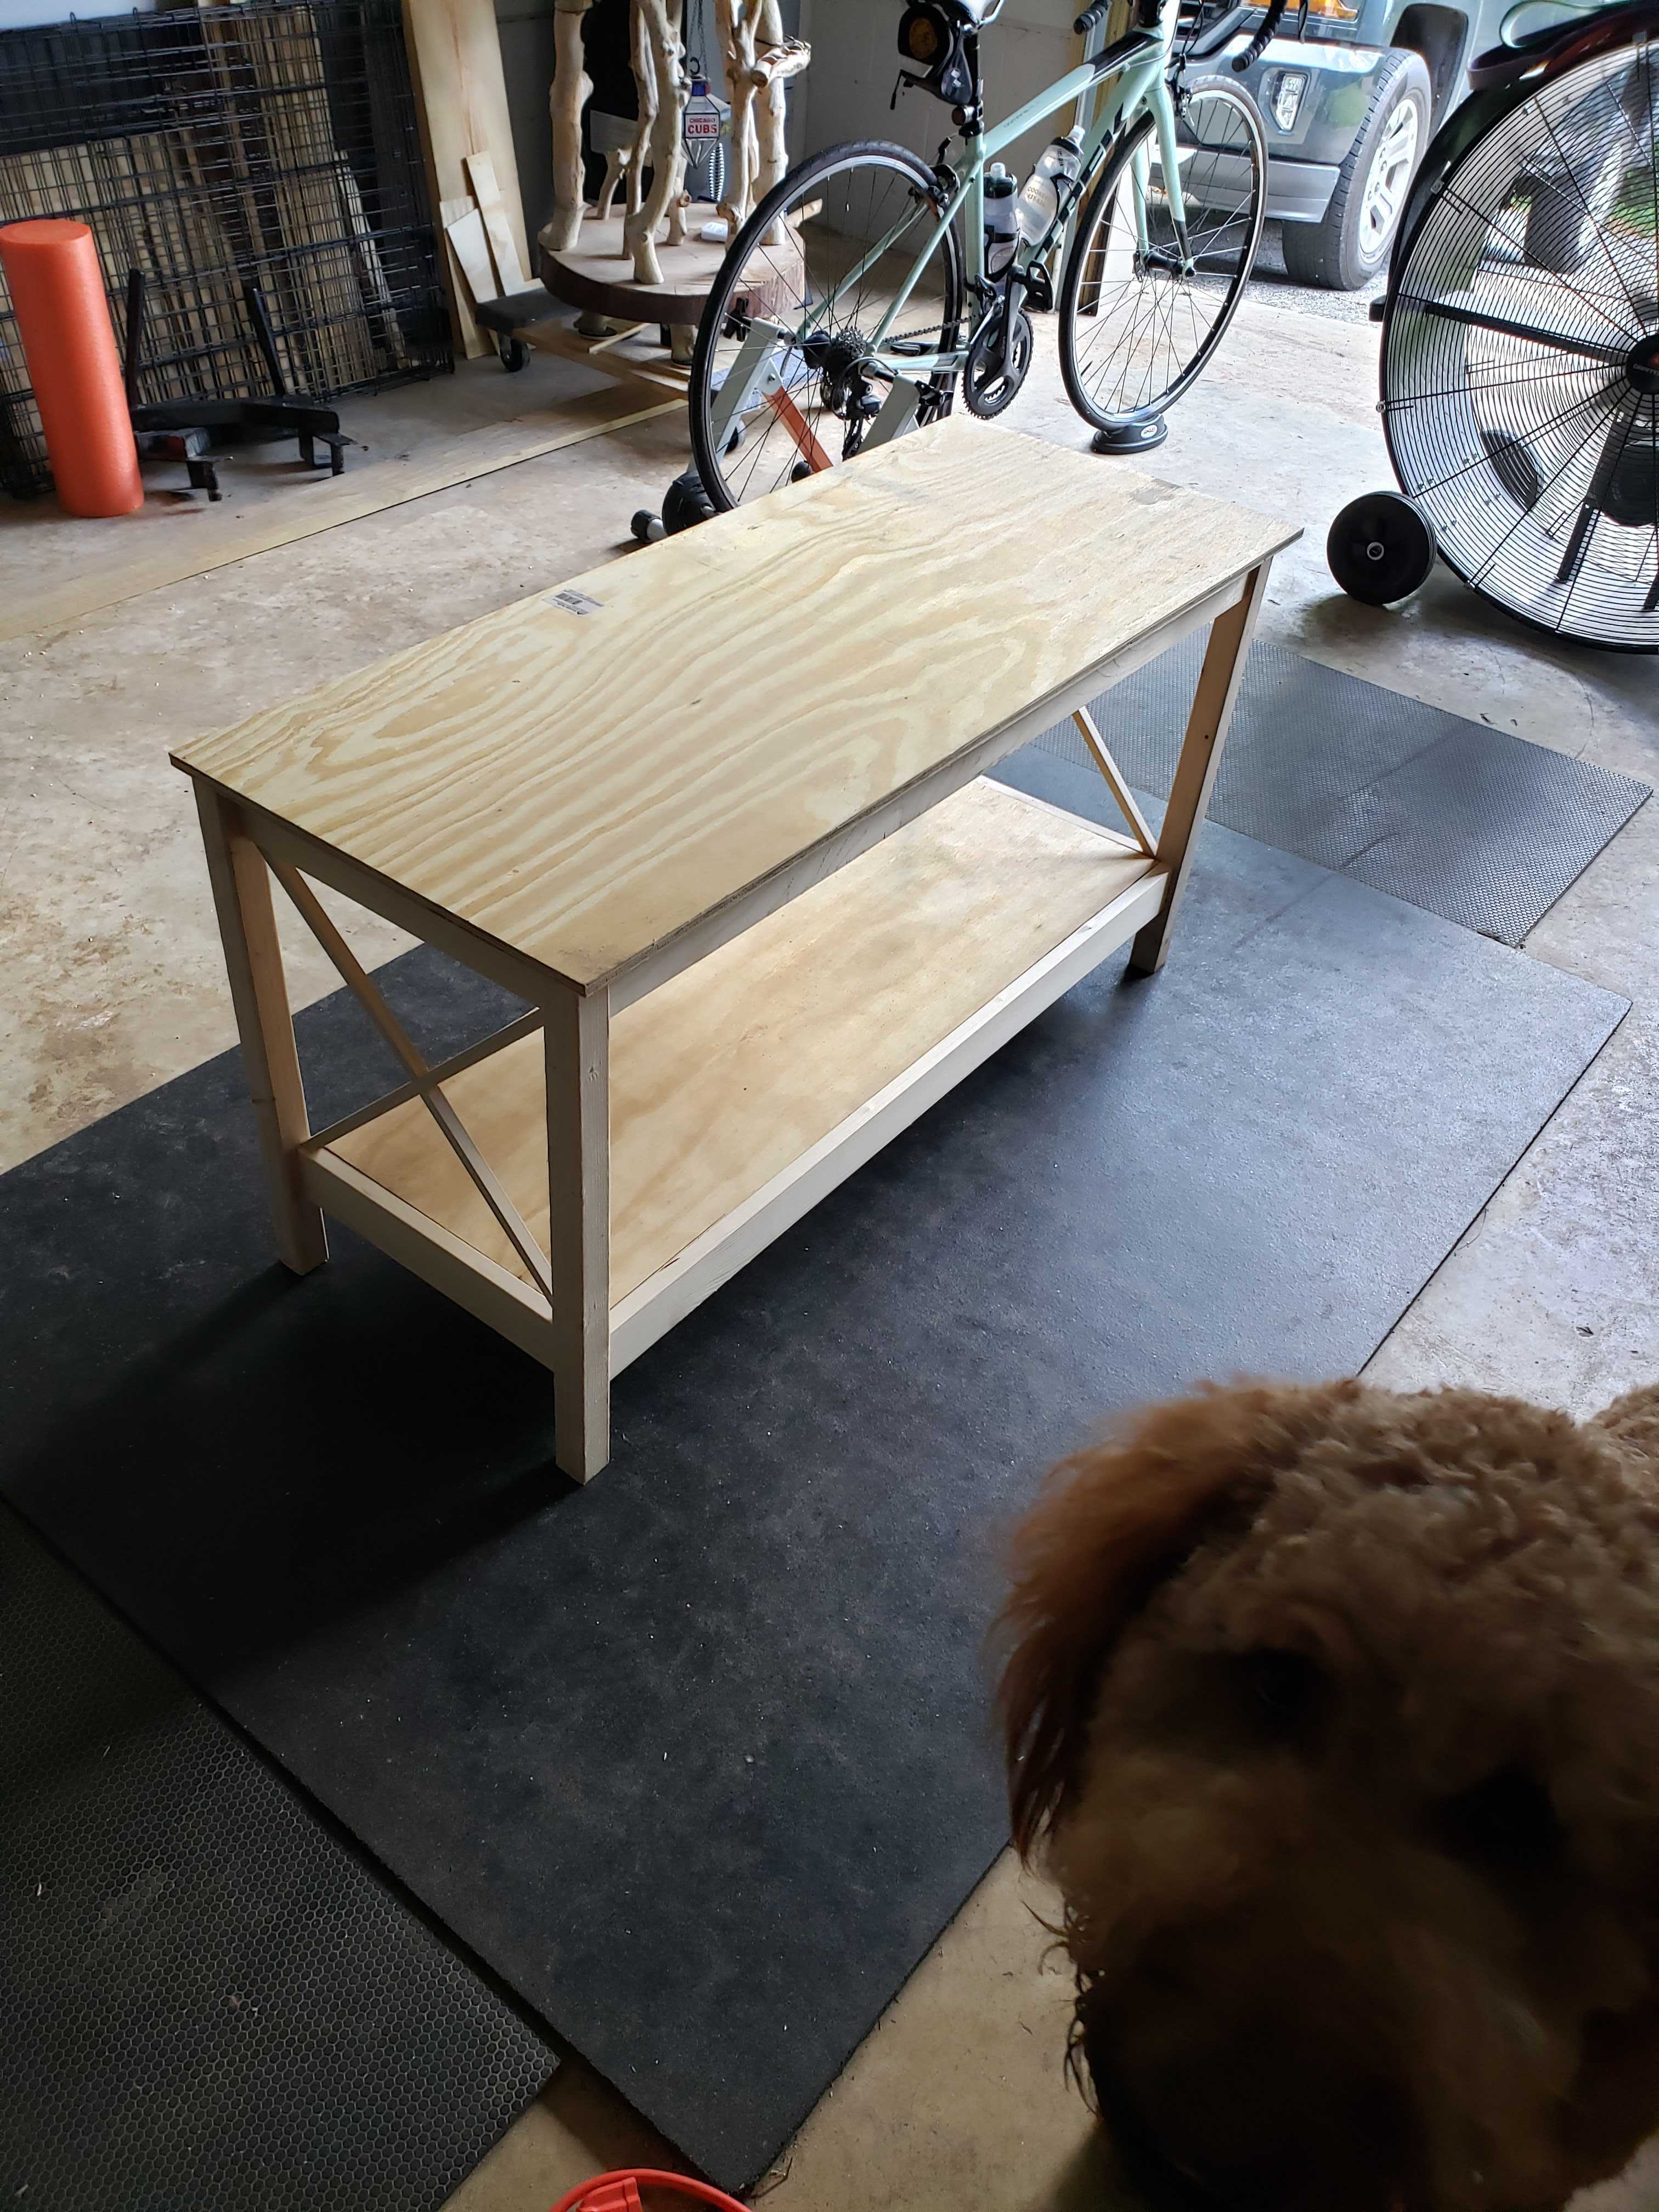
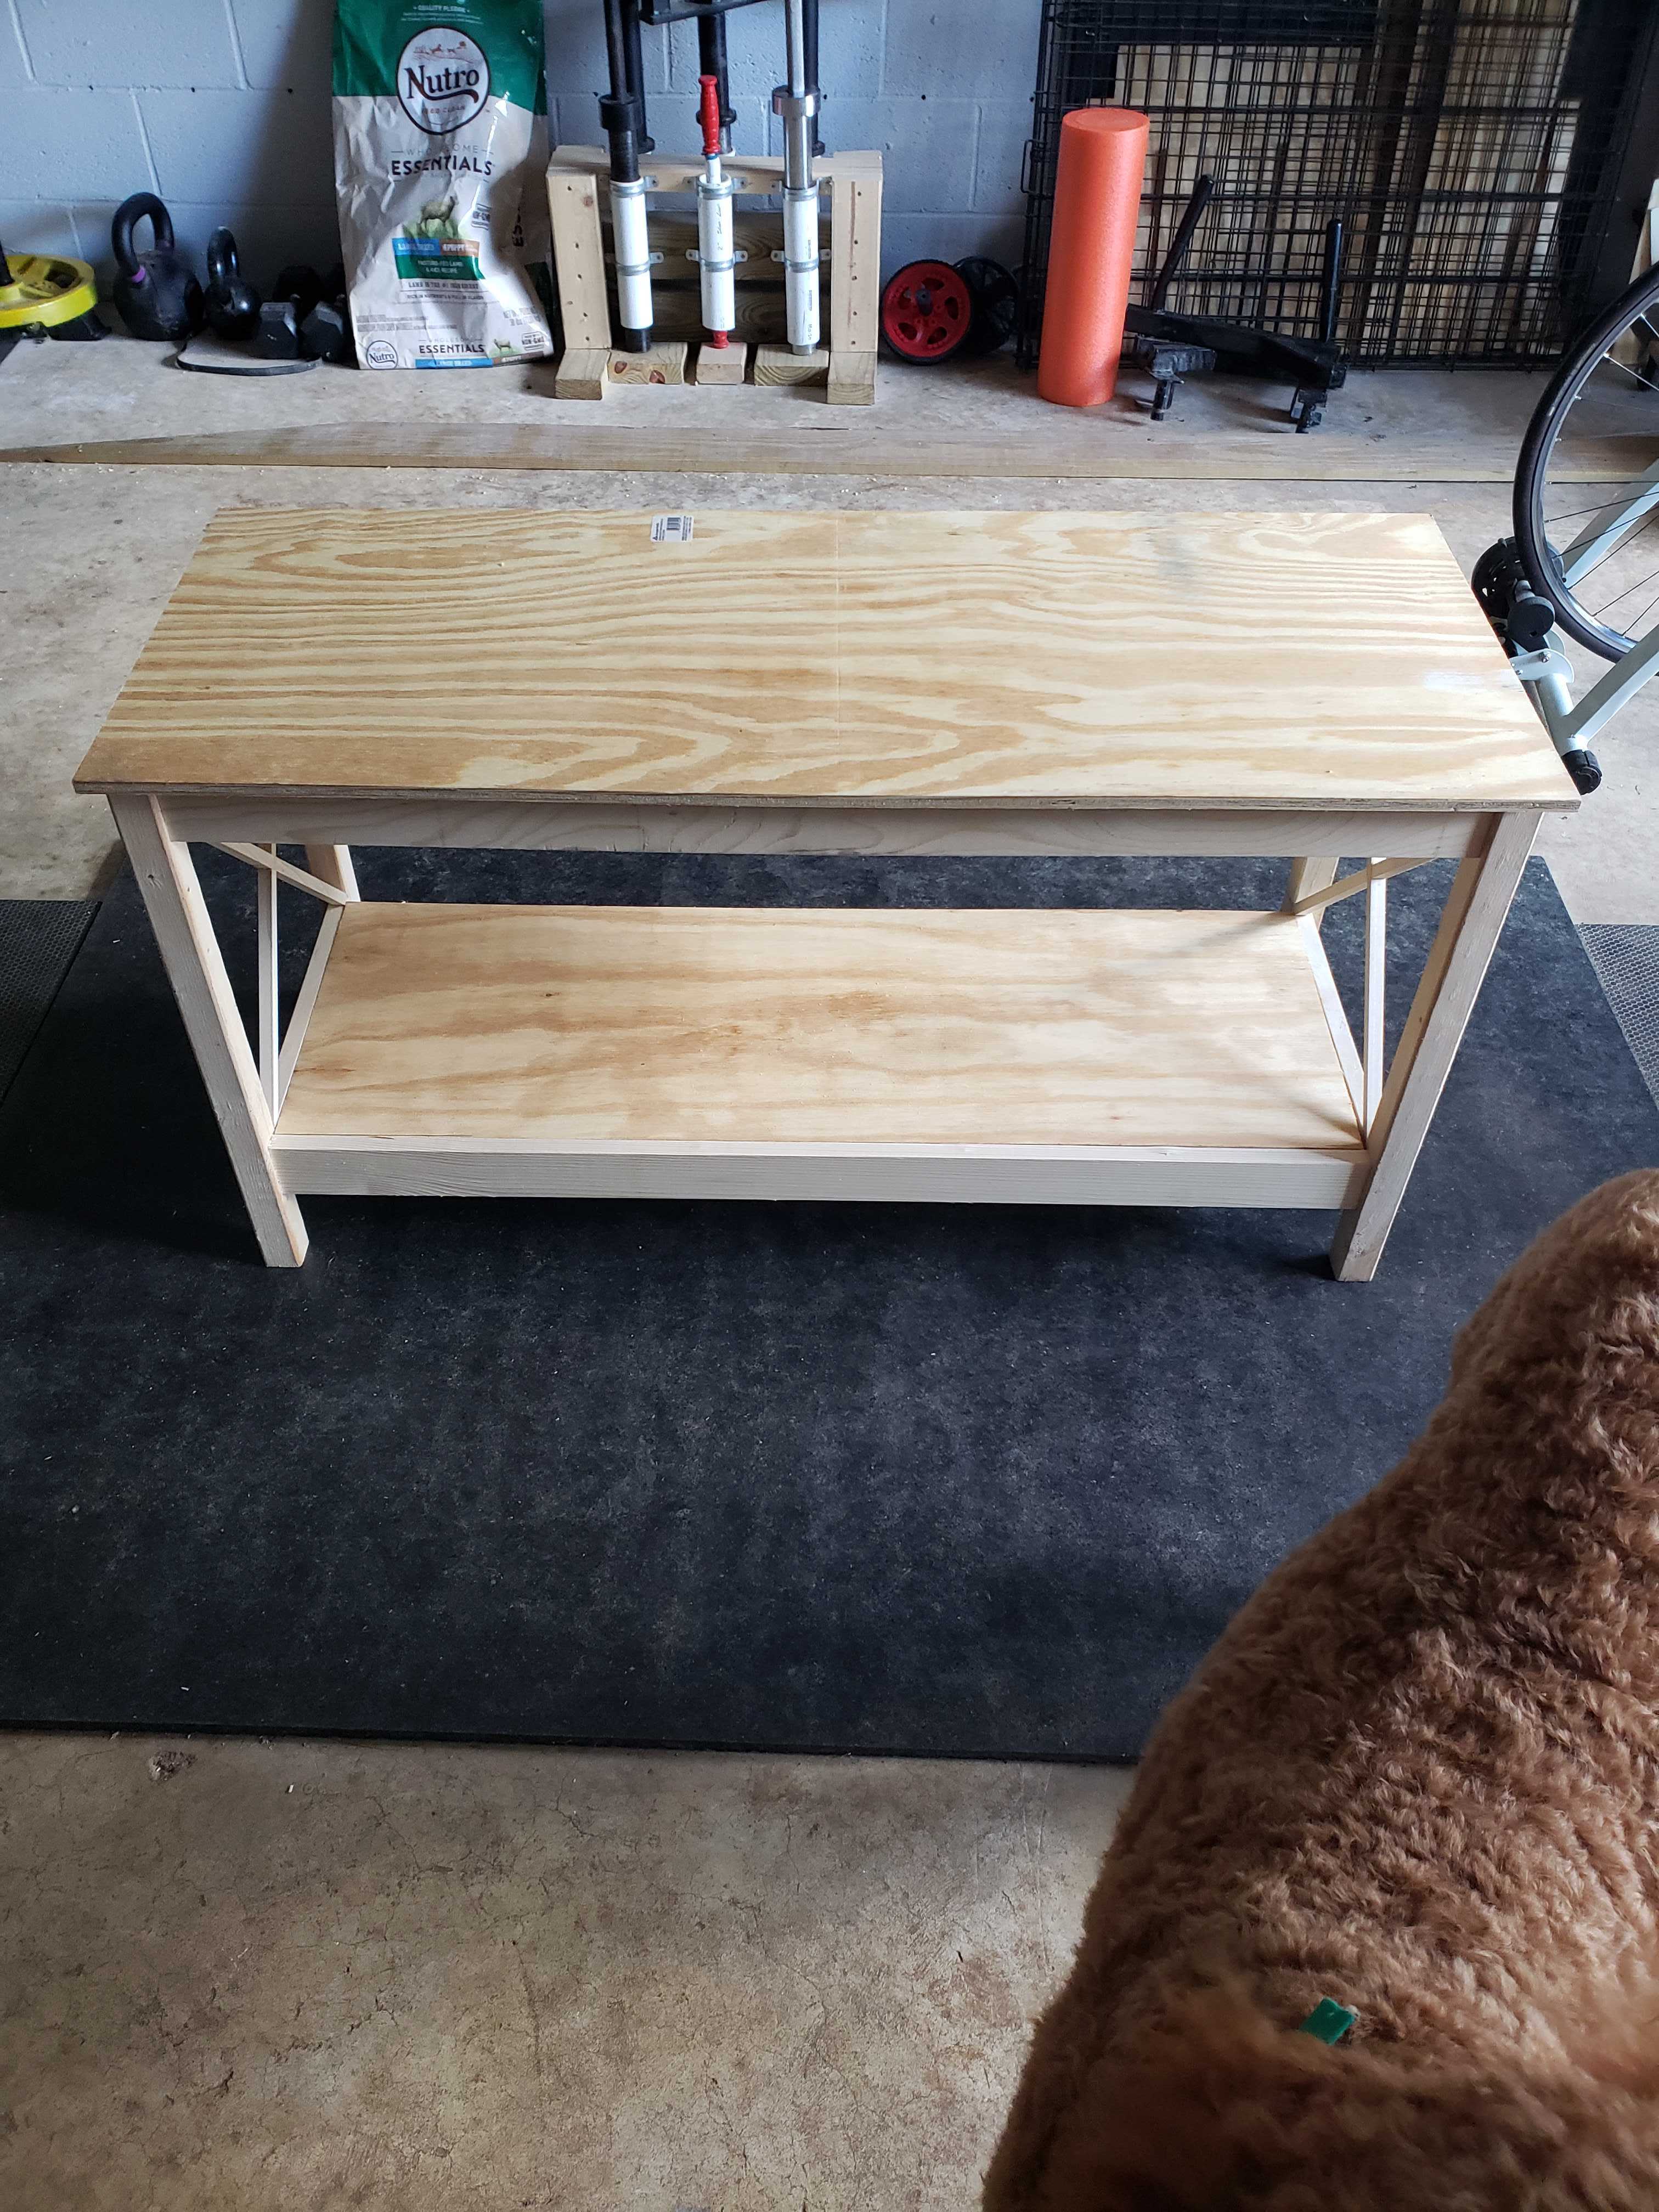
The finished product saved us money and was fun to build.
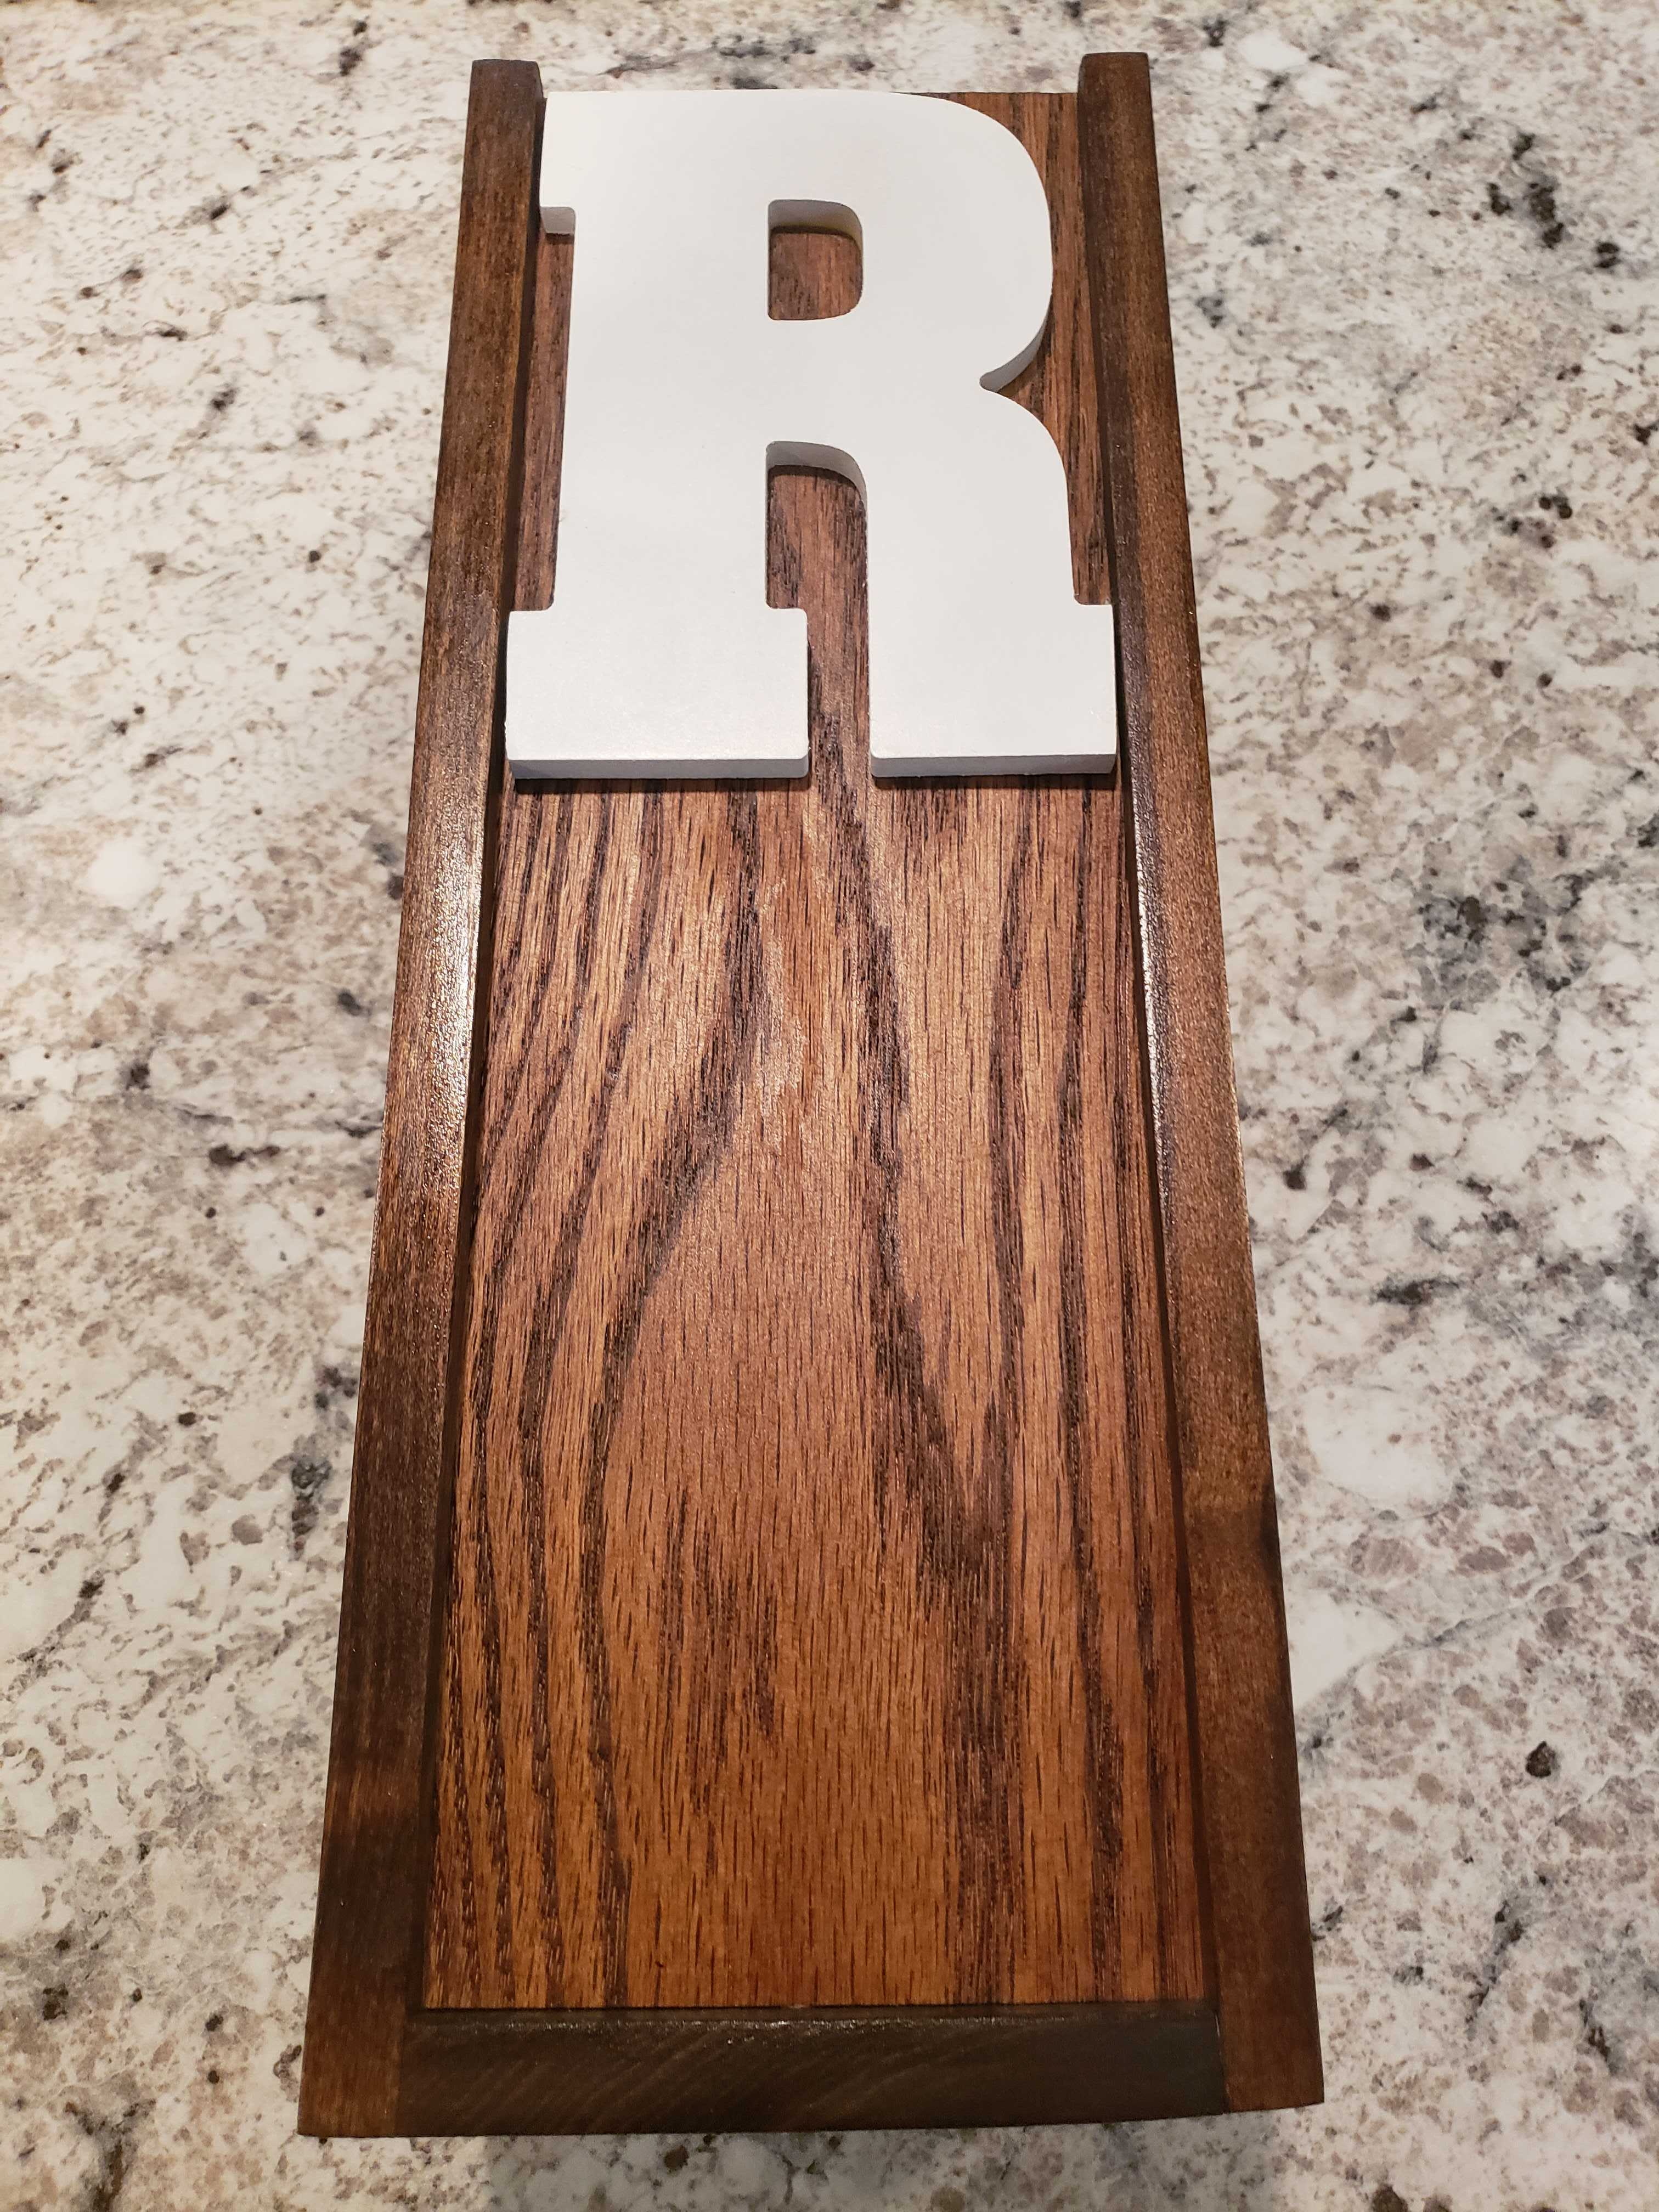
Wine Box
Having learned about some other types of joinery and having a wedding coming up, I decided to build a wedding present. In this case it would be a wine box. The goal was to not just gift wine in a fancy box, but to create something that could be displayed in their house. I originally thought I was going to use dove tails to make this box, but after some practice, I was not confident in my ability to use that technique and get the wine box done in time. Instead, I used a simple box joint, which worked pretty well.
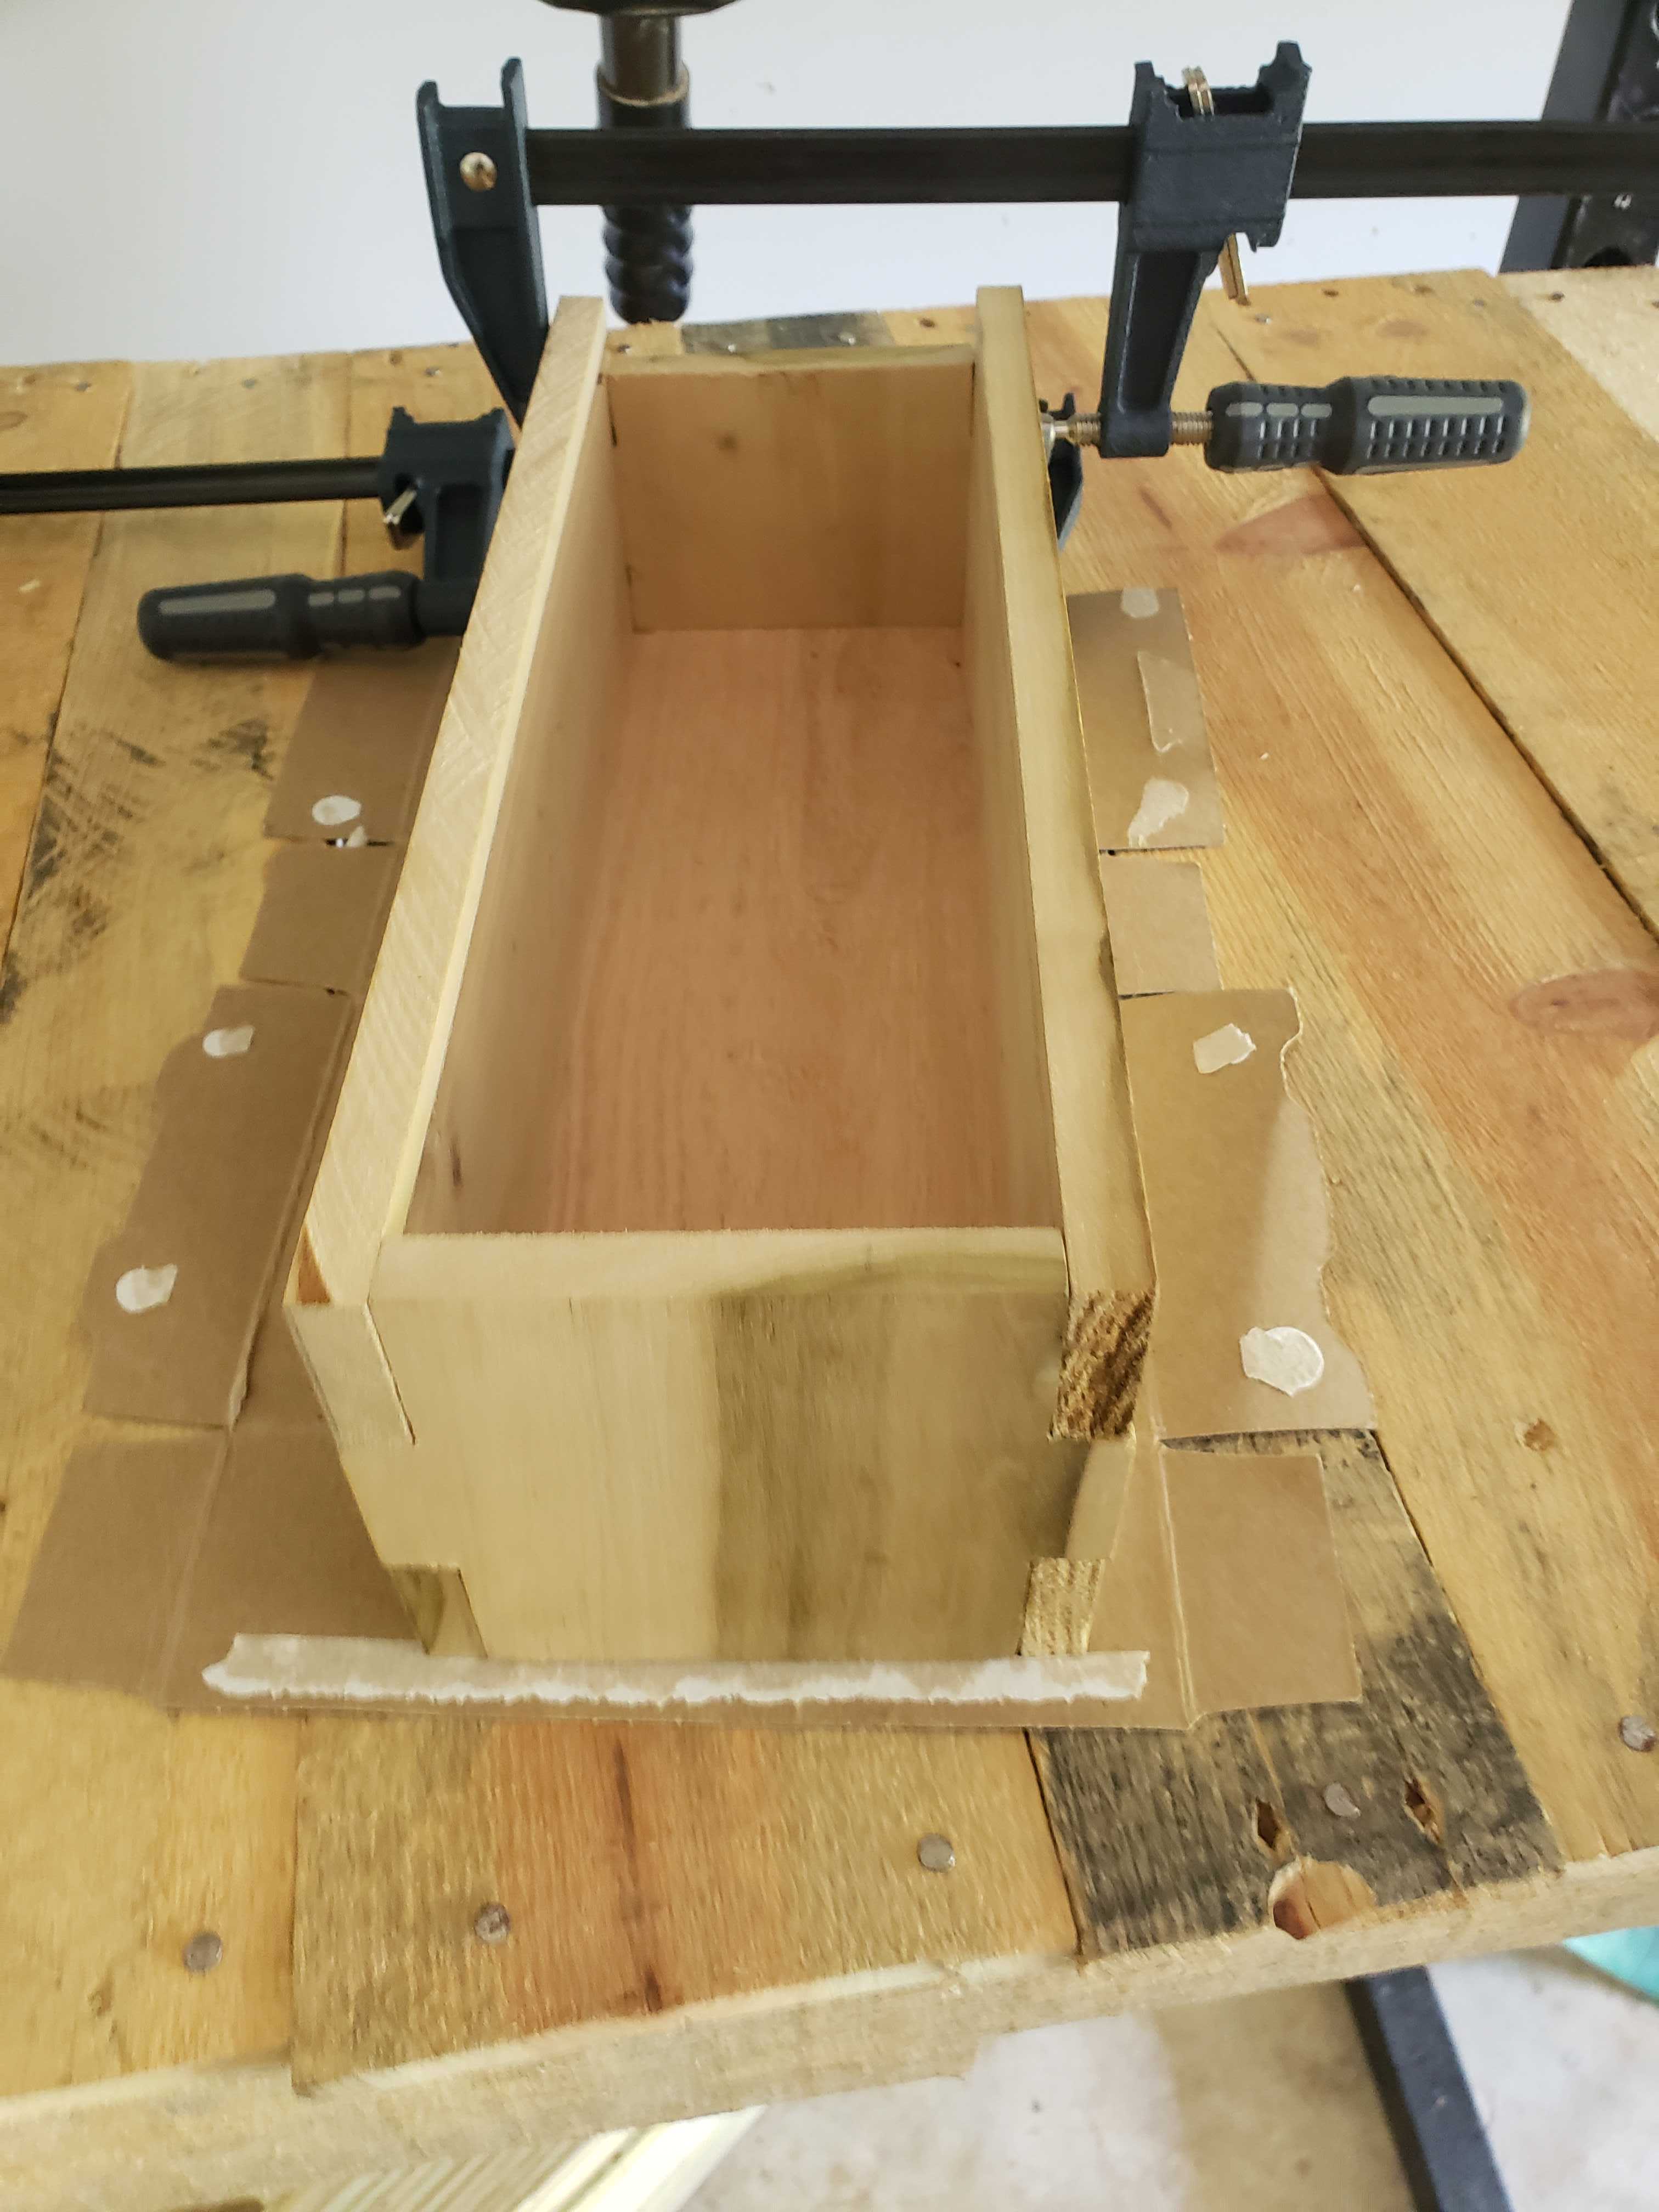
After cutting all the box joints and routing a place for the lid and bottom, I glued the box joints together, even though they fit tightly.
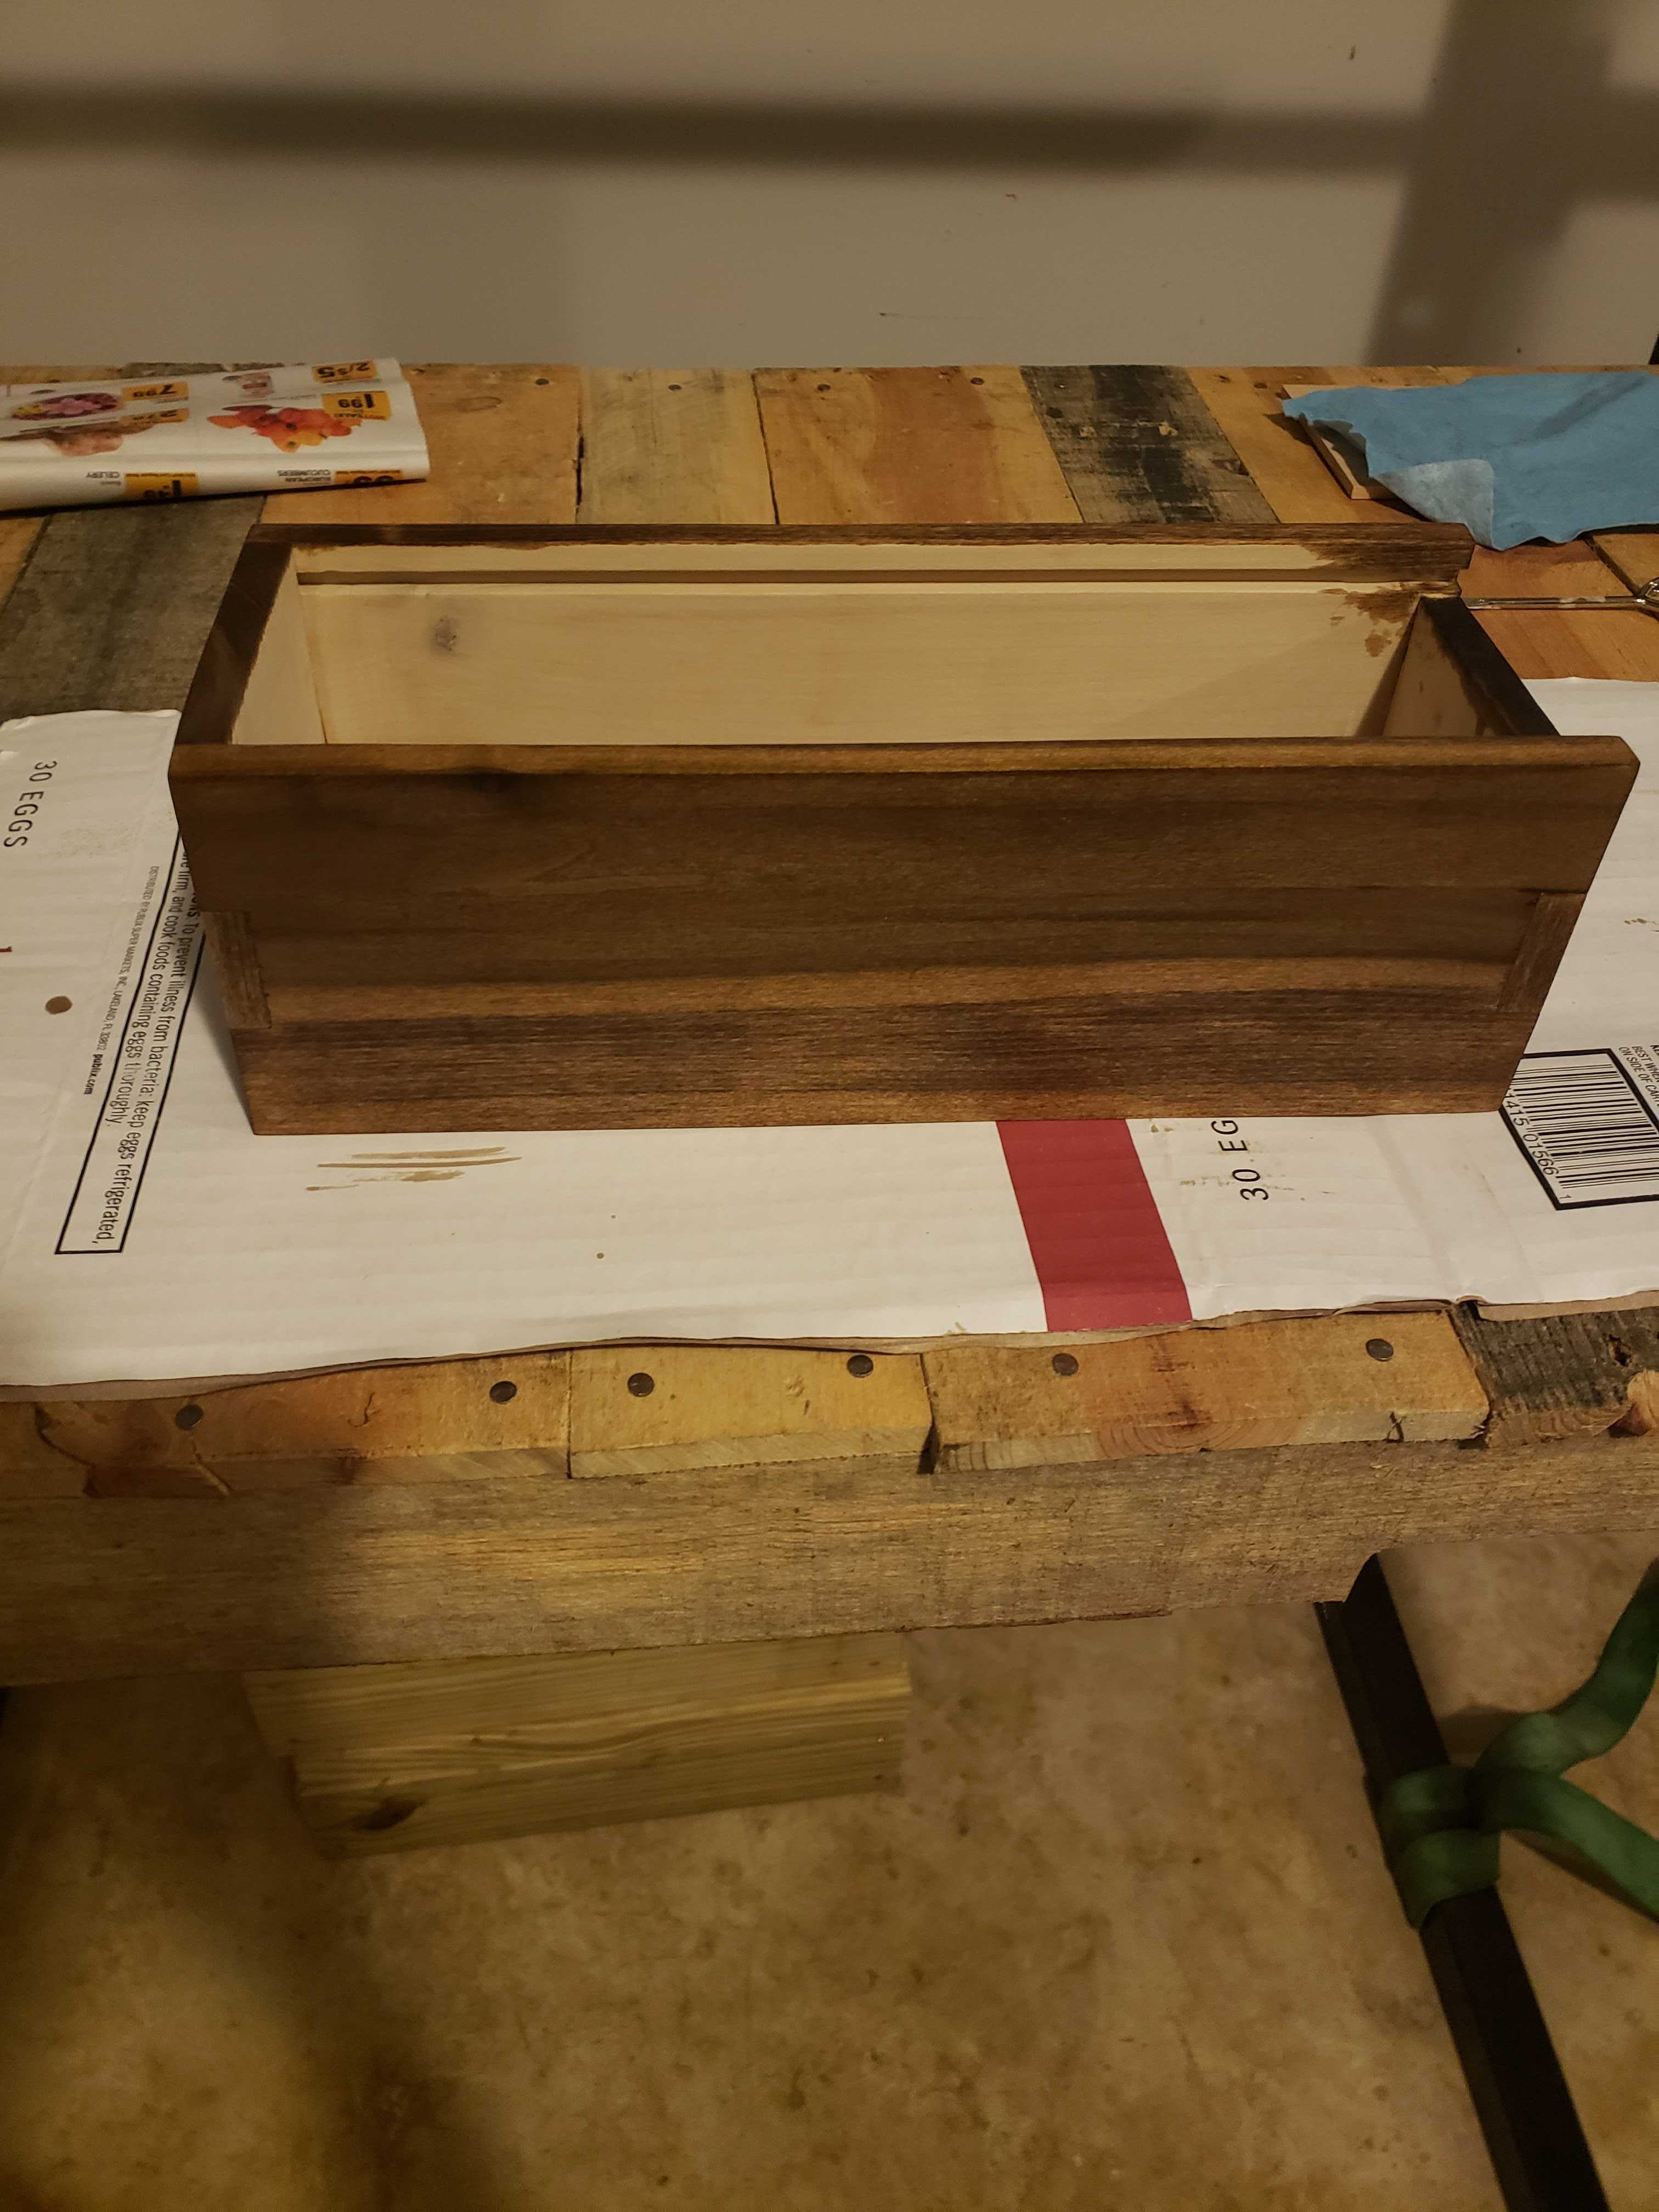
I used a stain that brought out as much of the grain as possible.
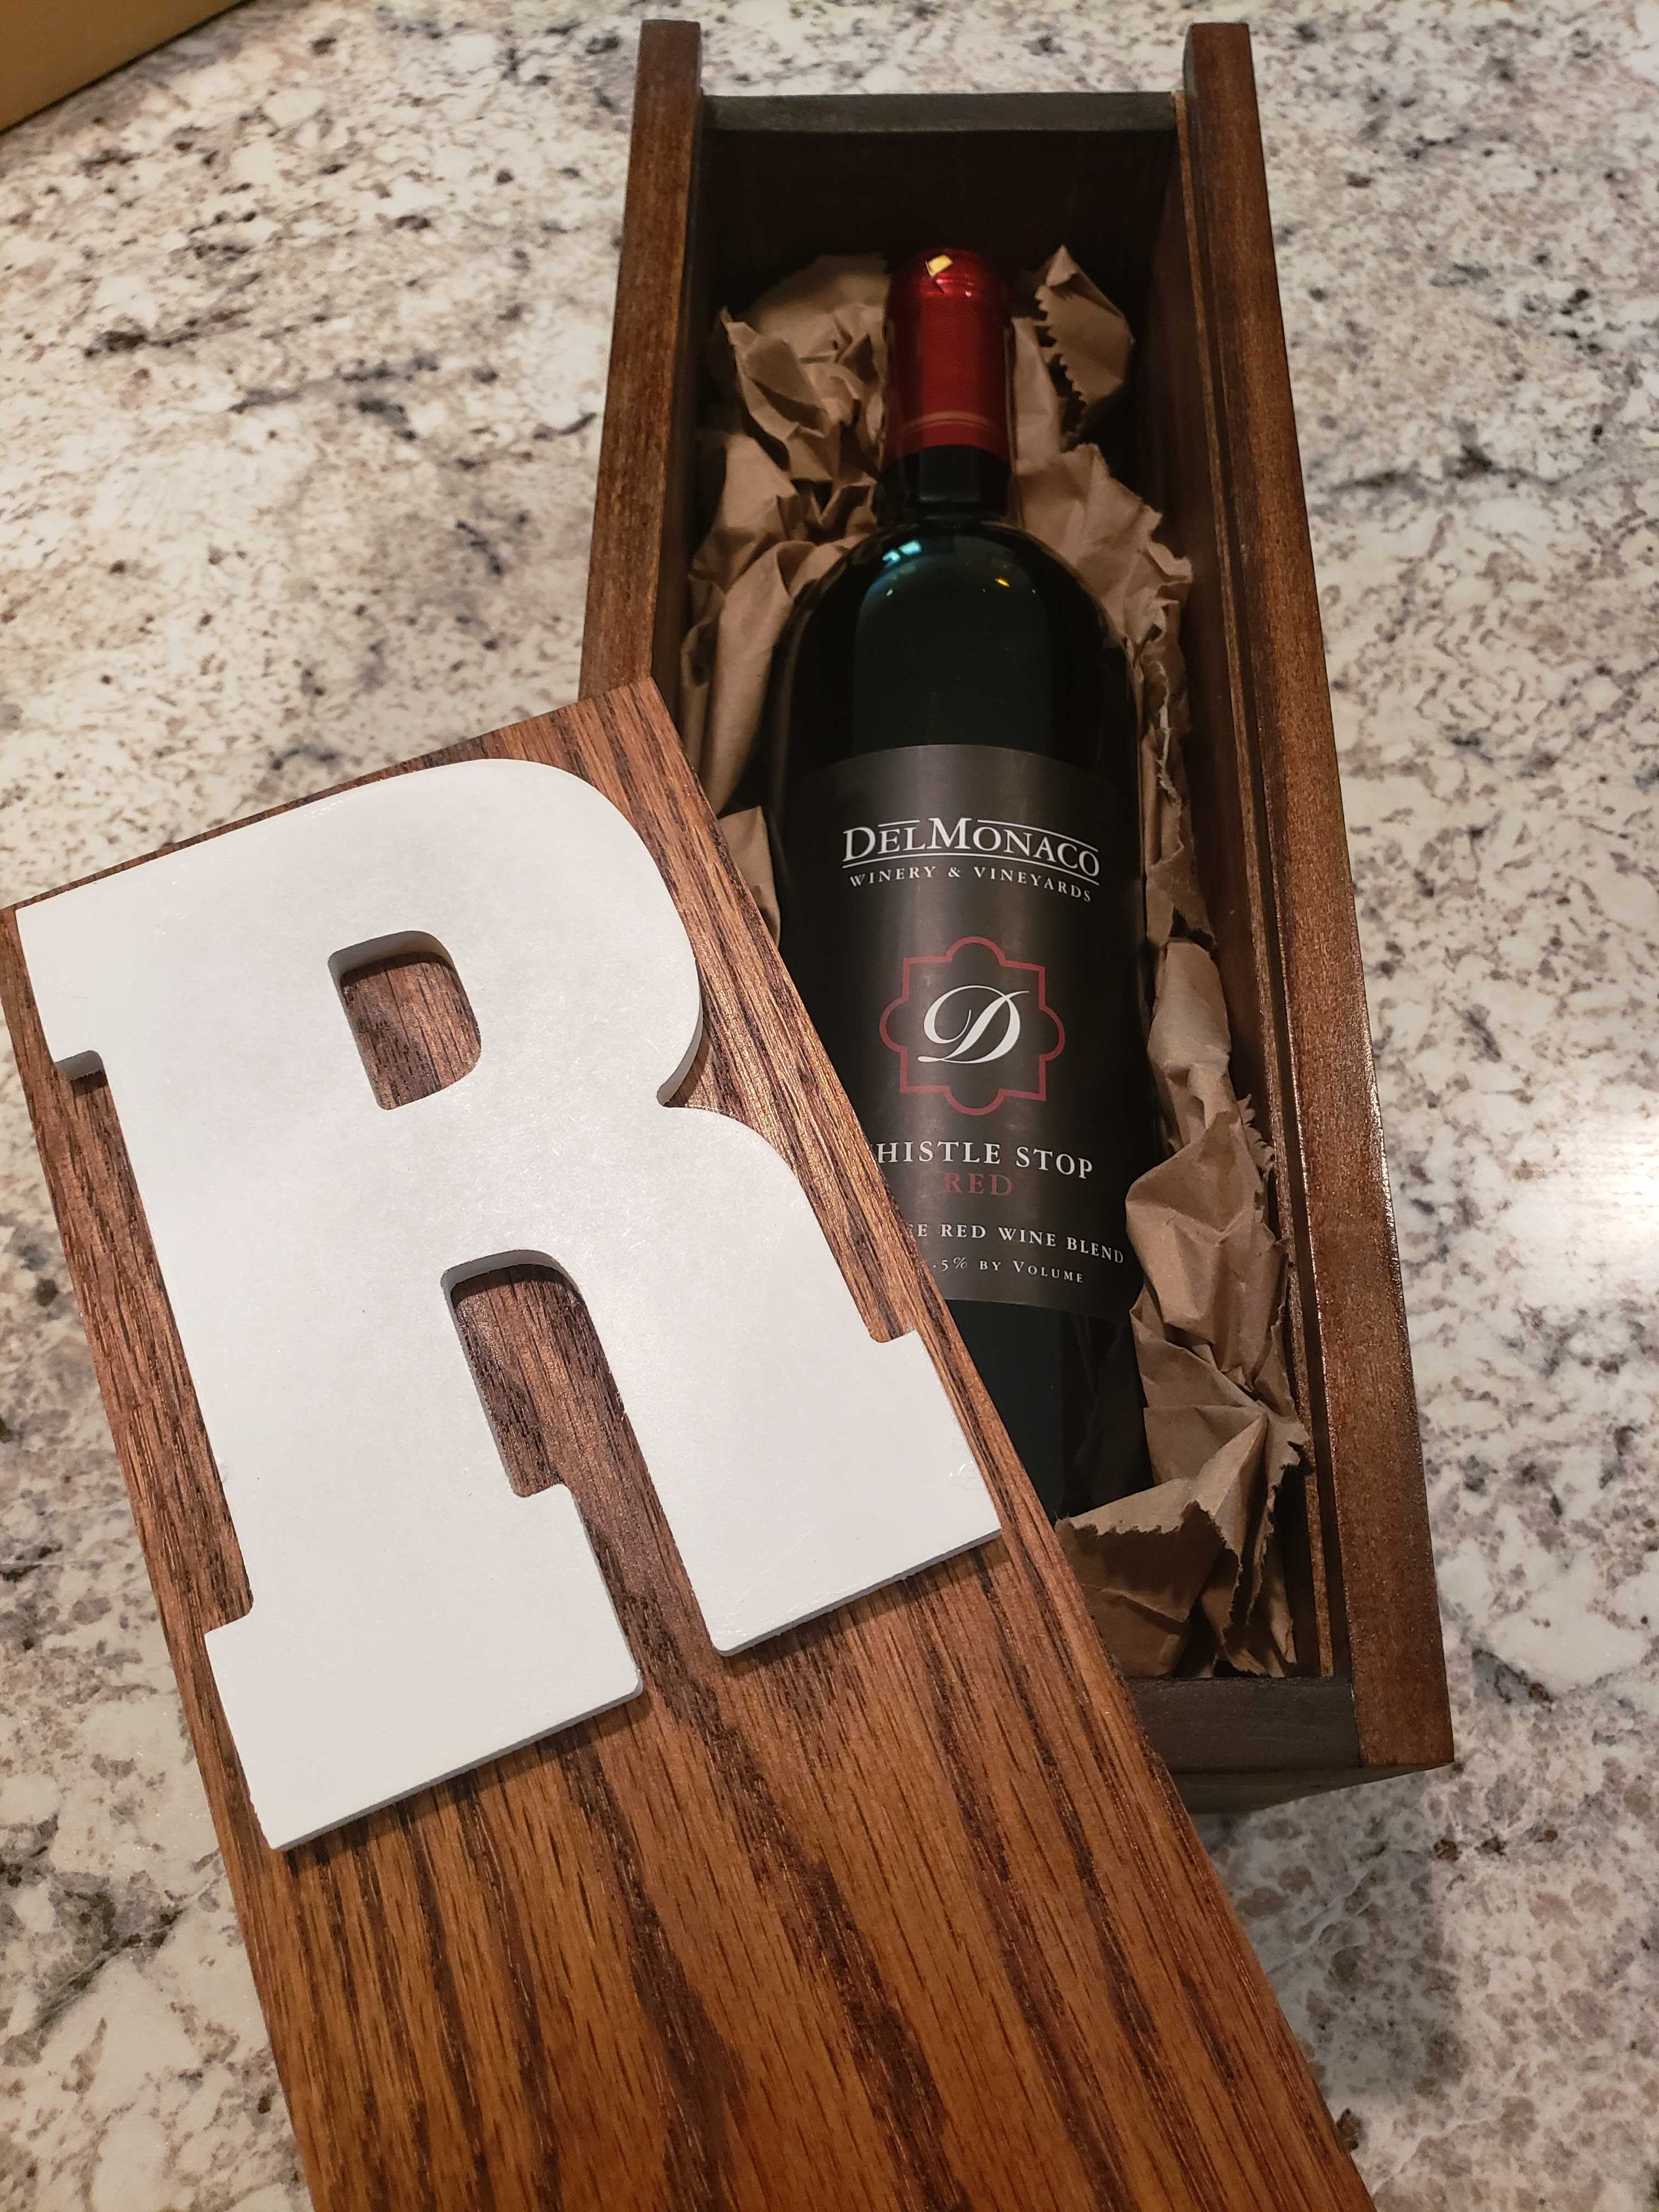
The final box came out well and we hope that they enjoyed their gift as much as I enjoyed making it.
Farm House Barn Wood Table
My final project for the year, was a large farm house table. My wife has always wanted a large table and it seemed easy enough to make. But, when we were able to make the top out of her grandpa’s barn wood, the project got a little bit bigger.
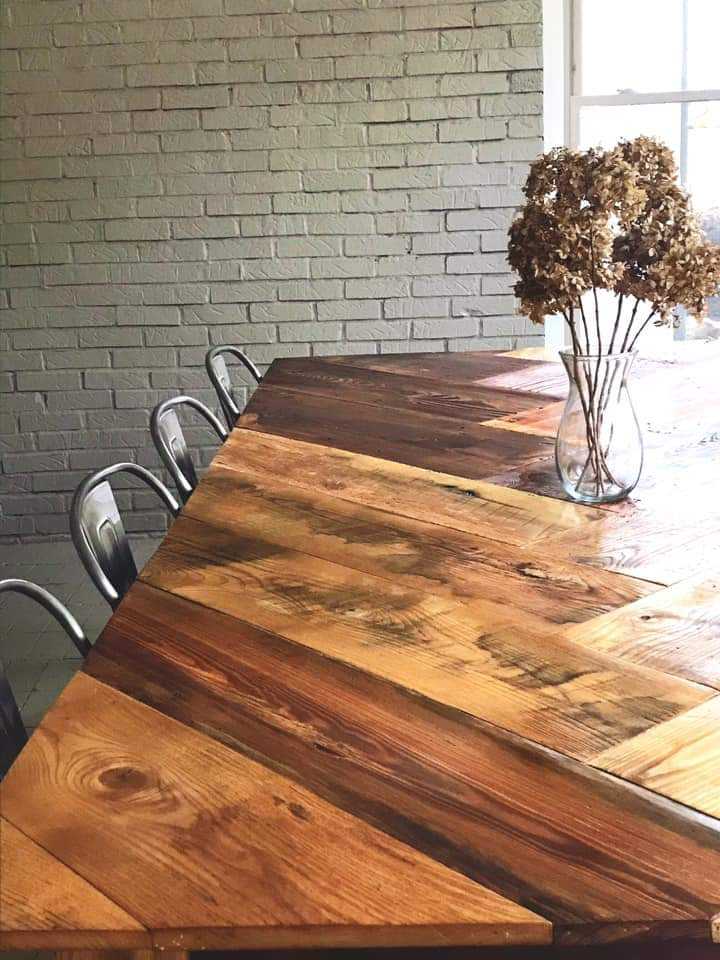
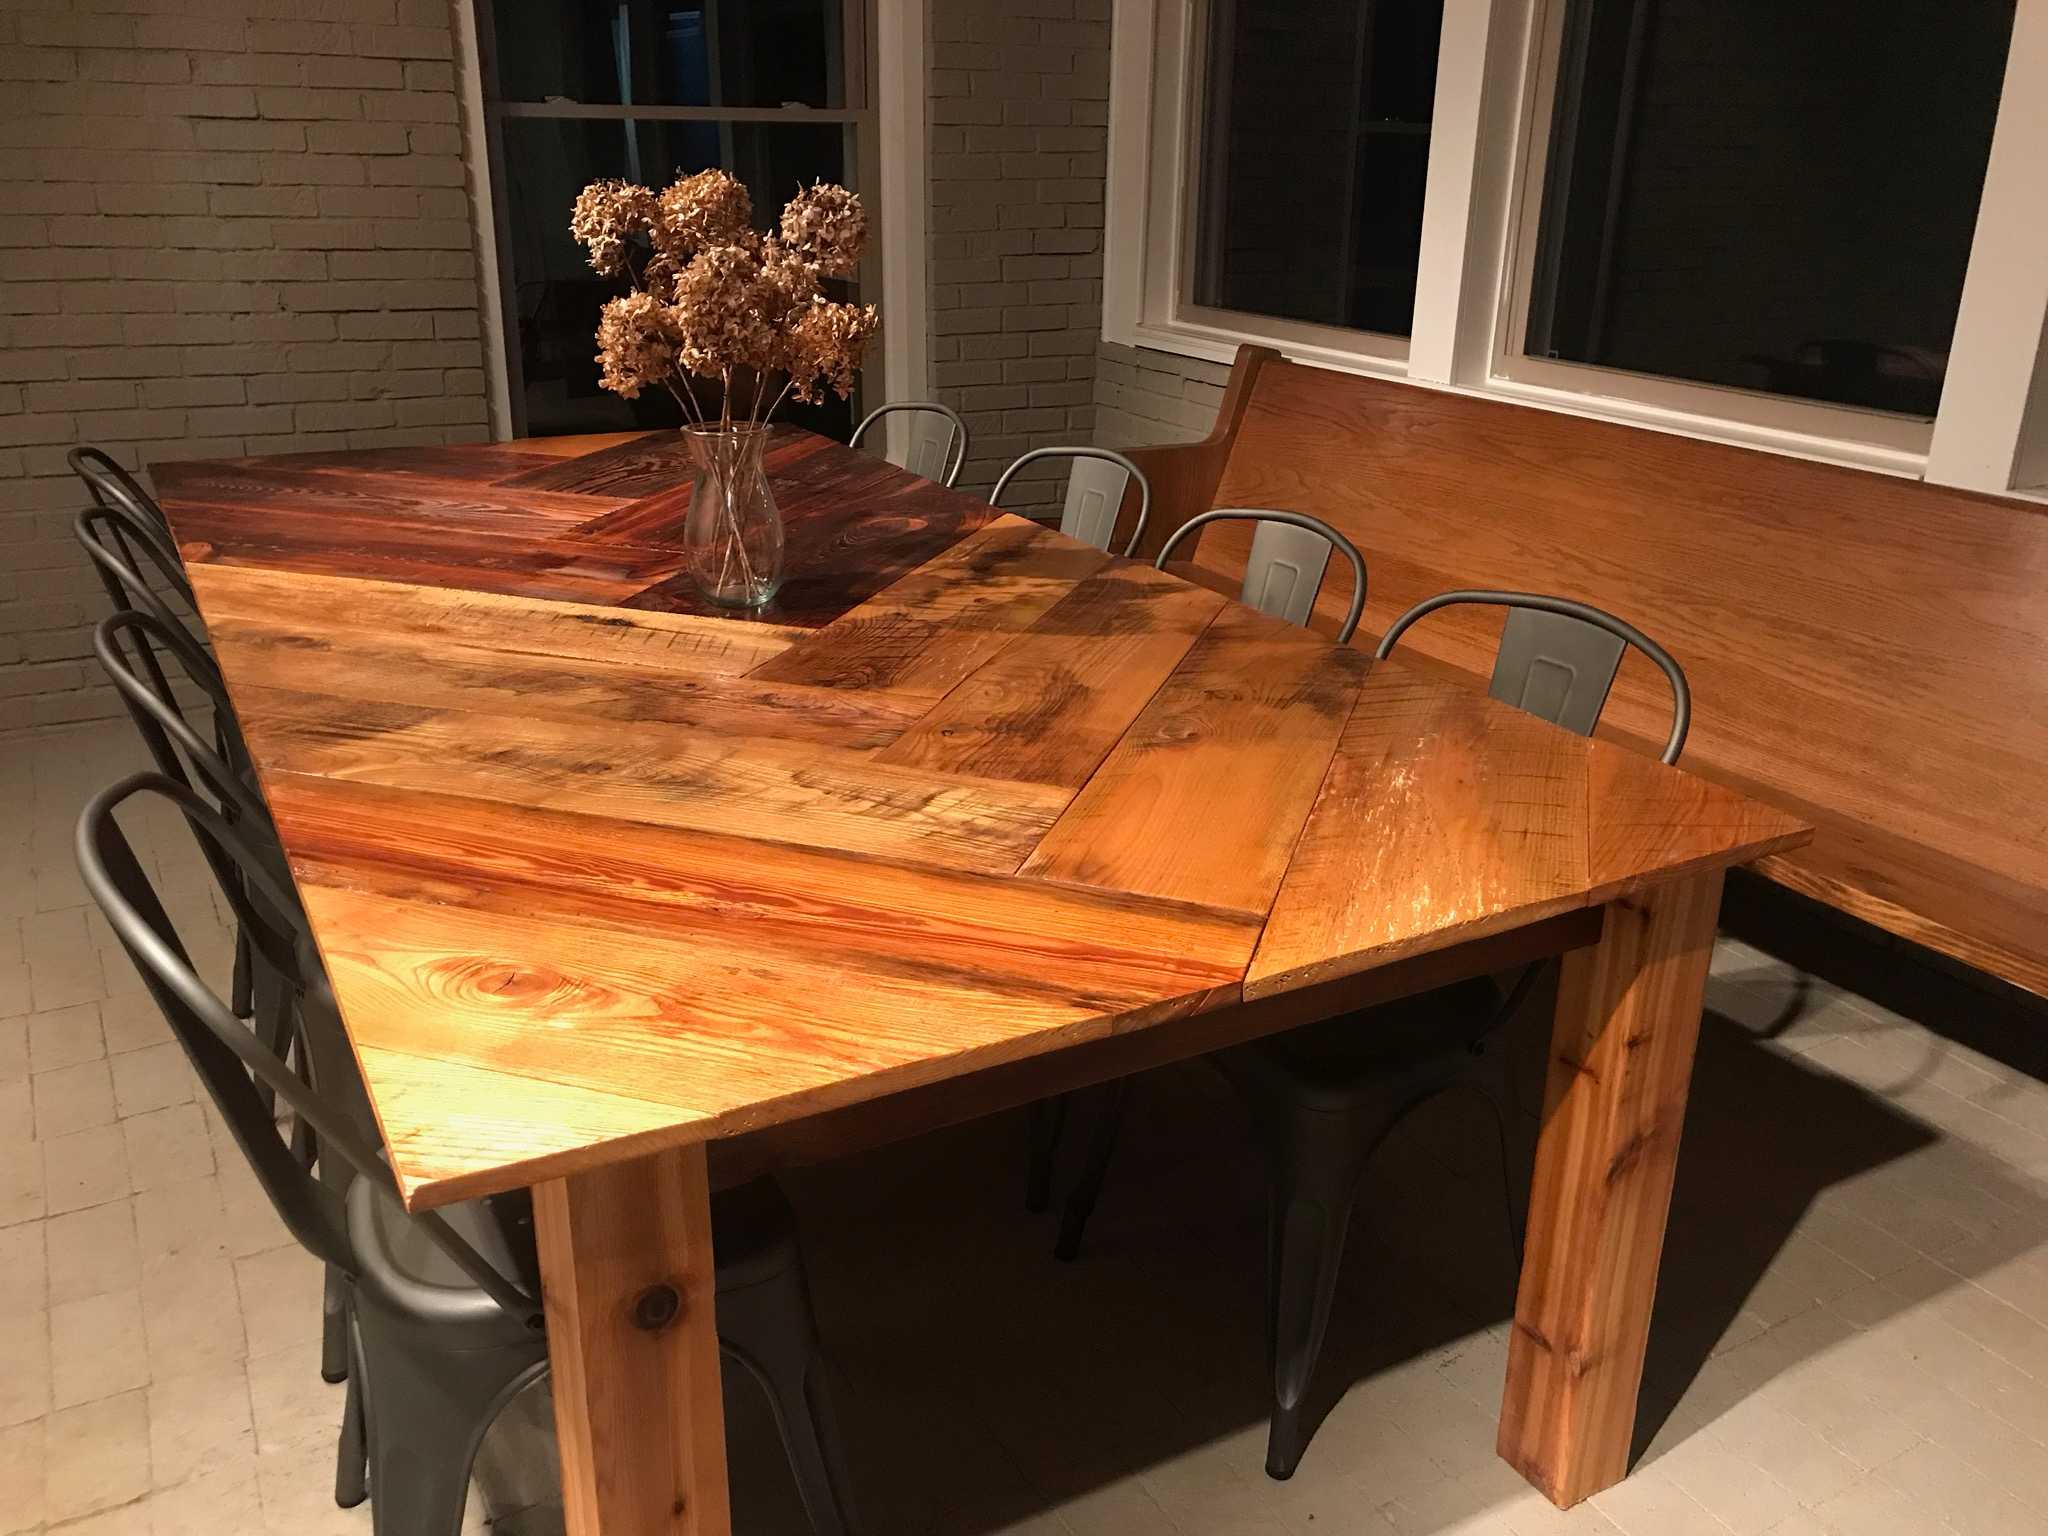
The barn wood was easy enough to get from his old barn, but cleaning and planing the wood proved to be a larger effort than I imagined. On top of using barn wood for the top, my wife requested for the top to have a herring bone pattern. I was very timid to start the project due to the type of wood being used and how little room for error existed. If enough errors were made, we’d have to make a trip back to her grandpa’s farm to gather more barn wood.
I started by planning the top of the table. To do that, I bought an 4’ x 8’ x .25” piece of plywood and drew a line down the middle to prevent skew towards one side. I wanted the middle of the herring bone to remain in the center of the board. The general rule of thumb I found was that the last quarter of the board needed to intersect with the middle line. Because of the different widths of boards, having the last quarter of the board on the middle line was not always possible. So I used tape with a middle line drawn to help with approximating the middle line.
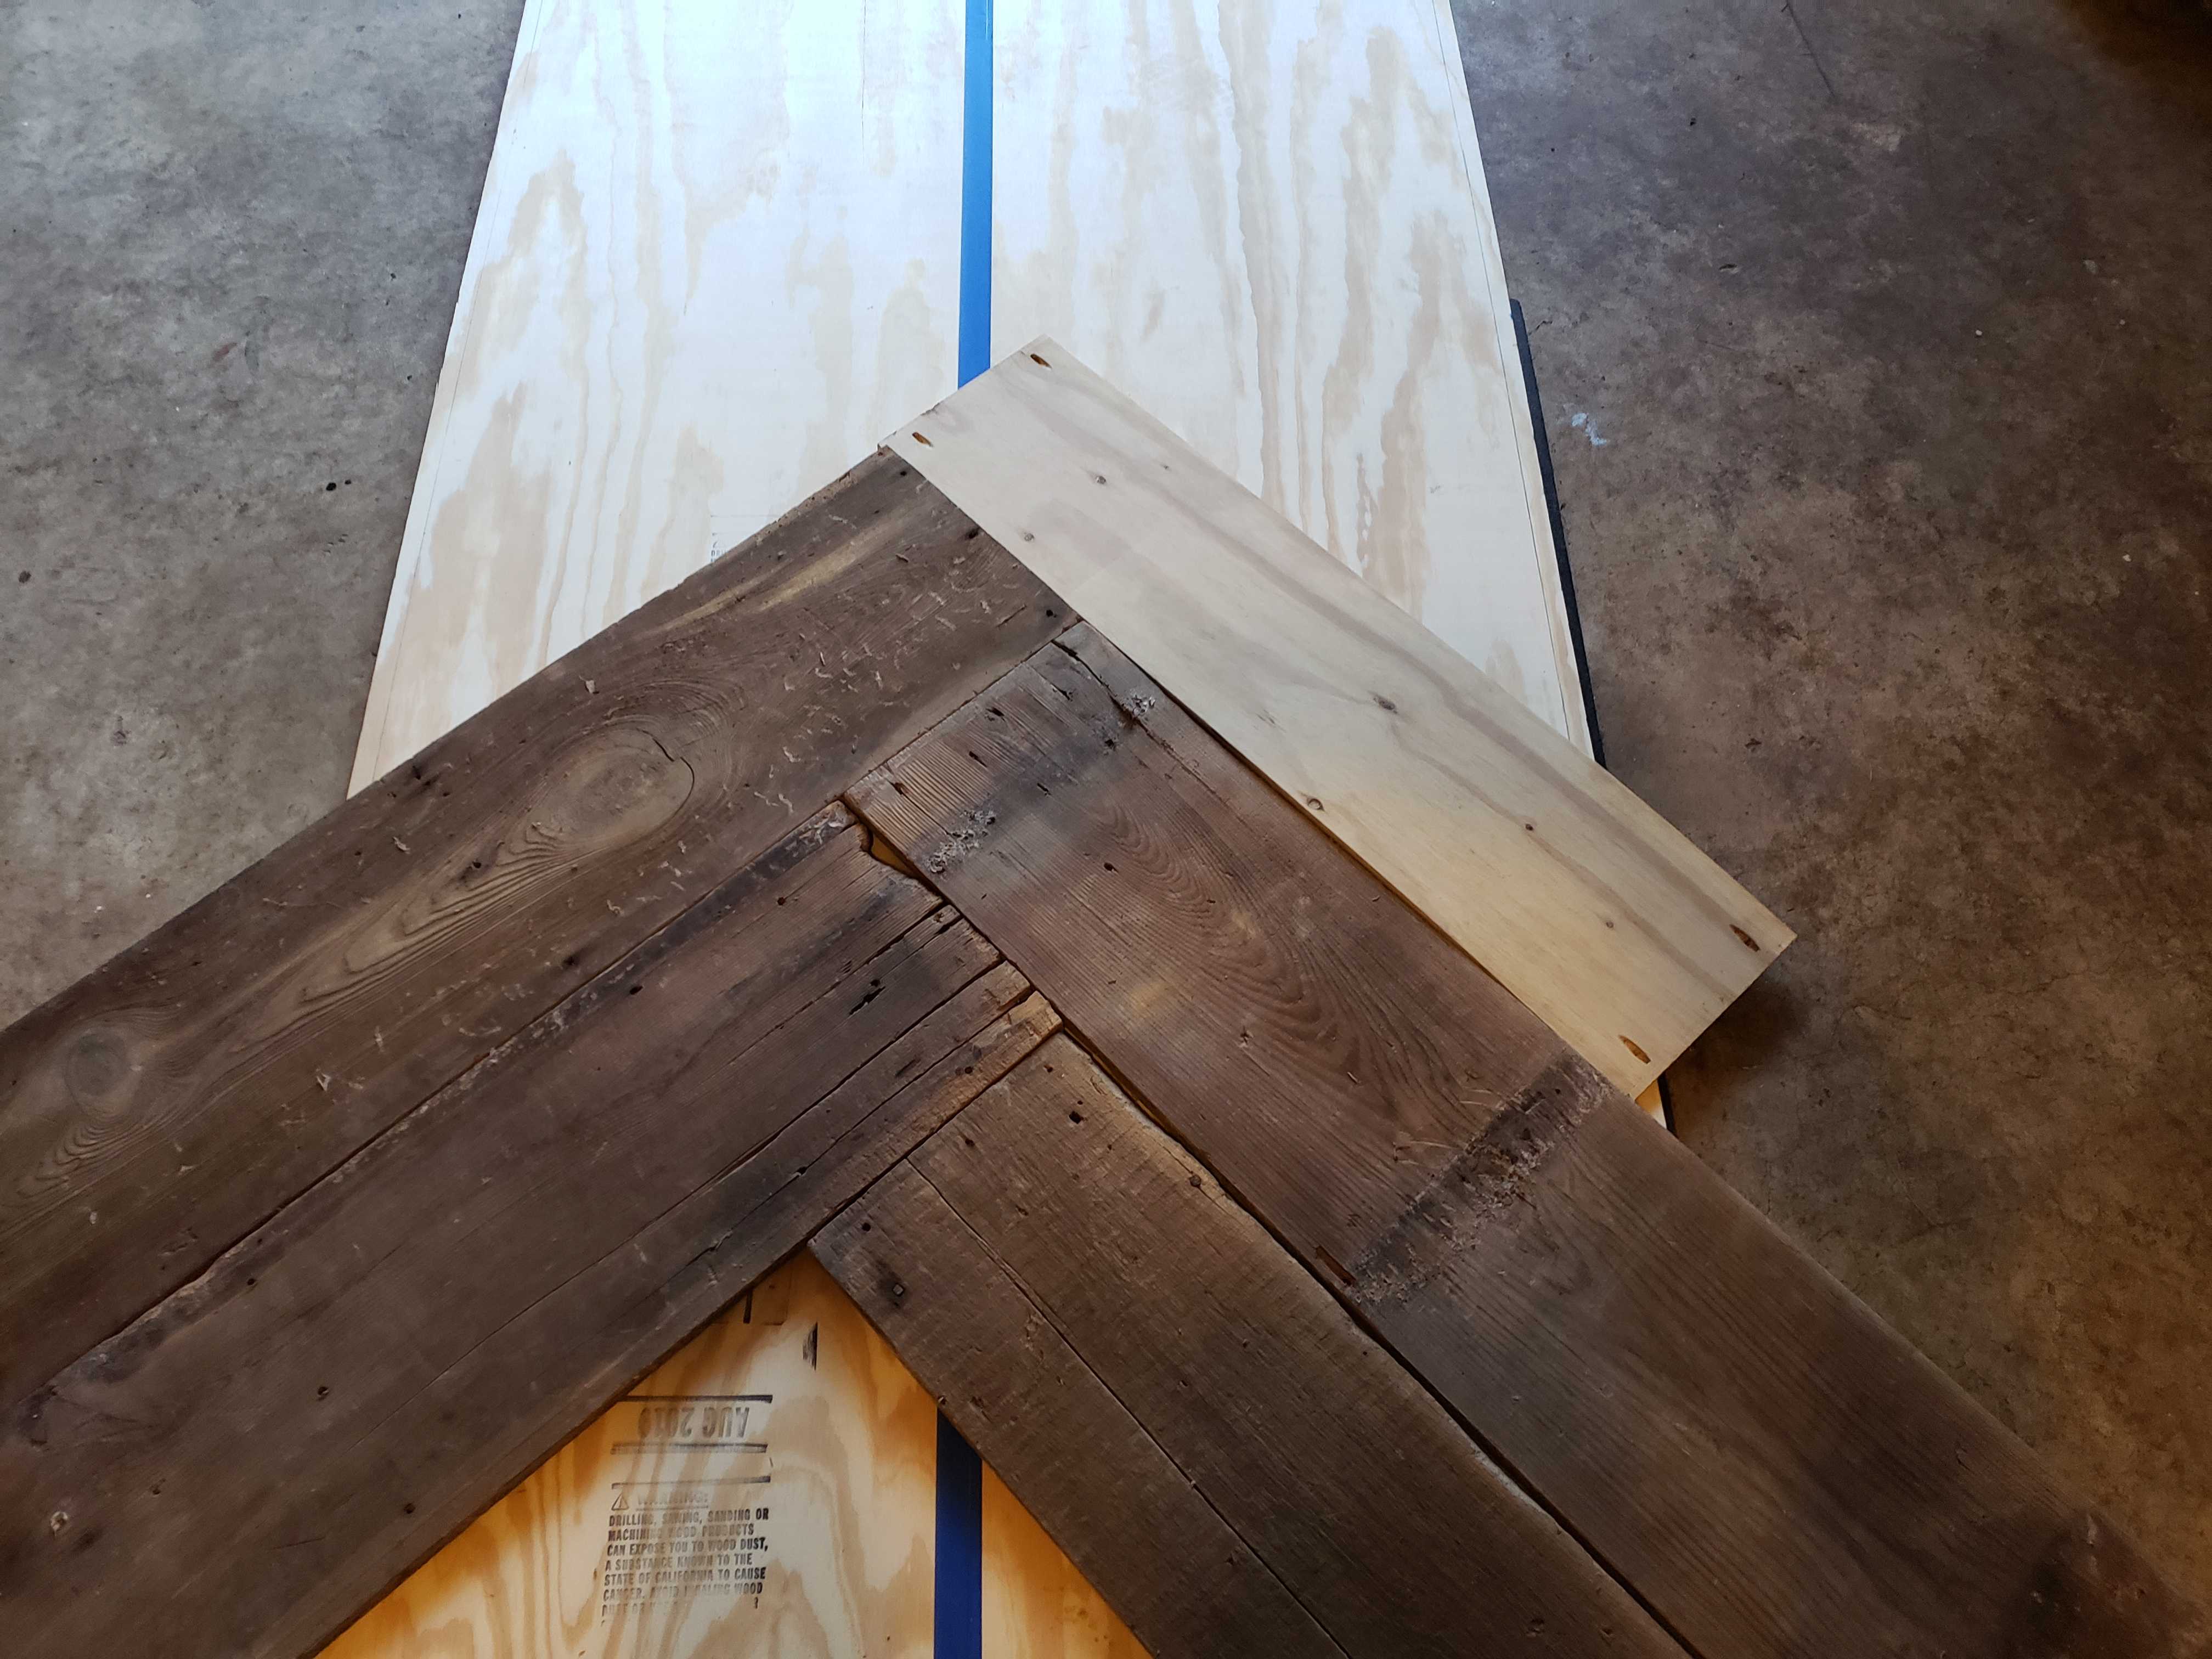
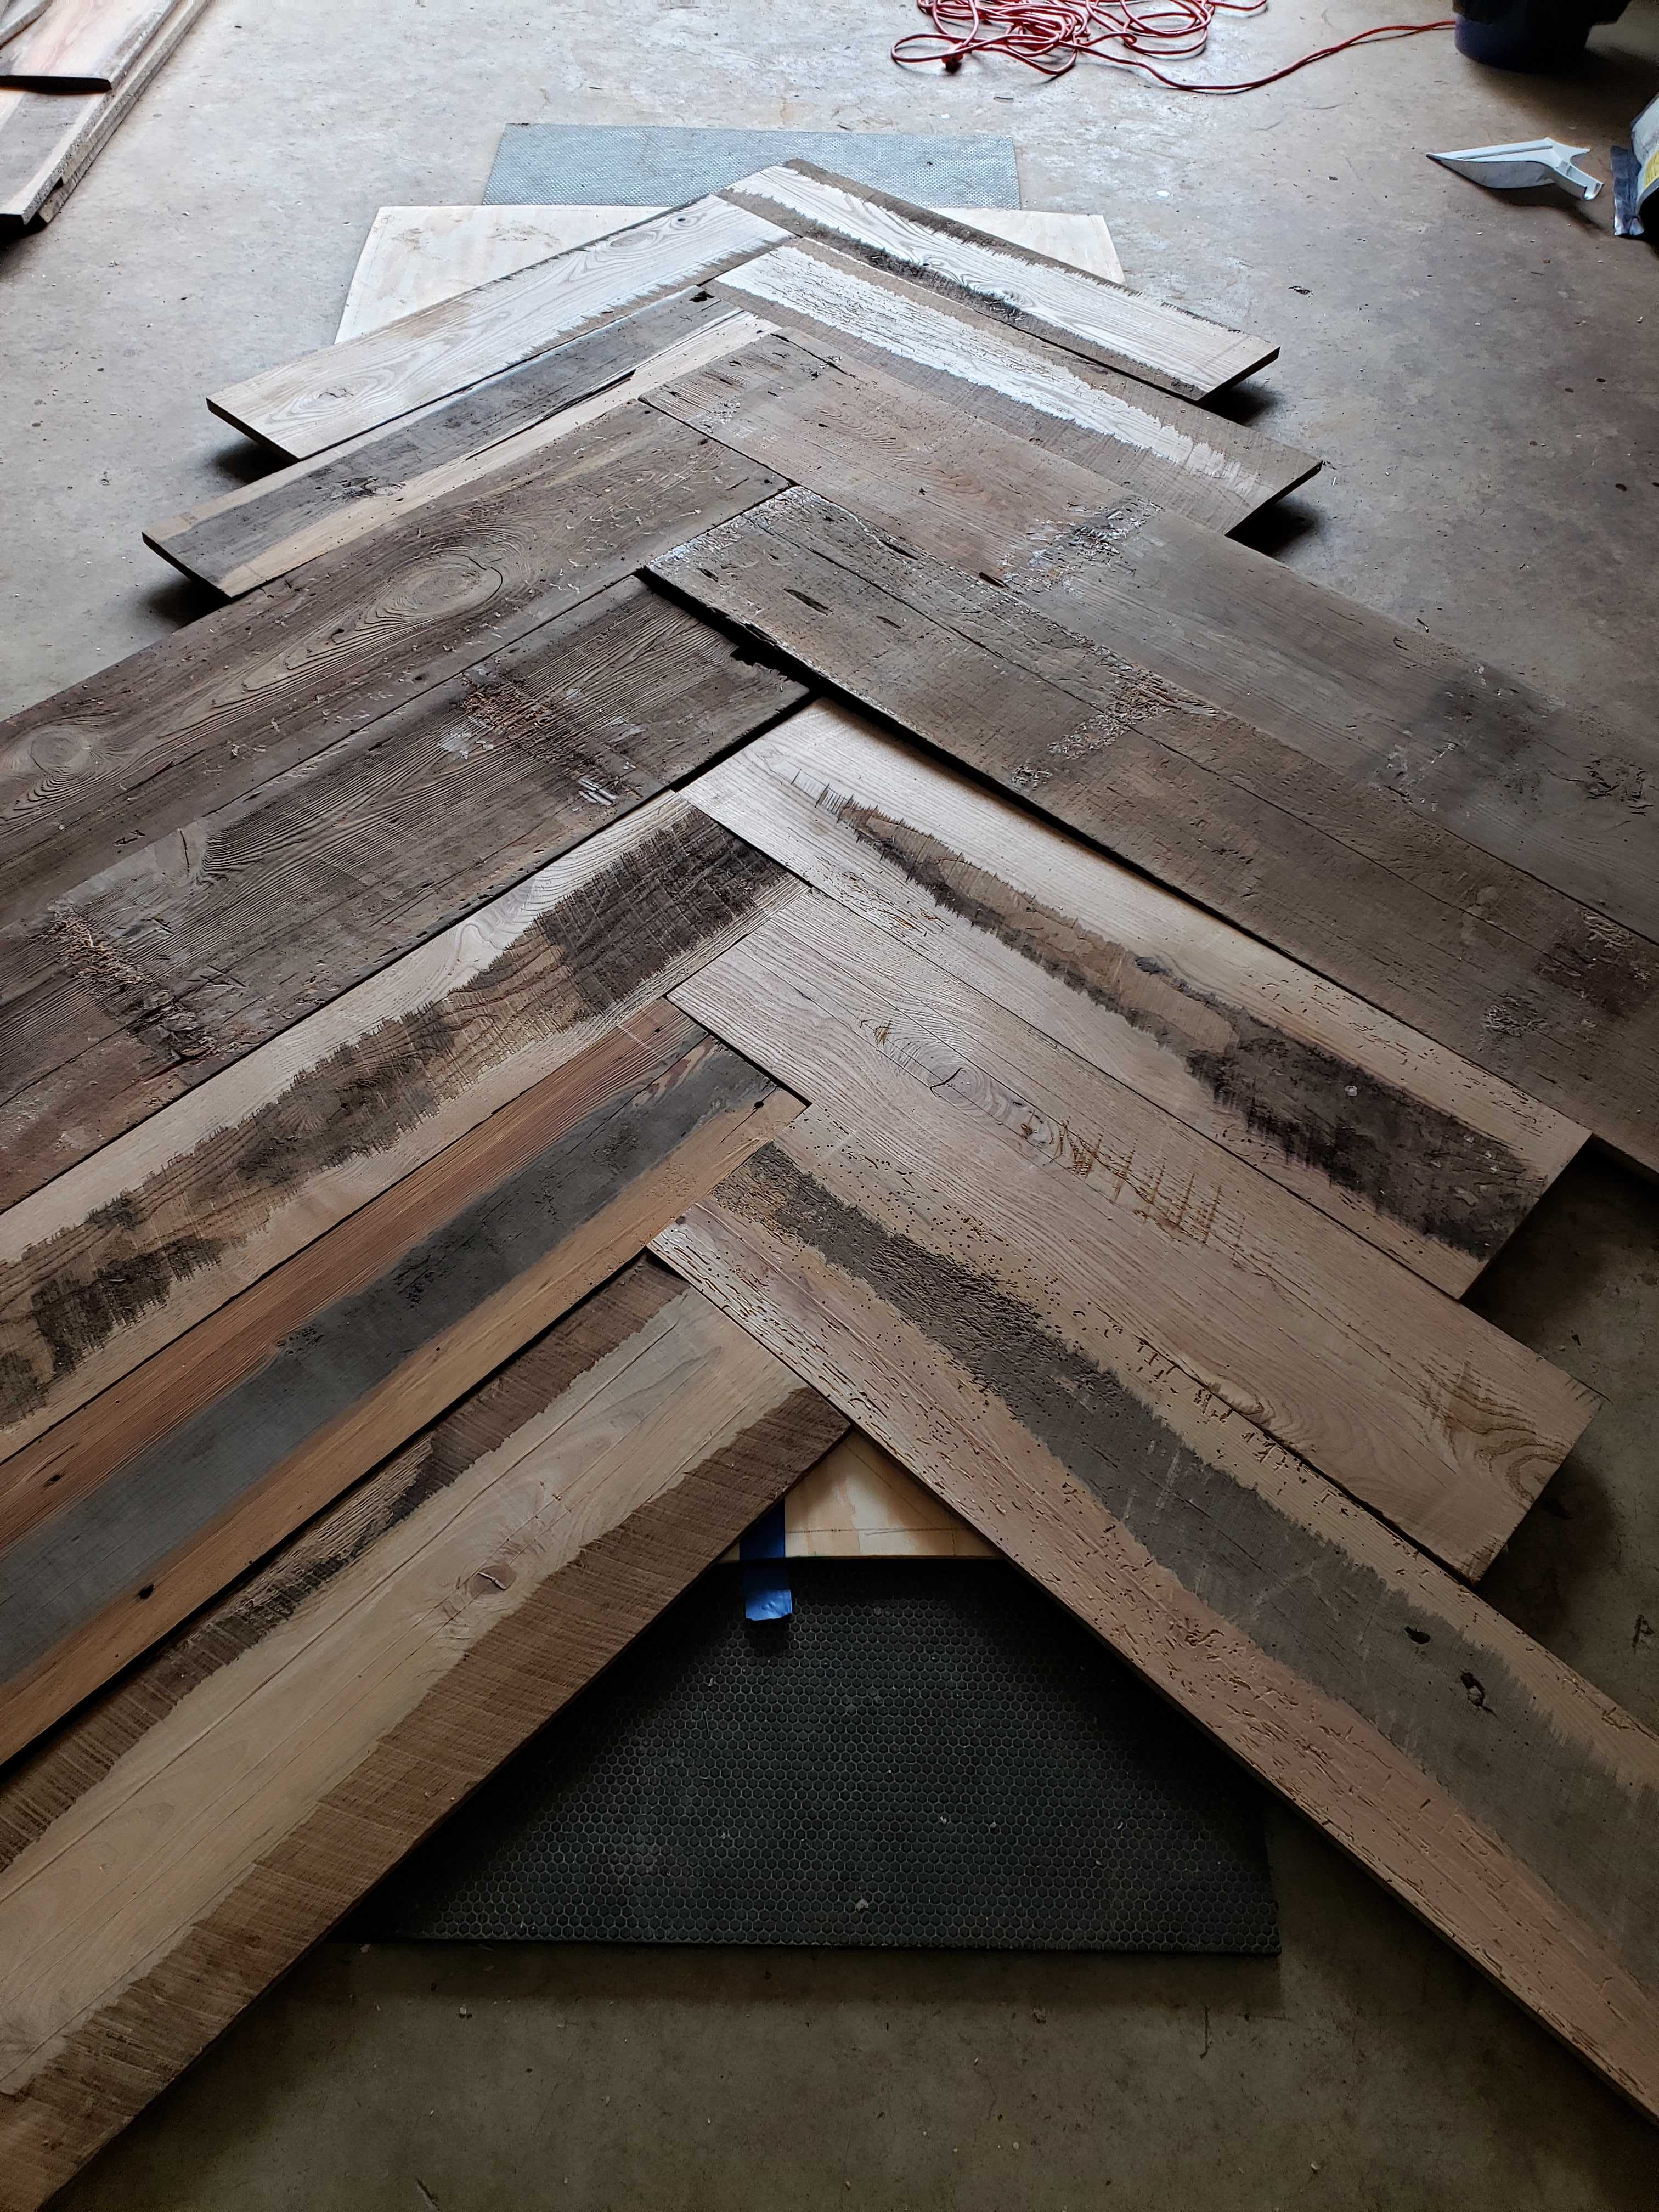
After I had a rough idea of how I wanted the table organized, I put up the plywood and barn wood and started on the base of the table. The base of the table was made out of fresh cedar. My thought was that the table top could travel from base to base, depending on what we wanted.
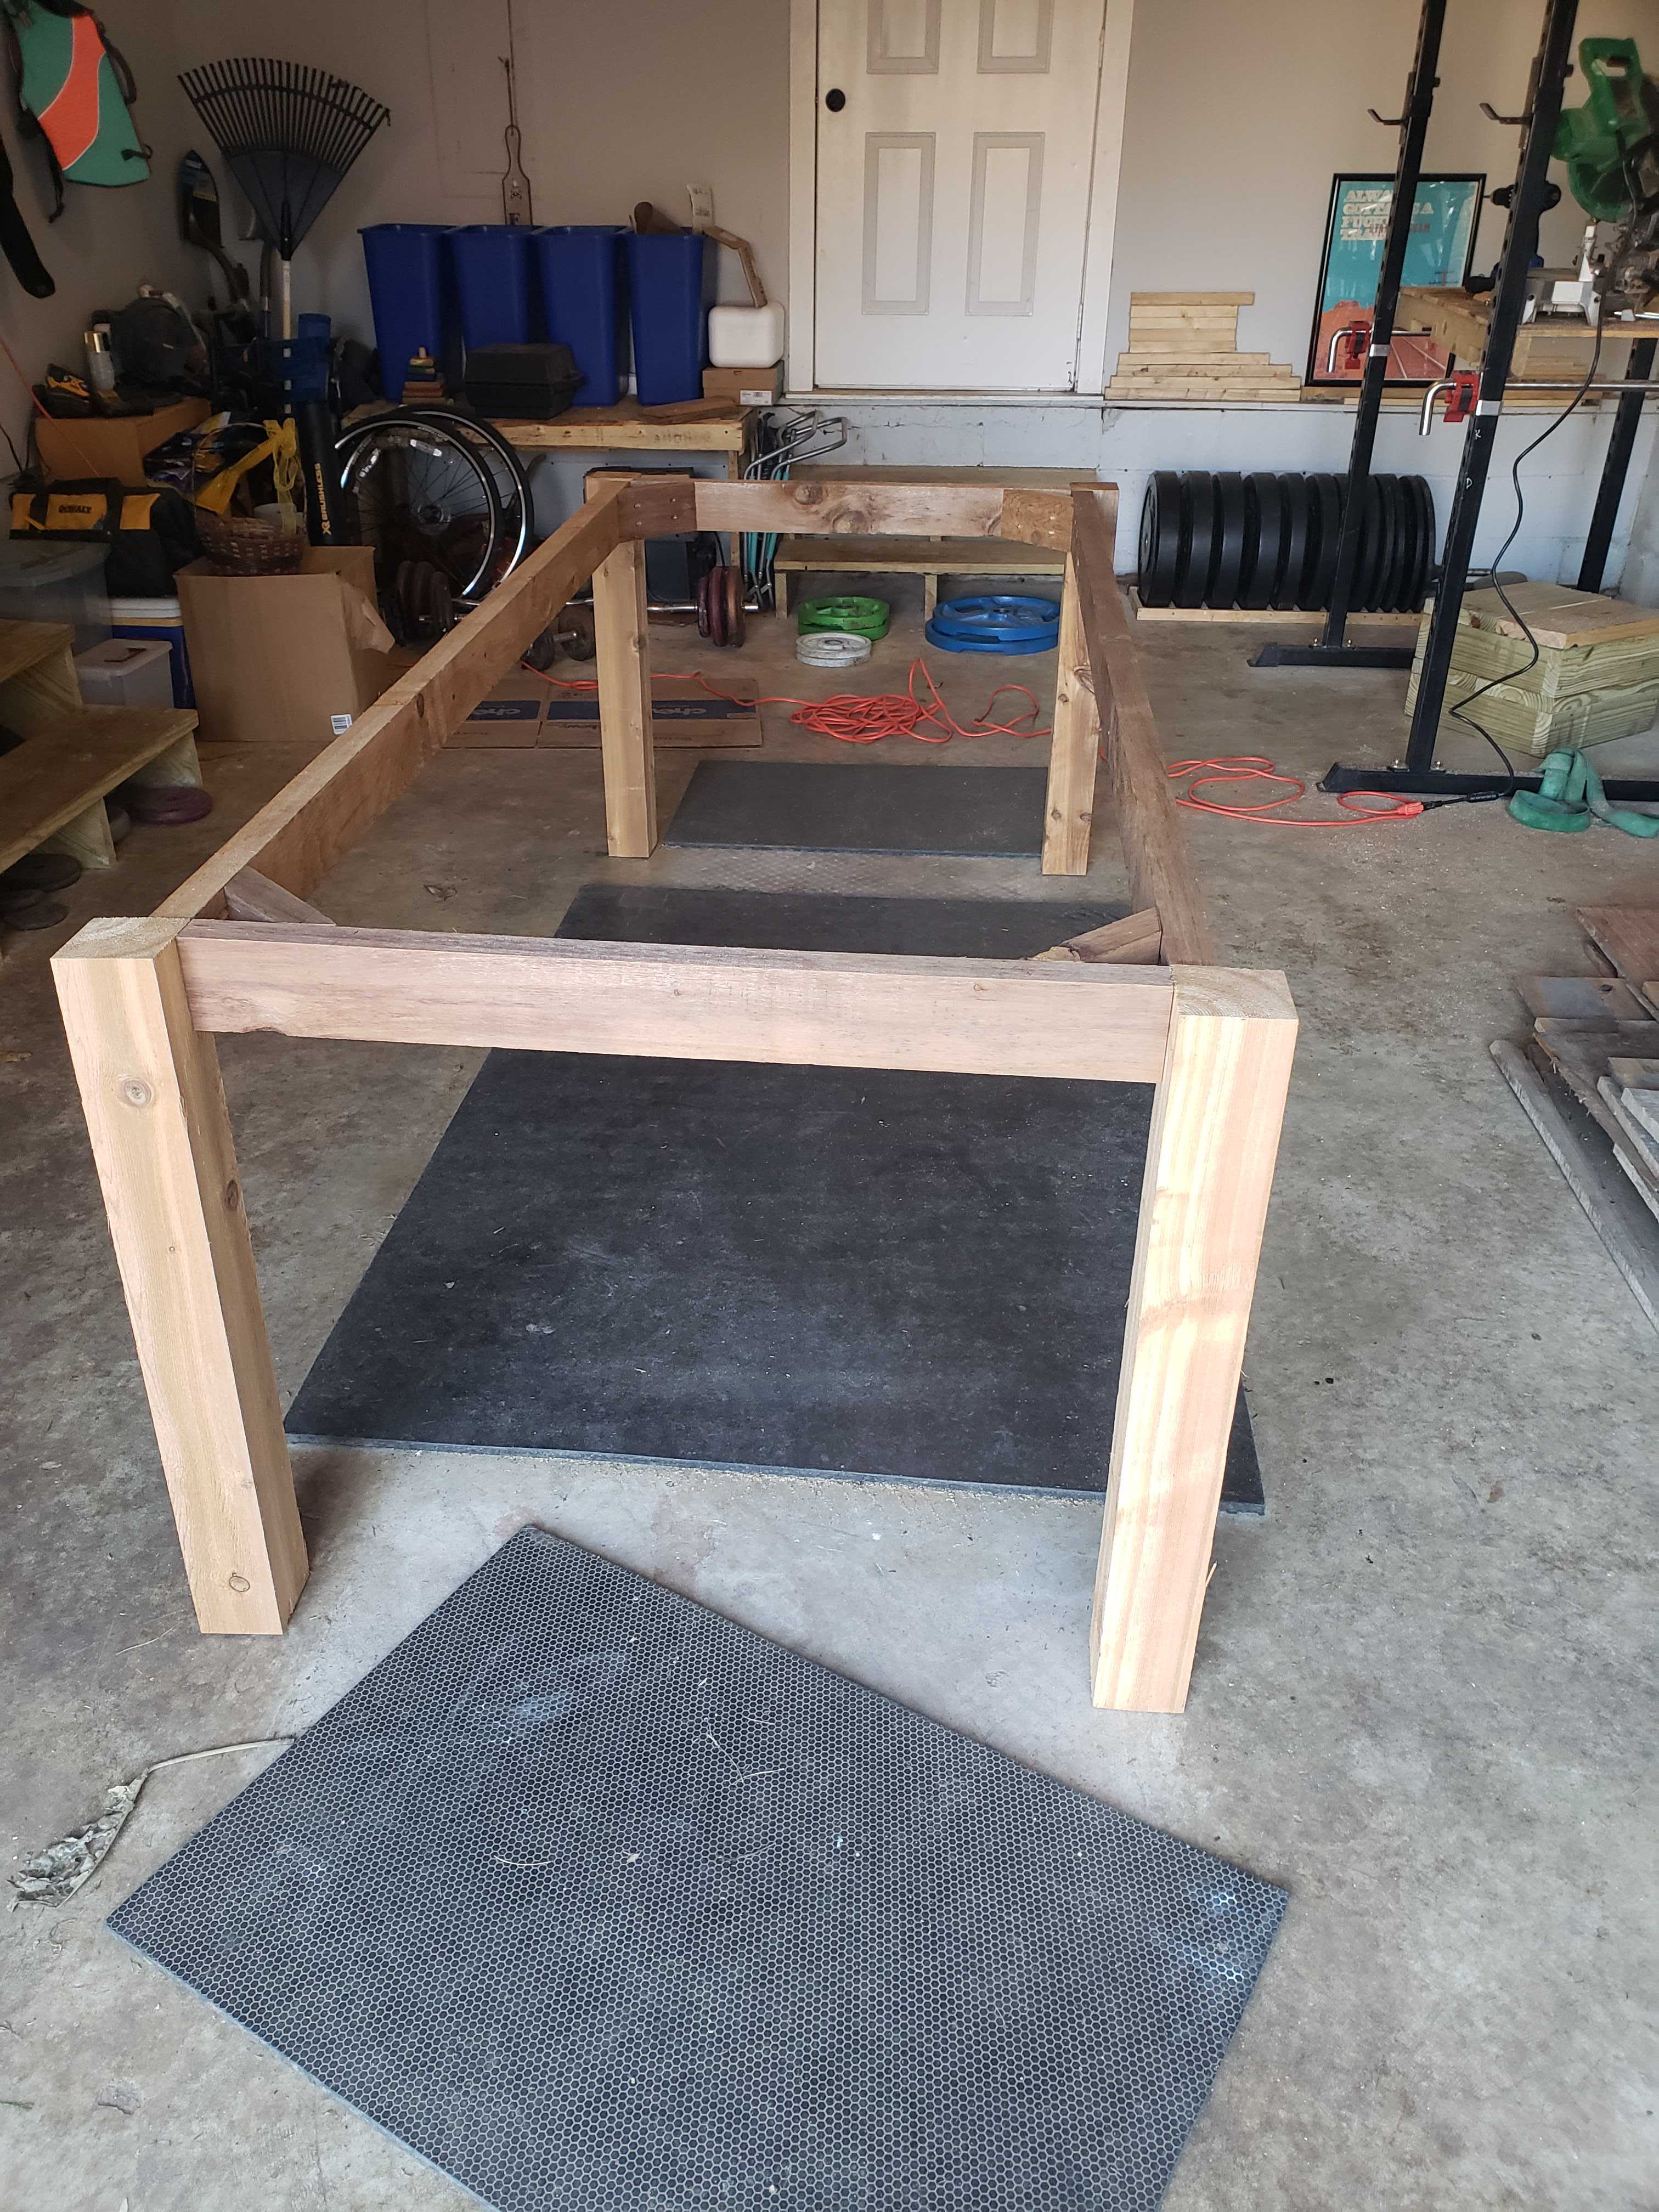
Once the base was made, I put the plywood on top and started planning the herring bone again, as I’d planed and trimmed the barn wood and I wanted to play with the different colors of the barn wood.
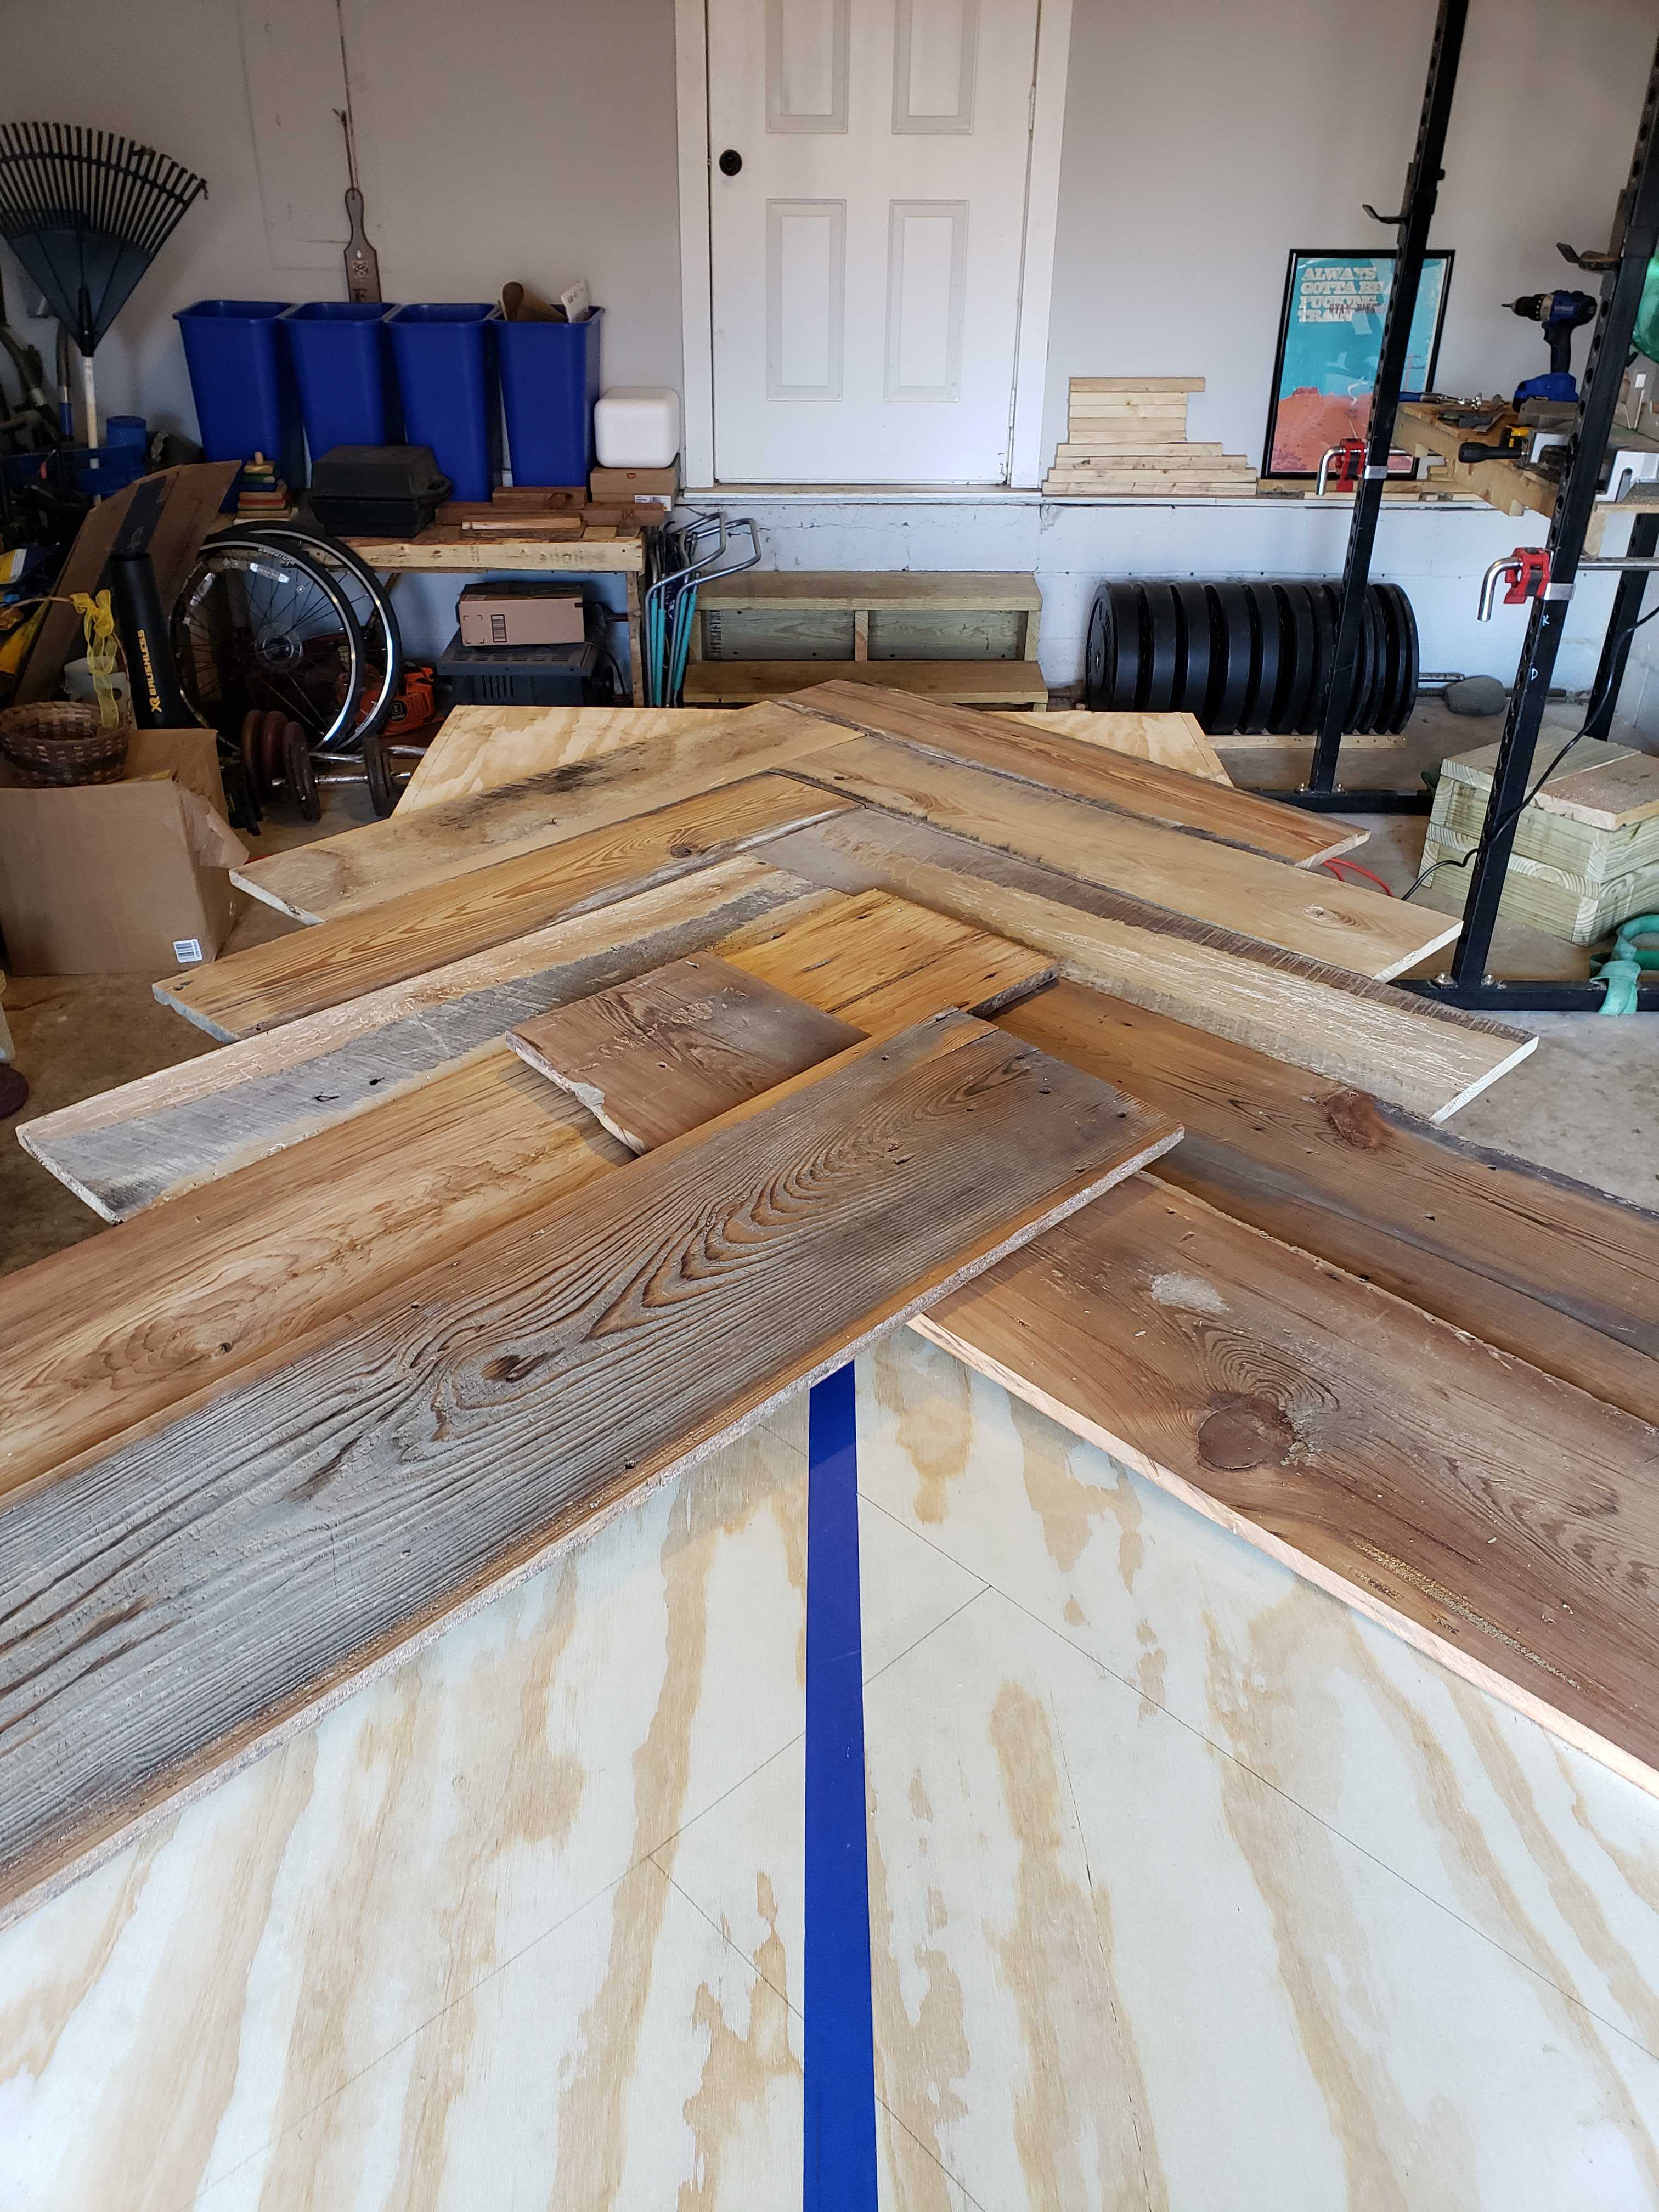
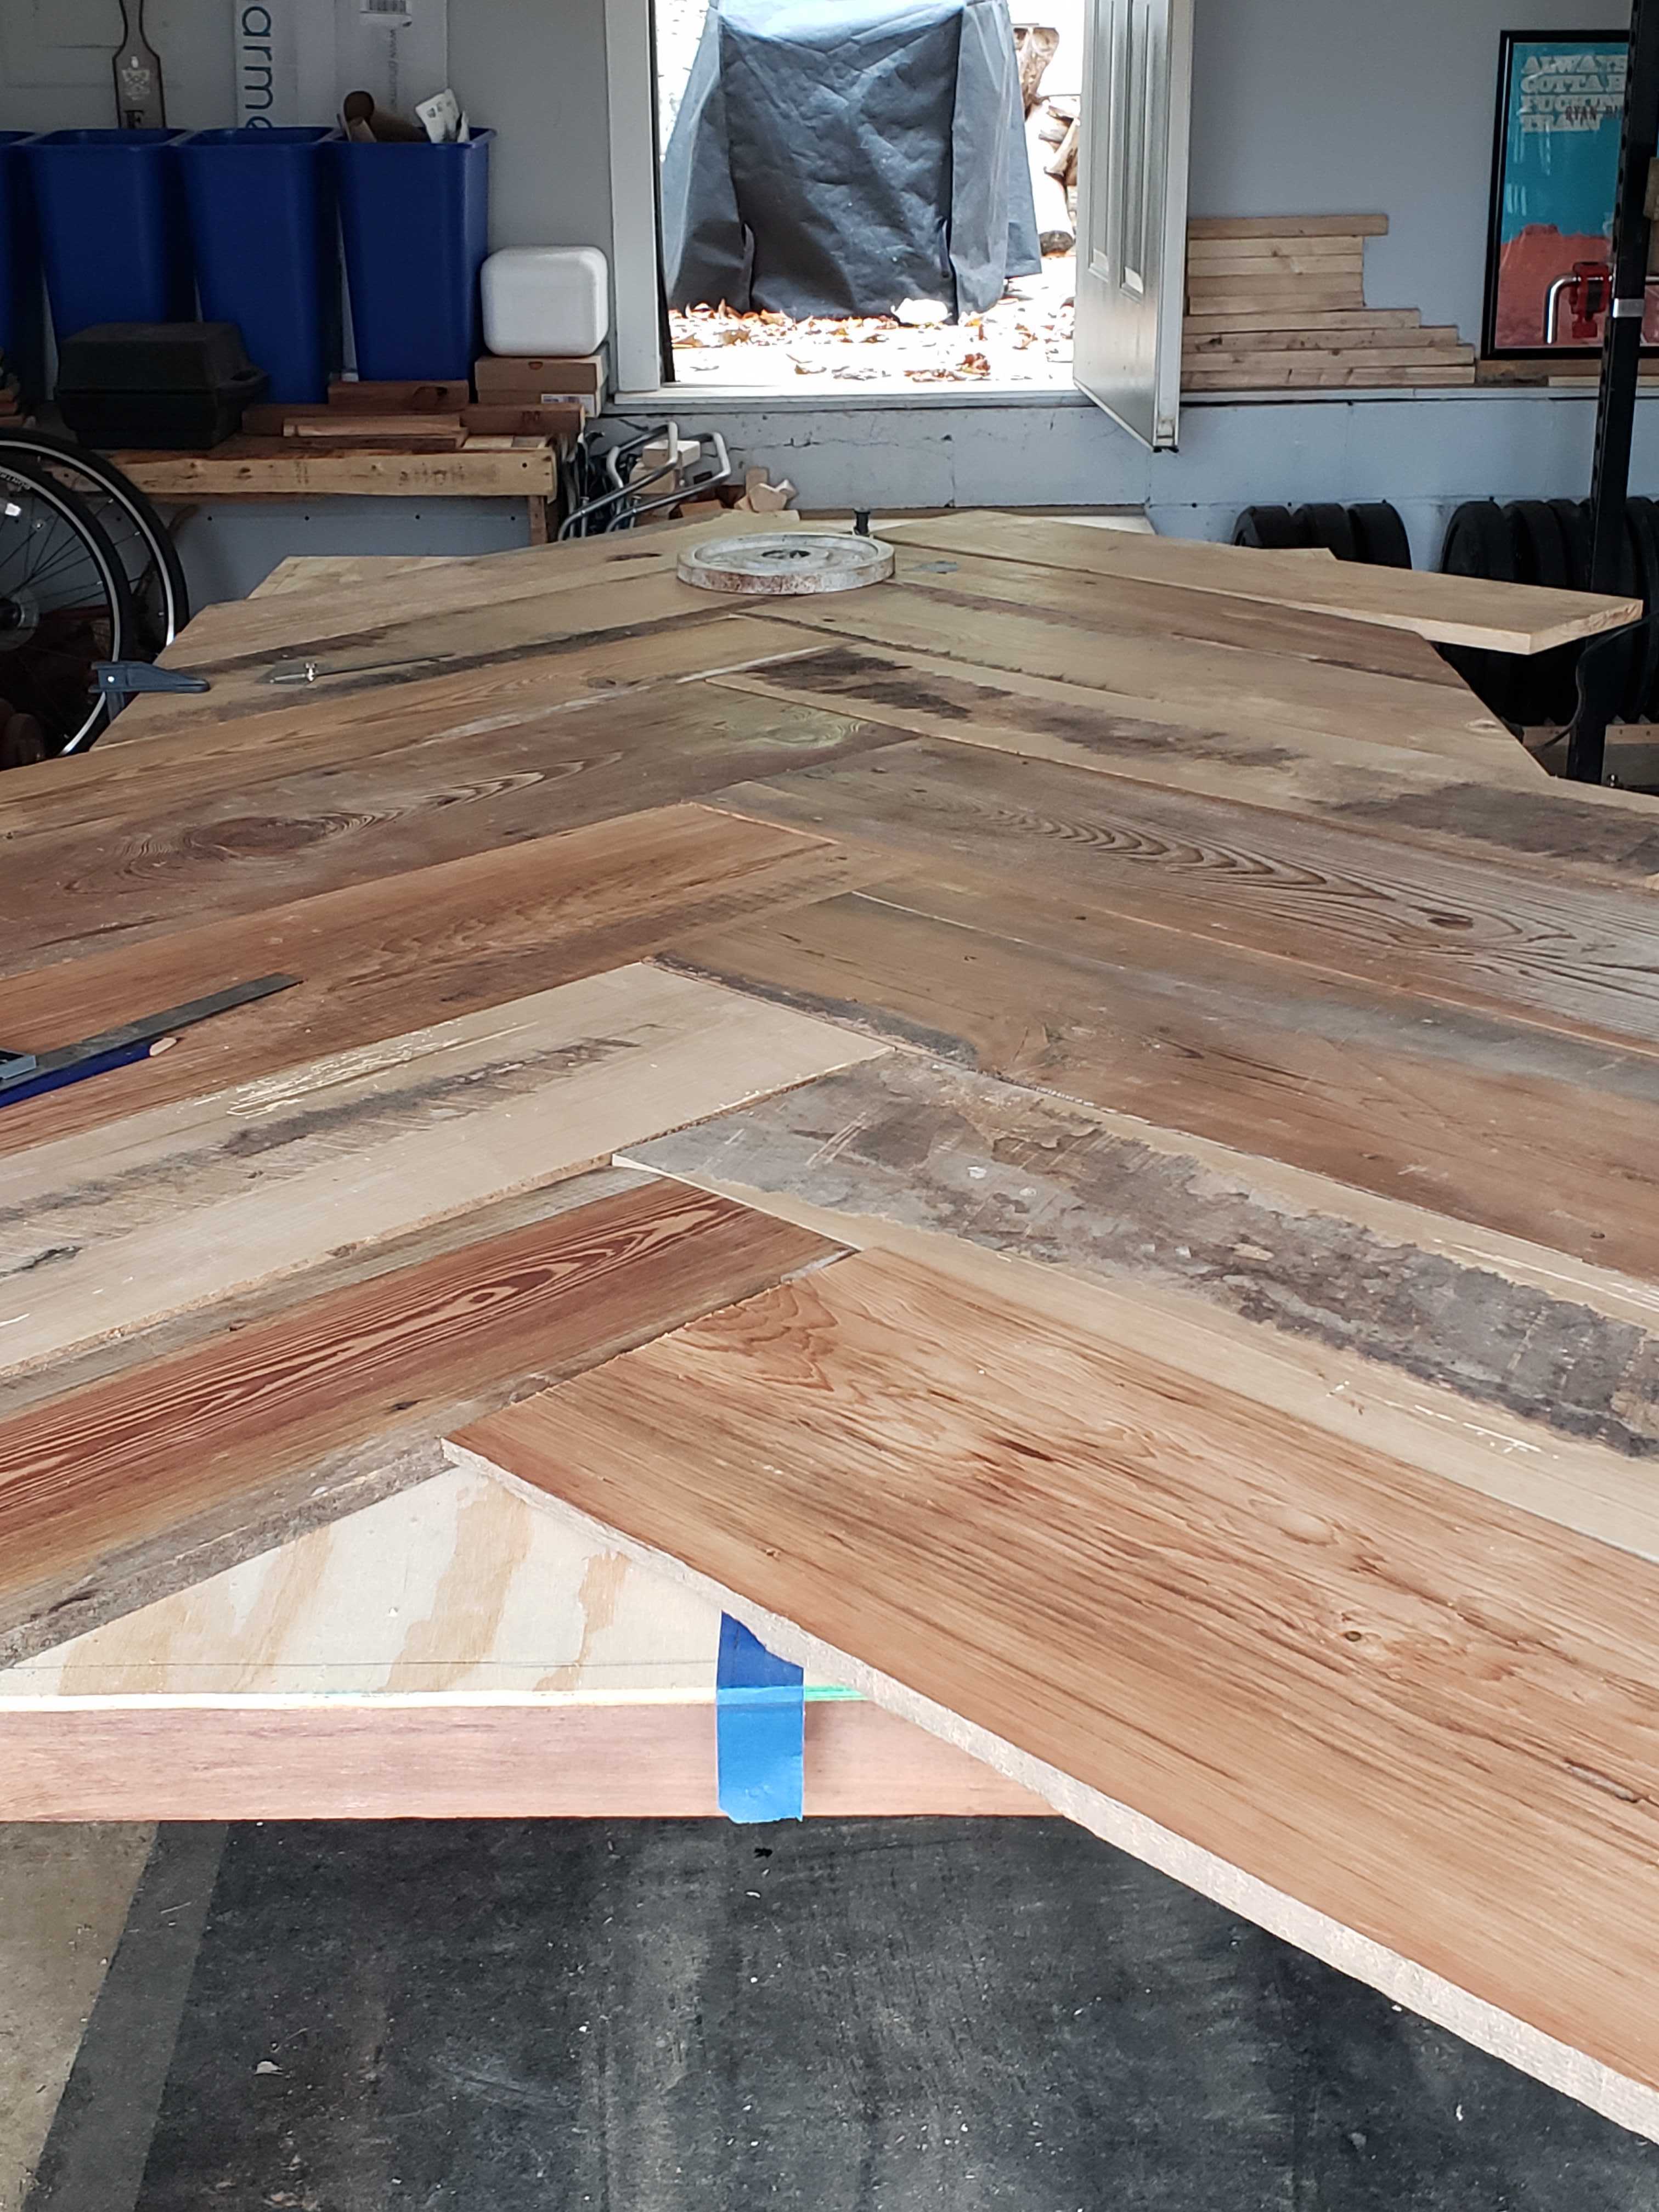
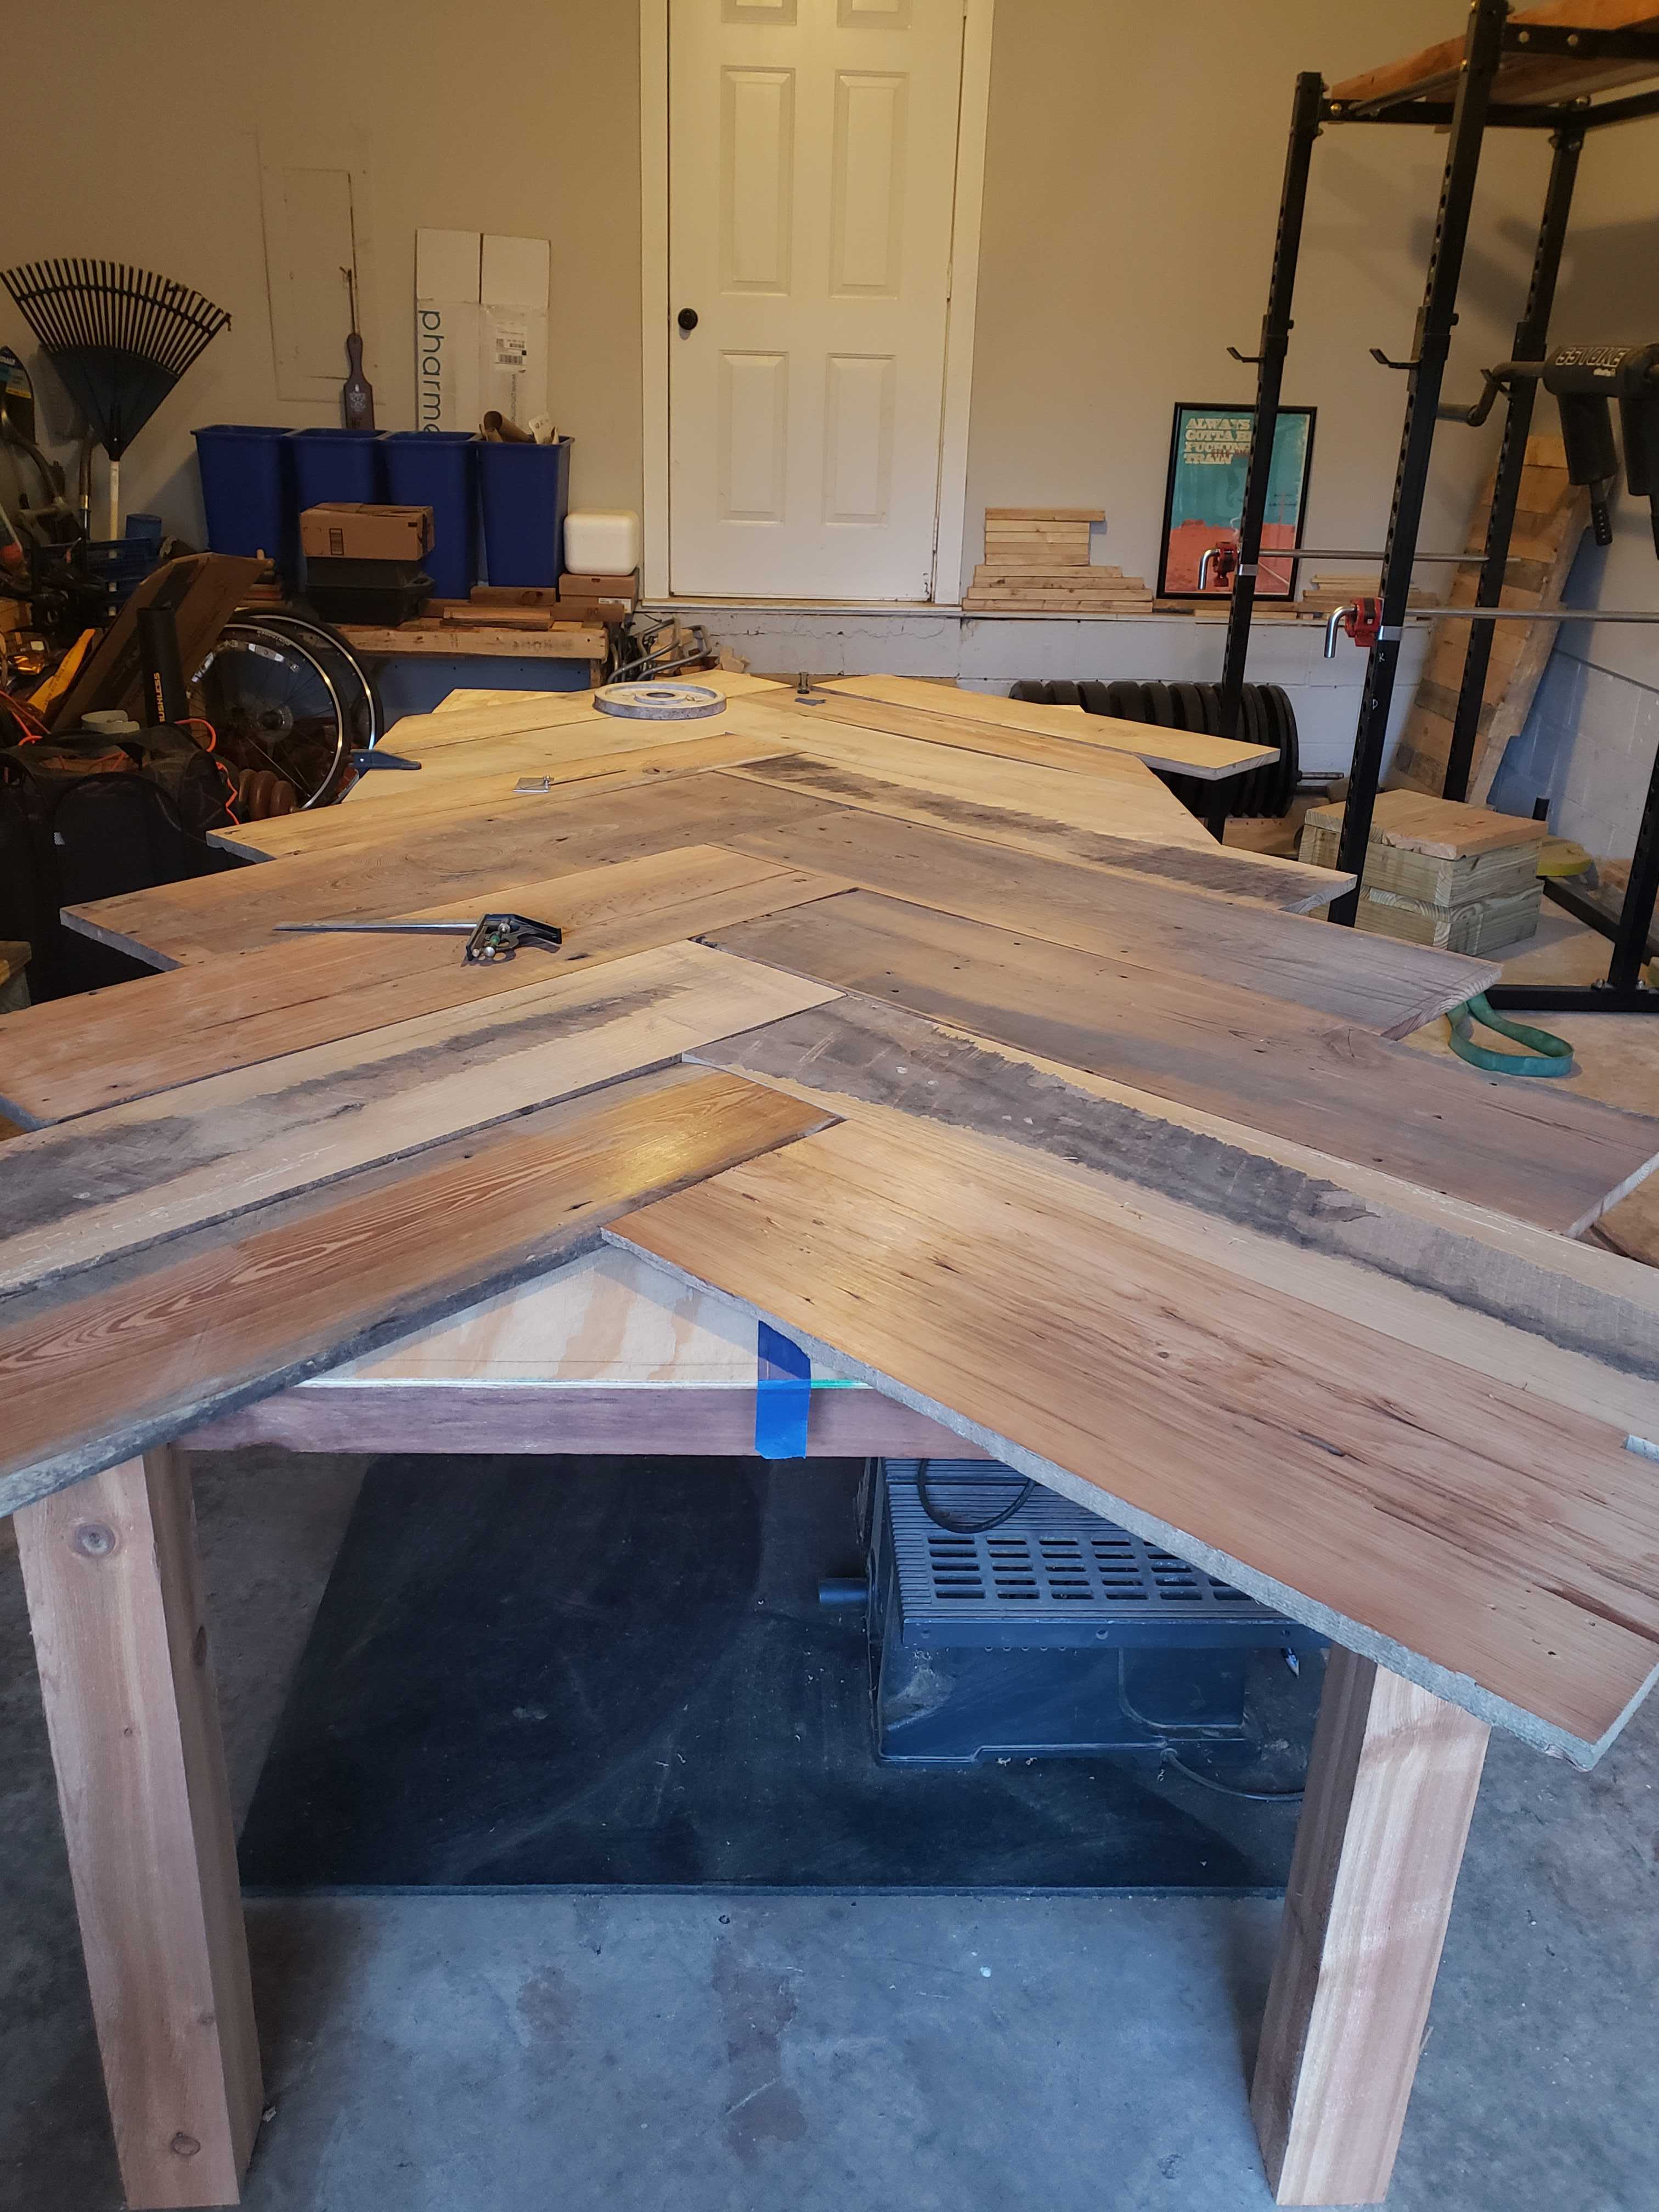
Once I was happy with the planning, I started glueing/screwing down the barn wood to the plywood. I decided to use this method due to the roughness of the barn wood. My worry was that using something like a domino joiner wouldn’t work well since the wood wasn’t exactly flat and didn’t always meet flush.
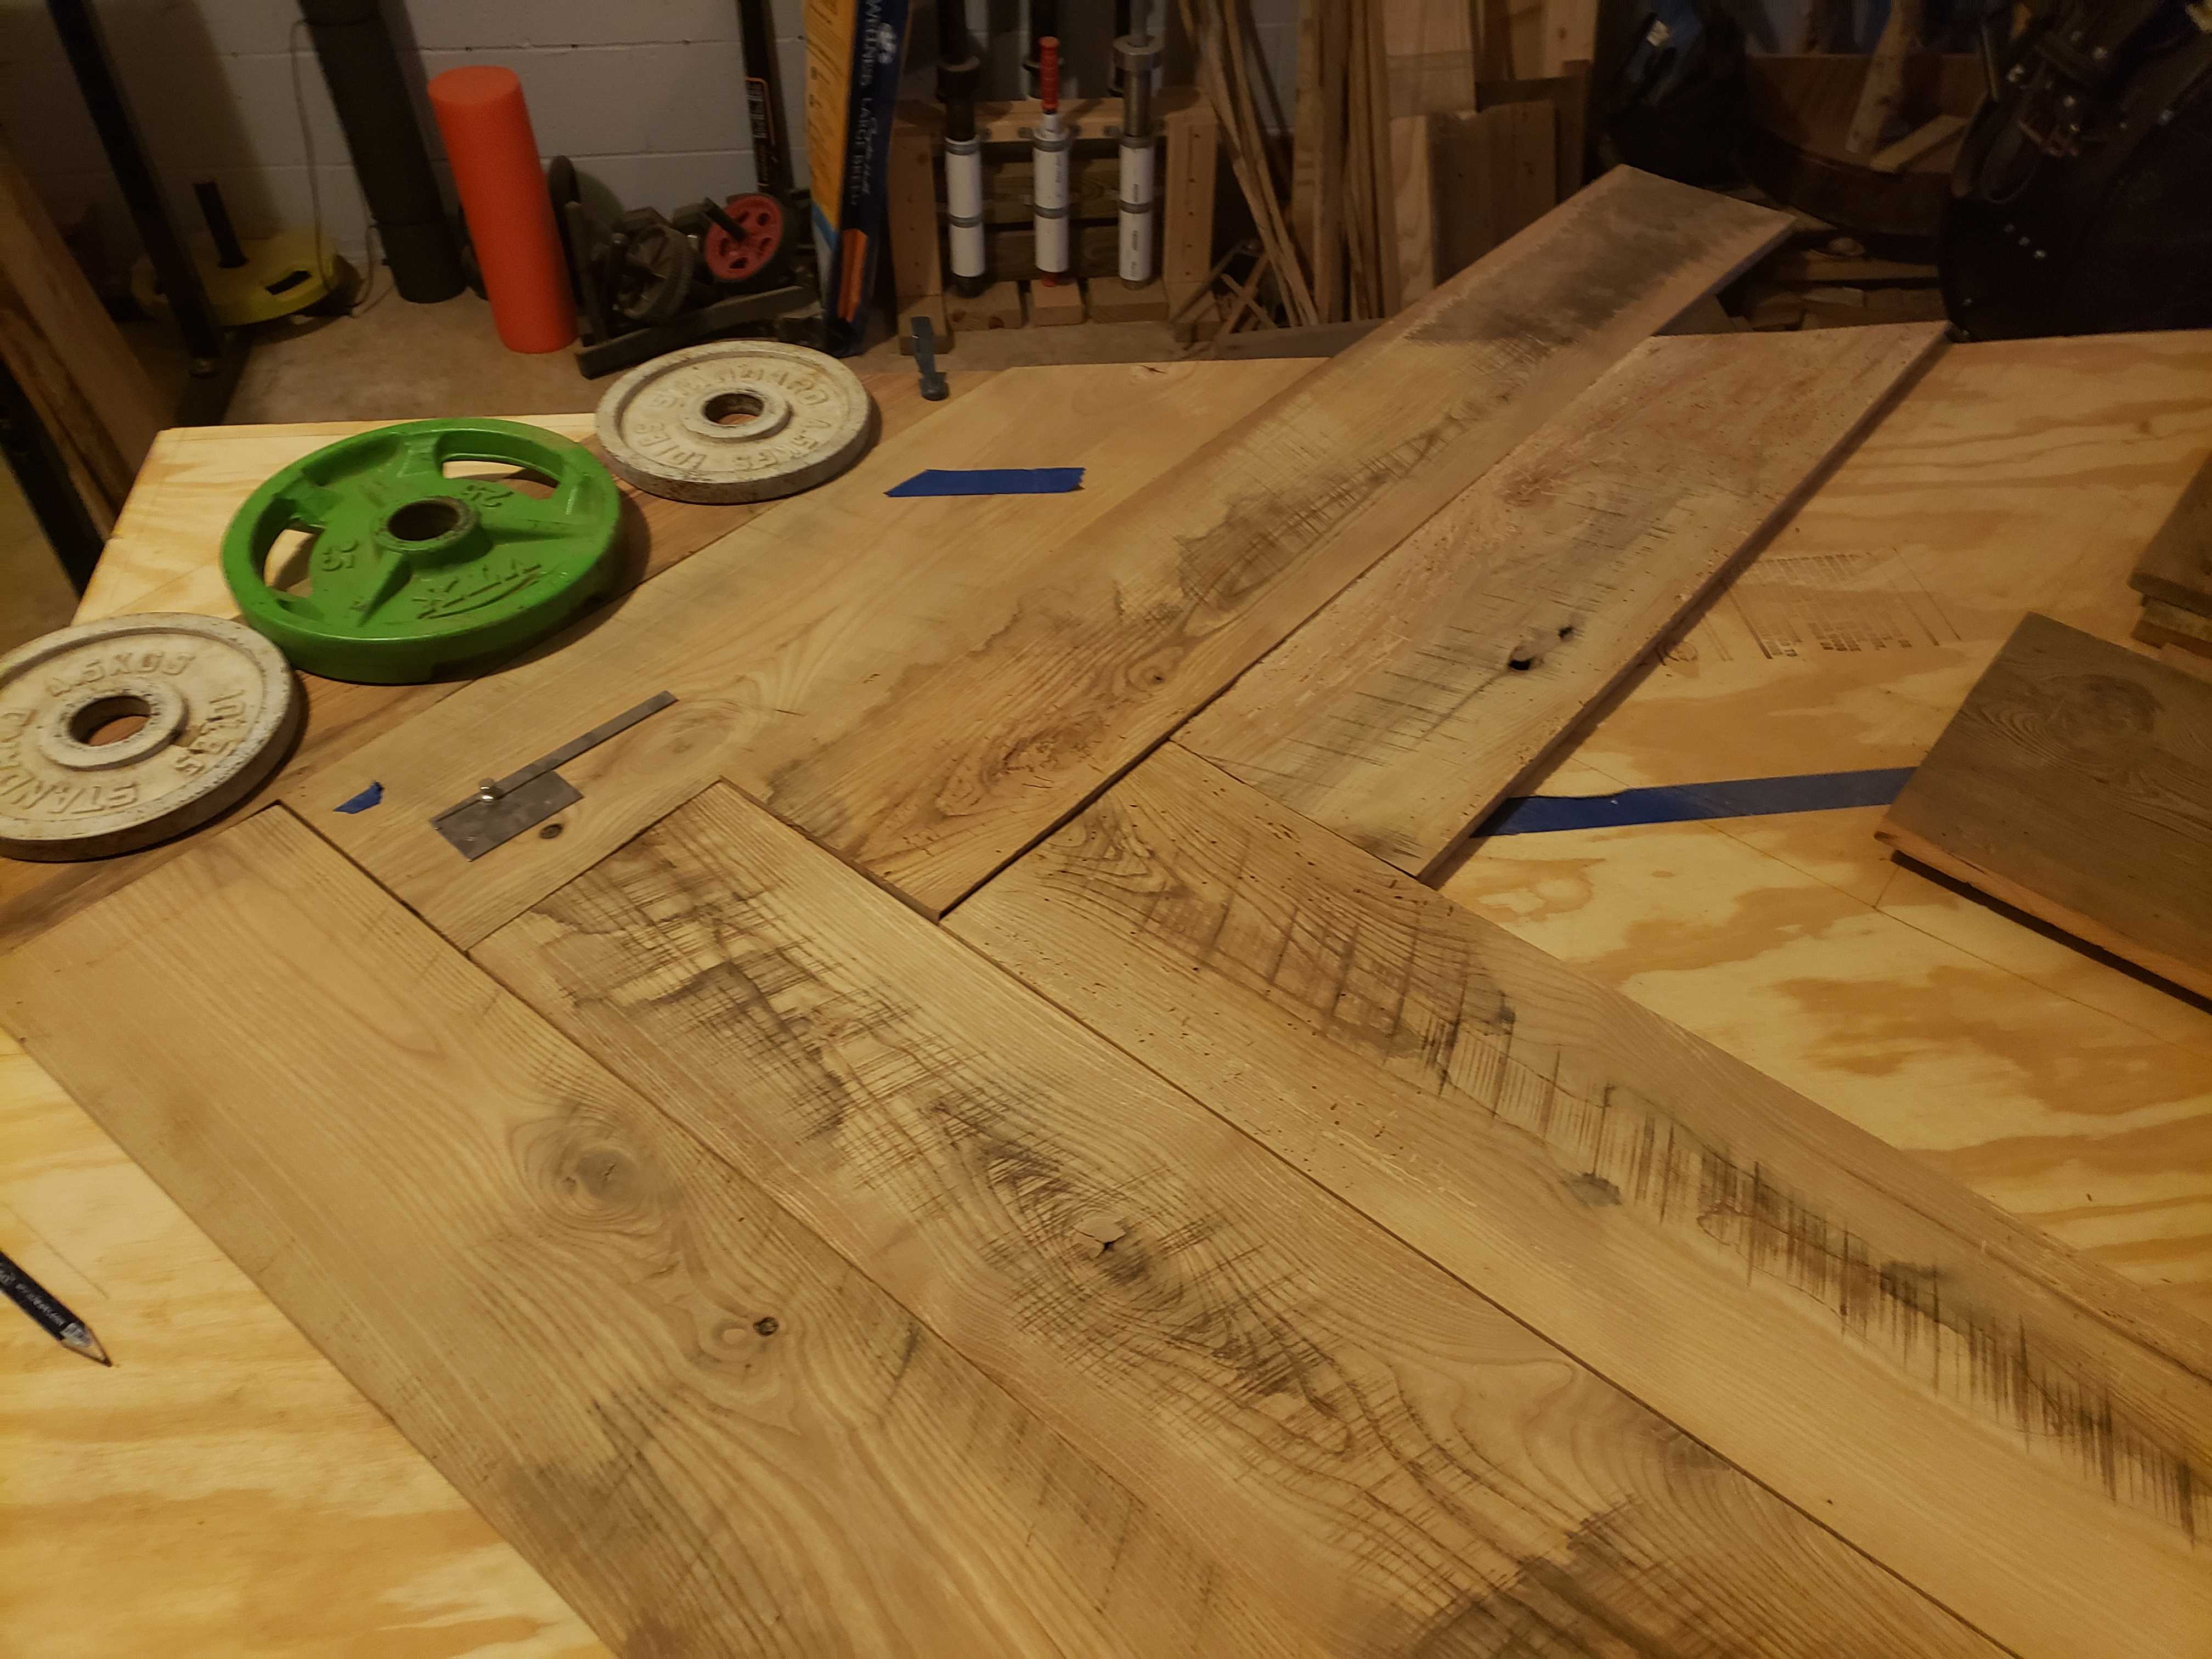
Once the gluing started, it was pretty straight forward.
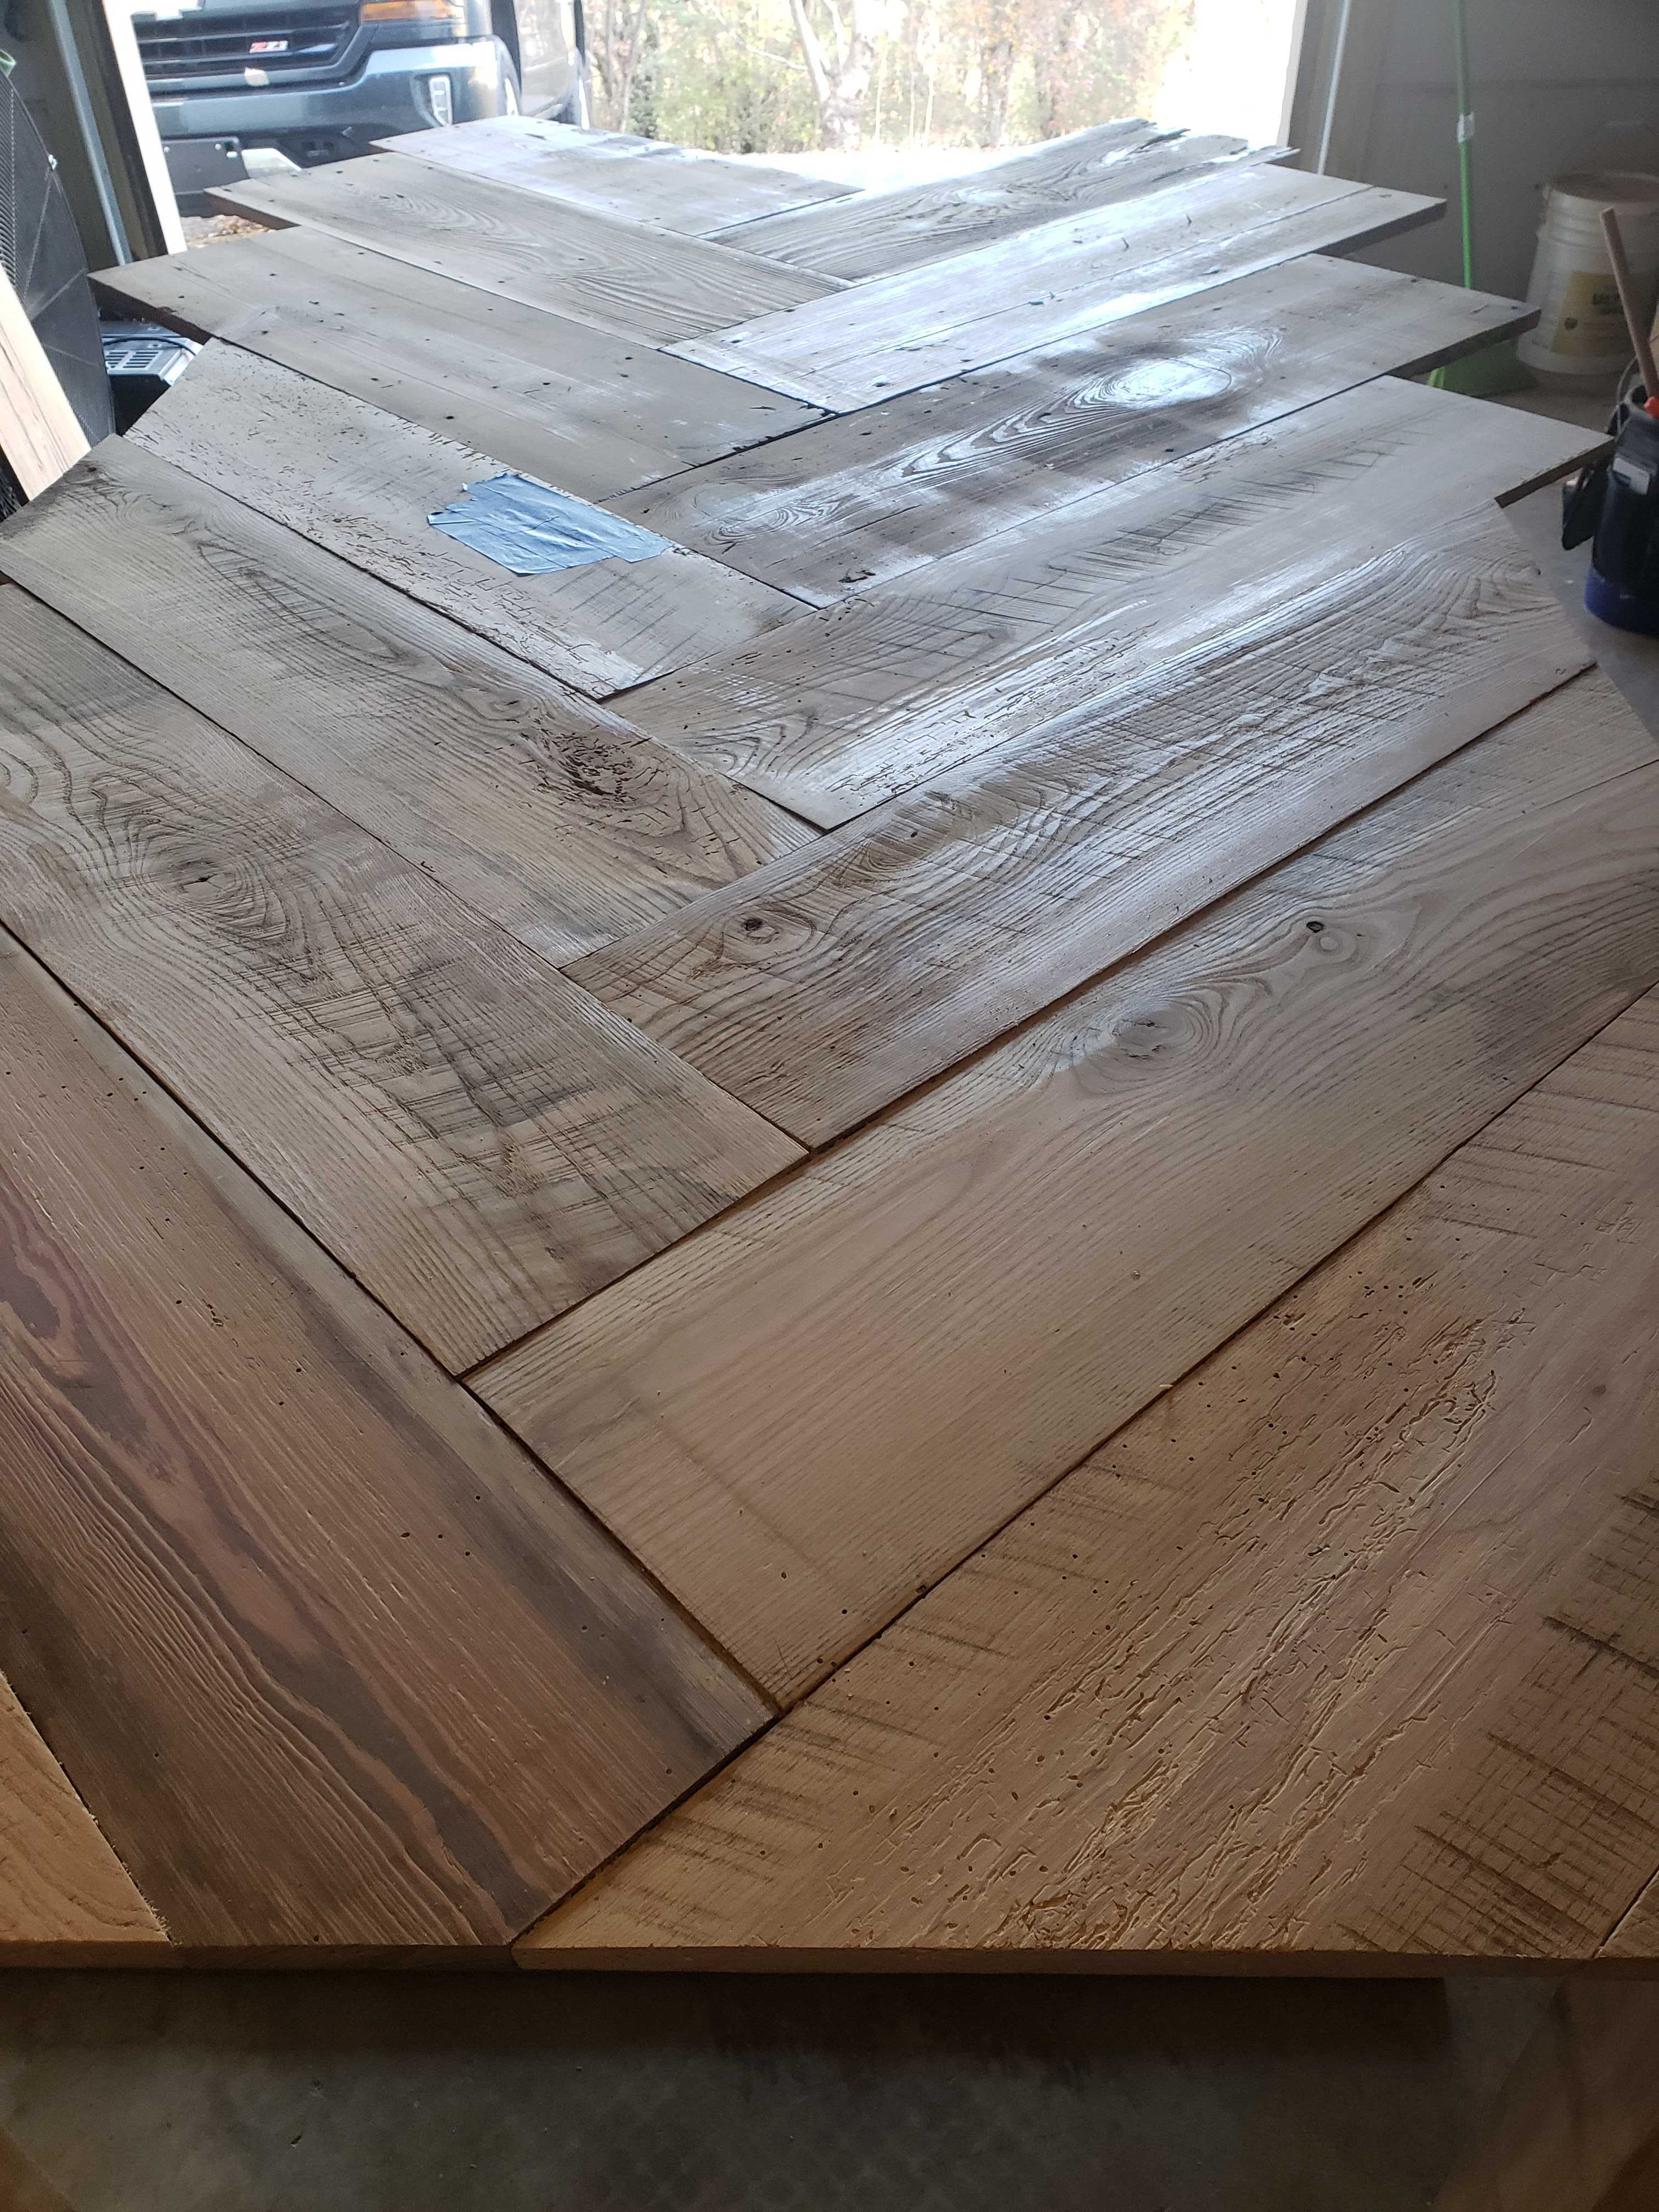
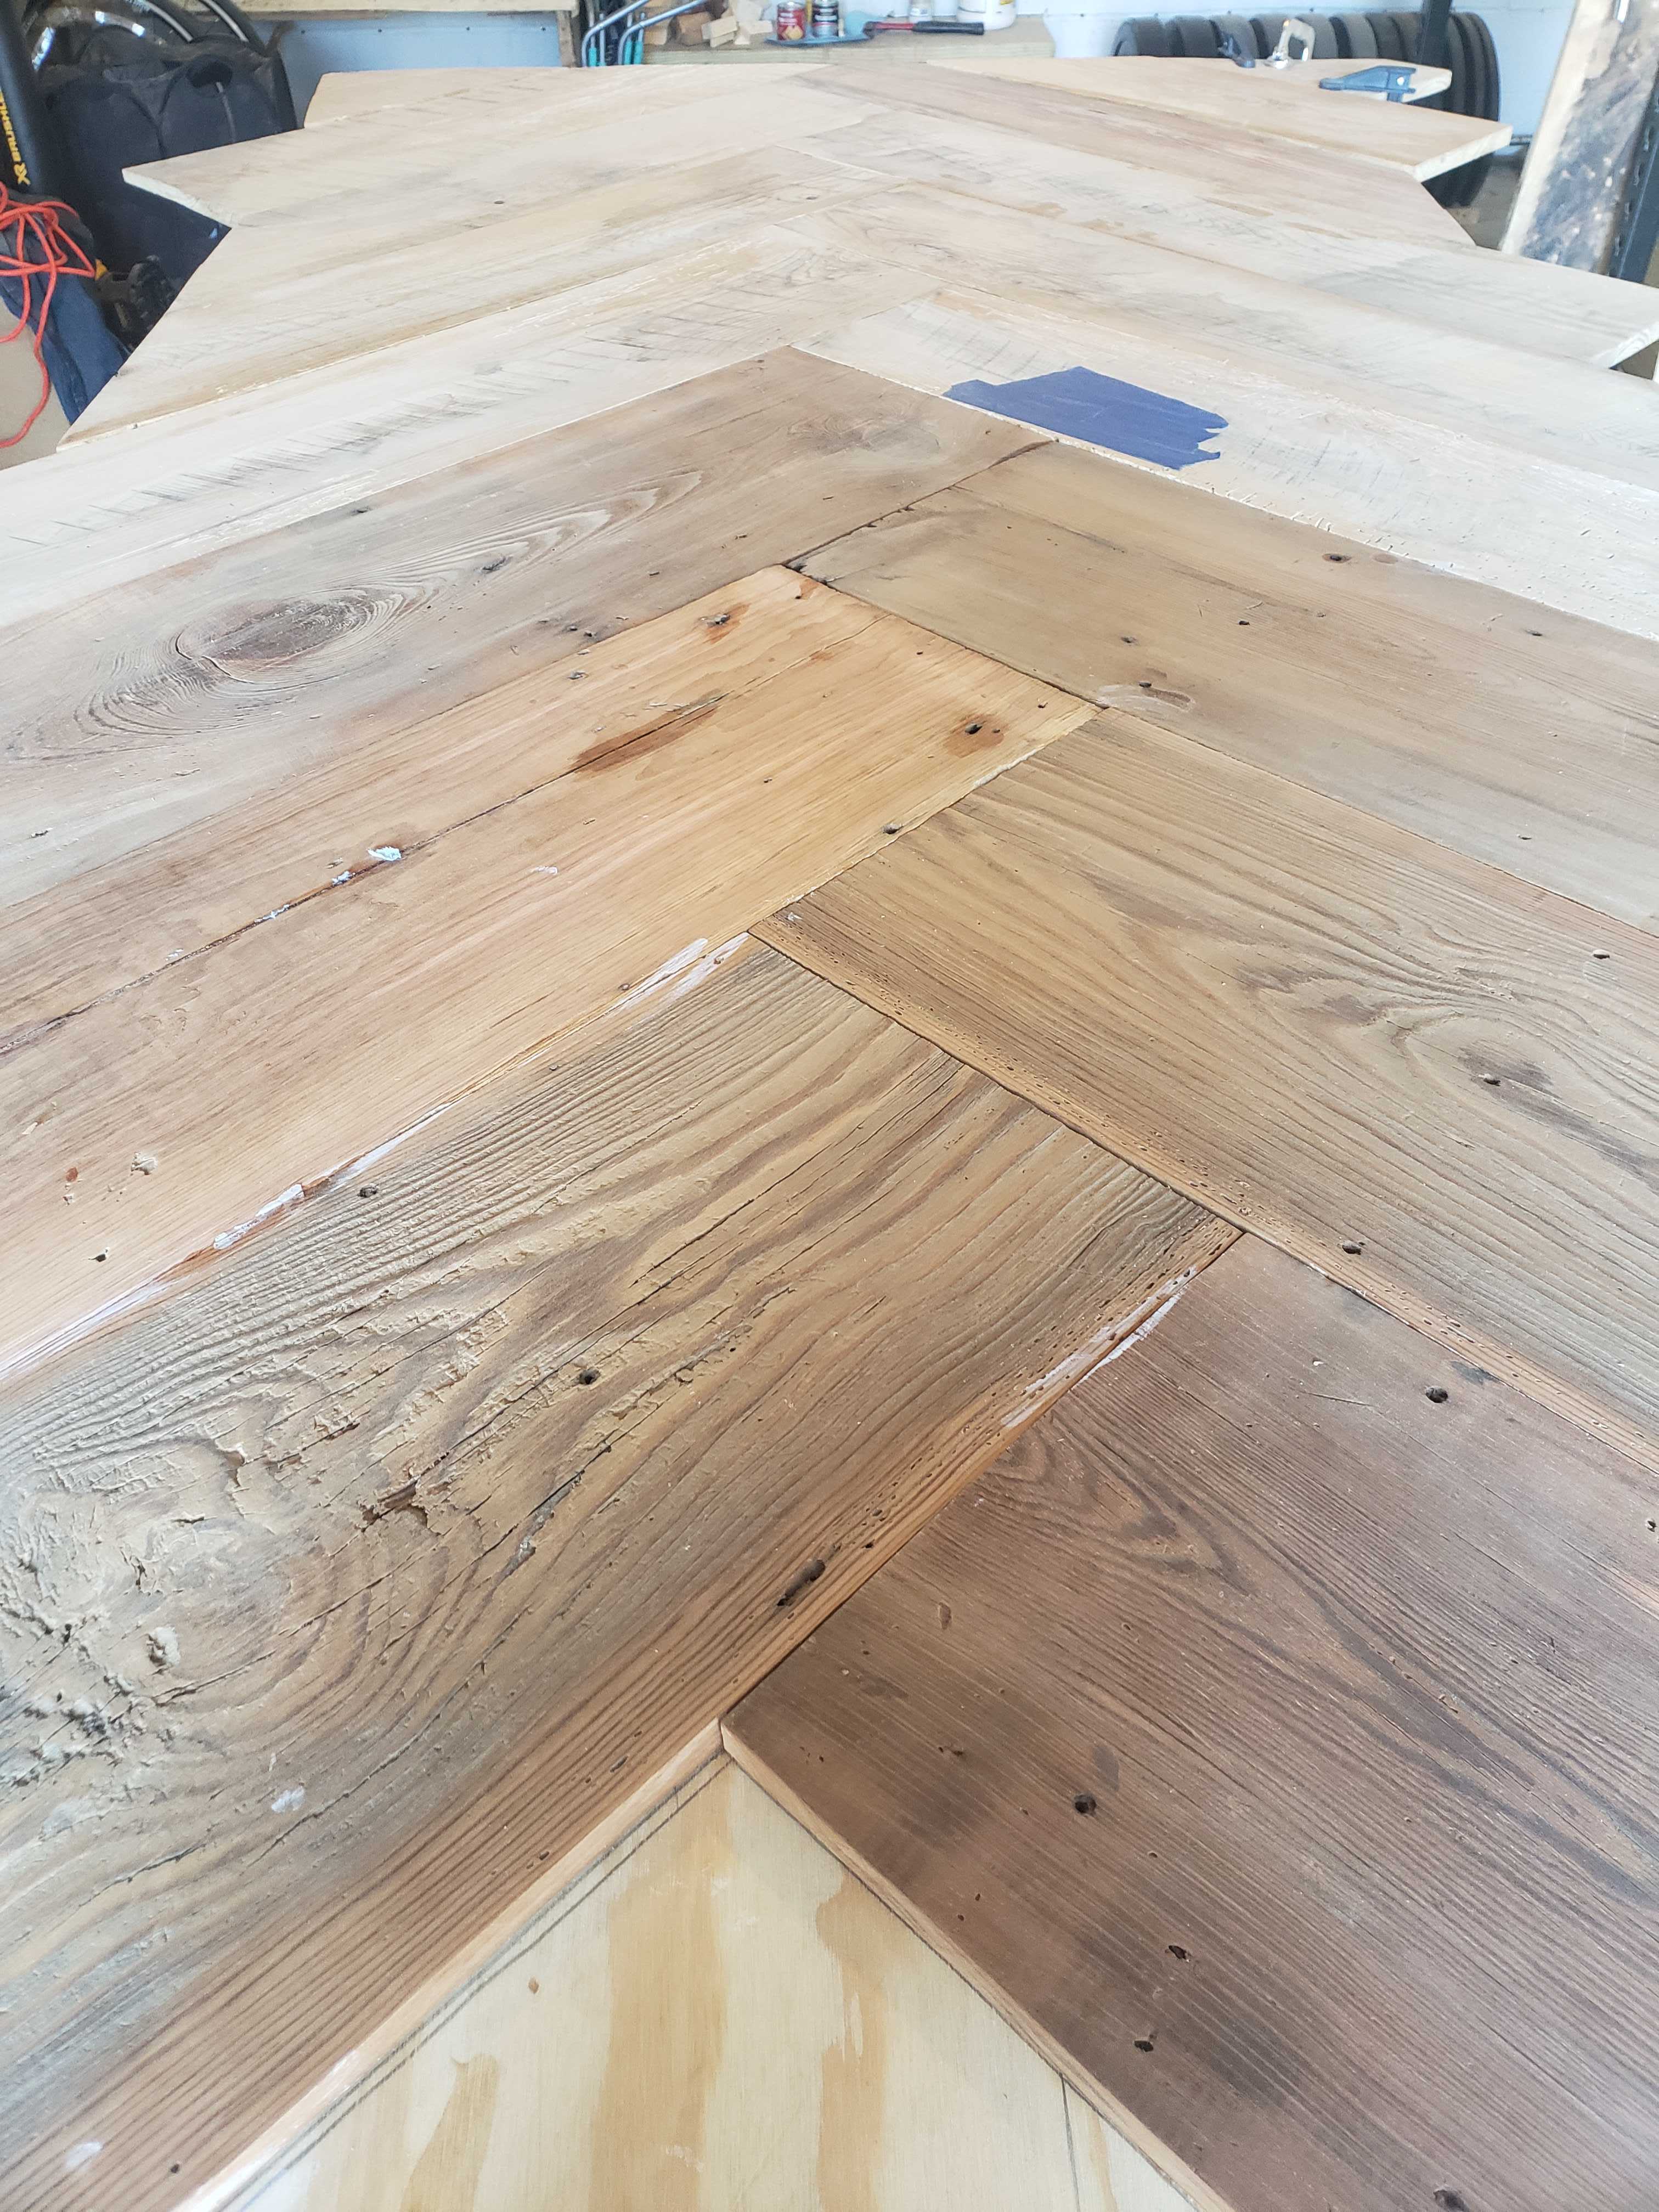
Once it was all glued up, I hand planed the large differences between boards and sanded the entire table top.
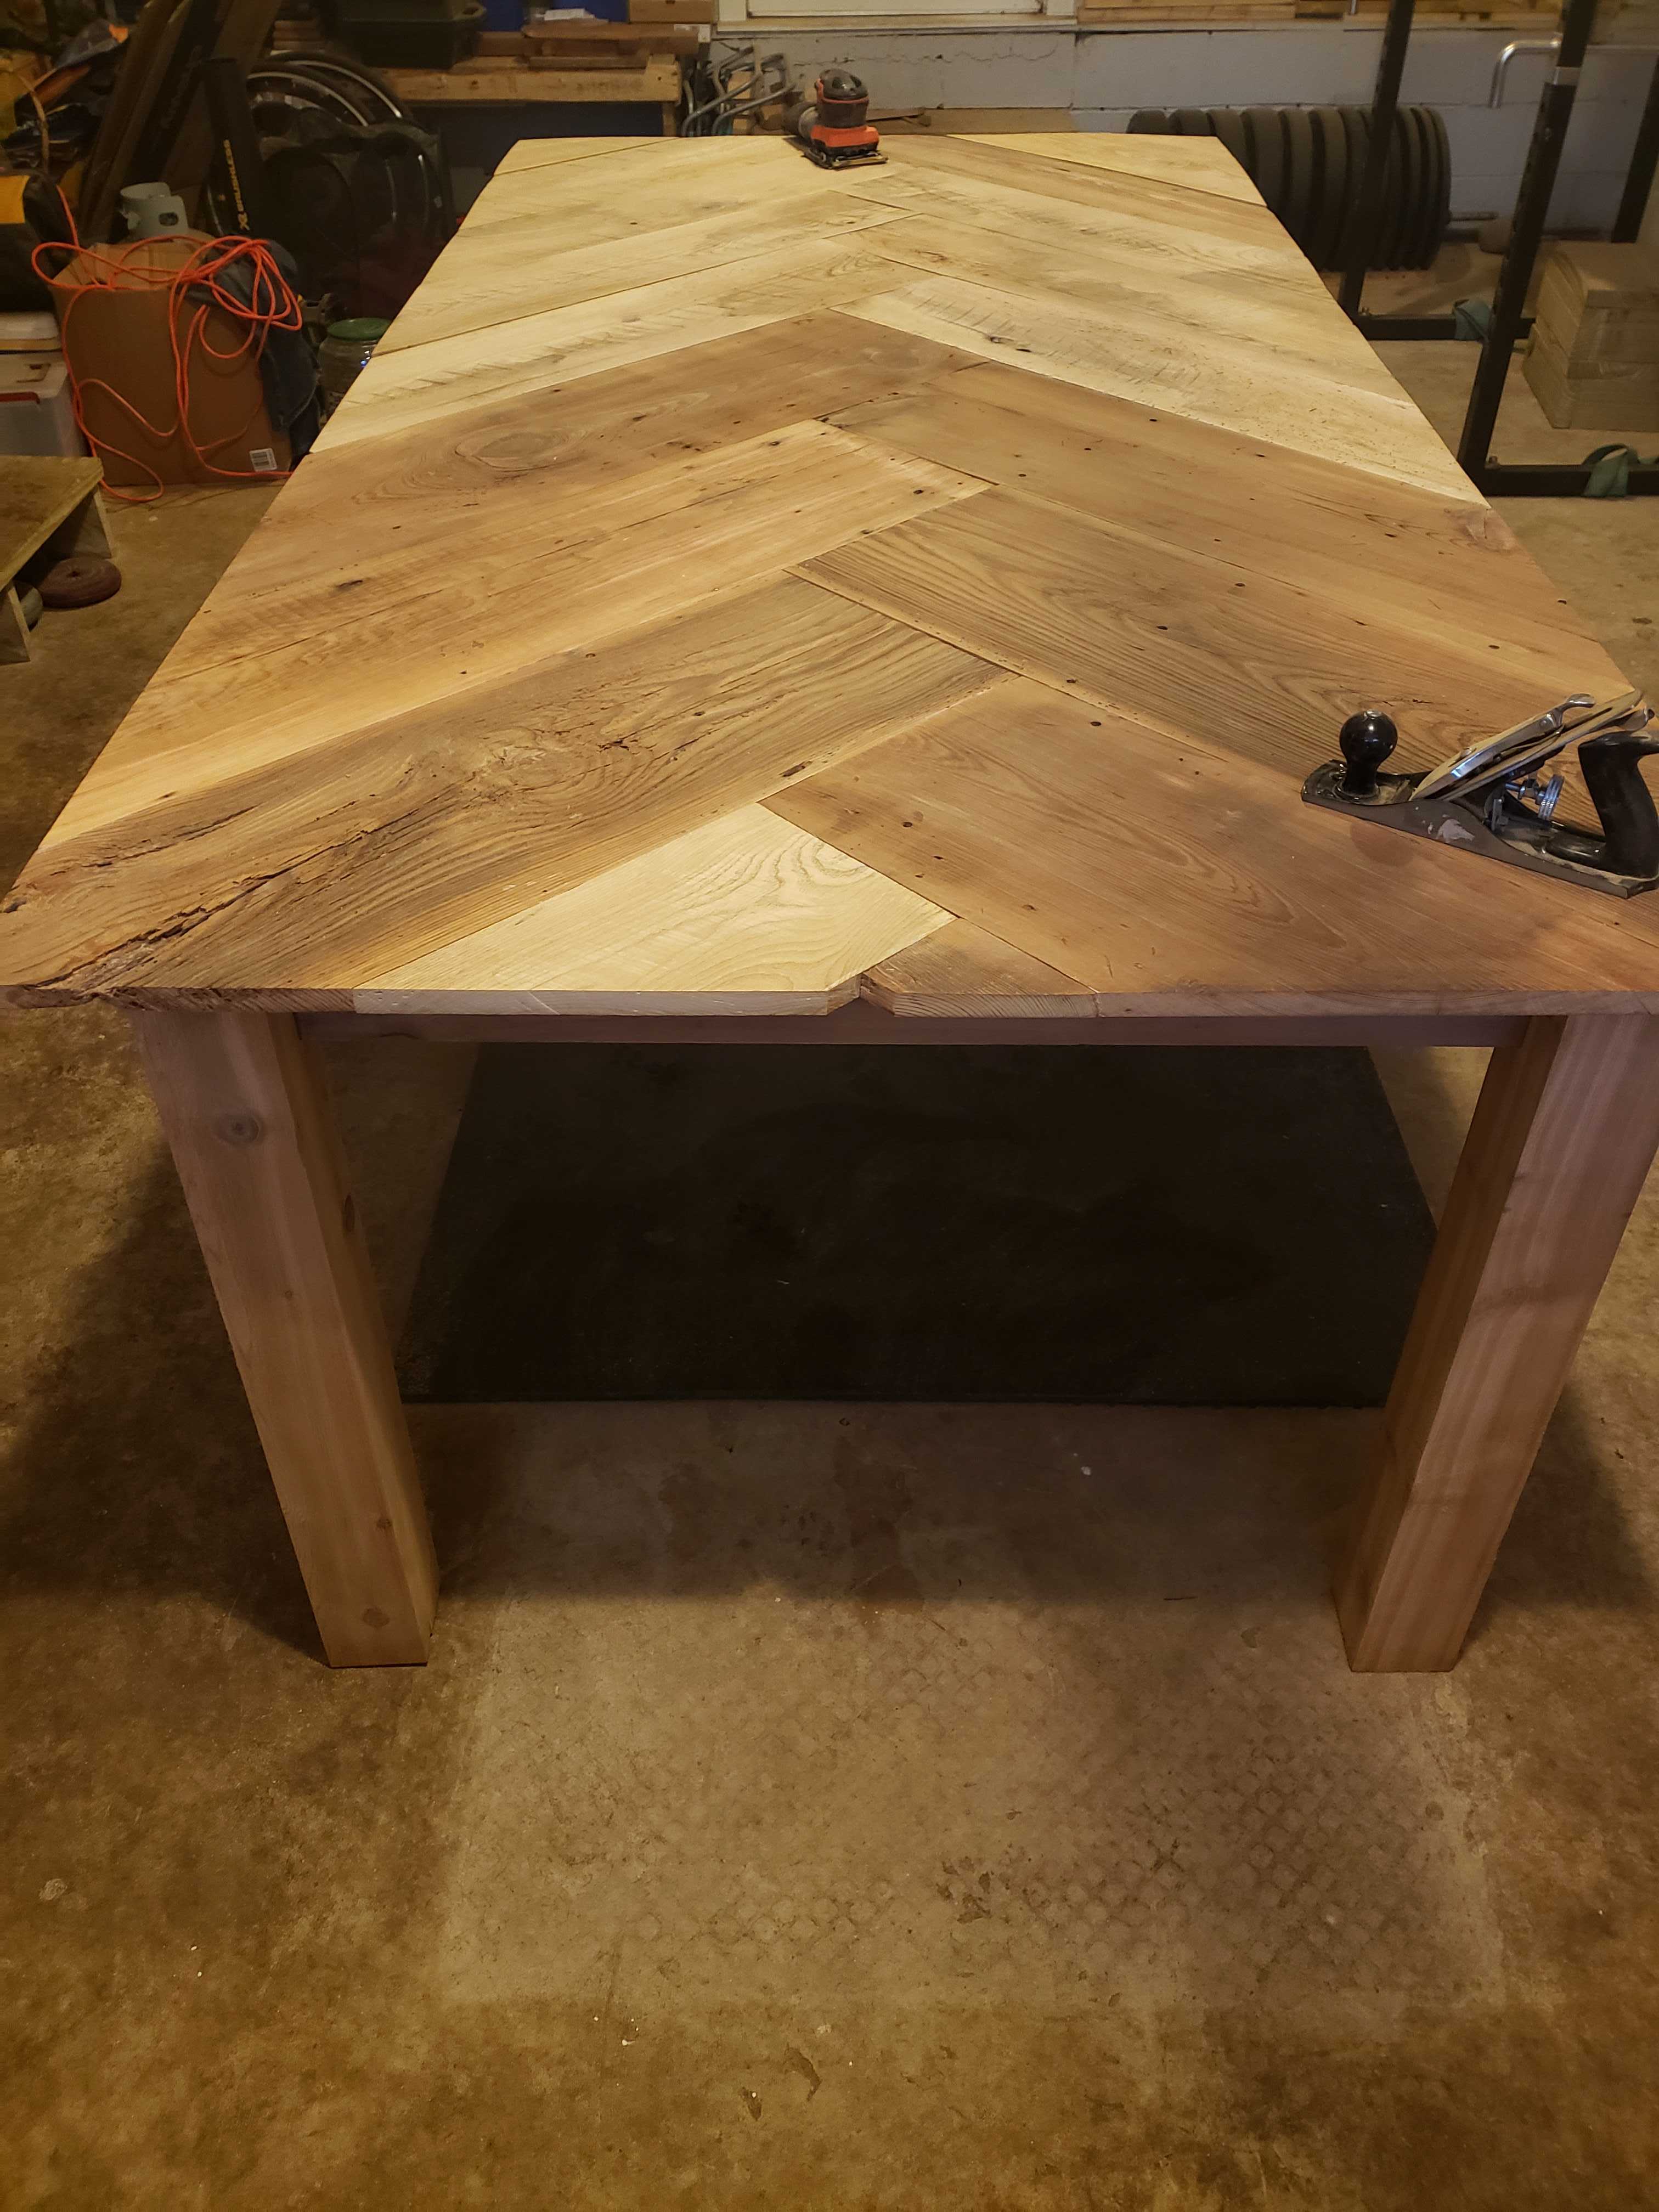
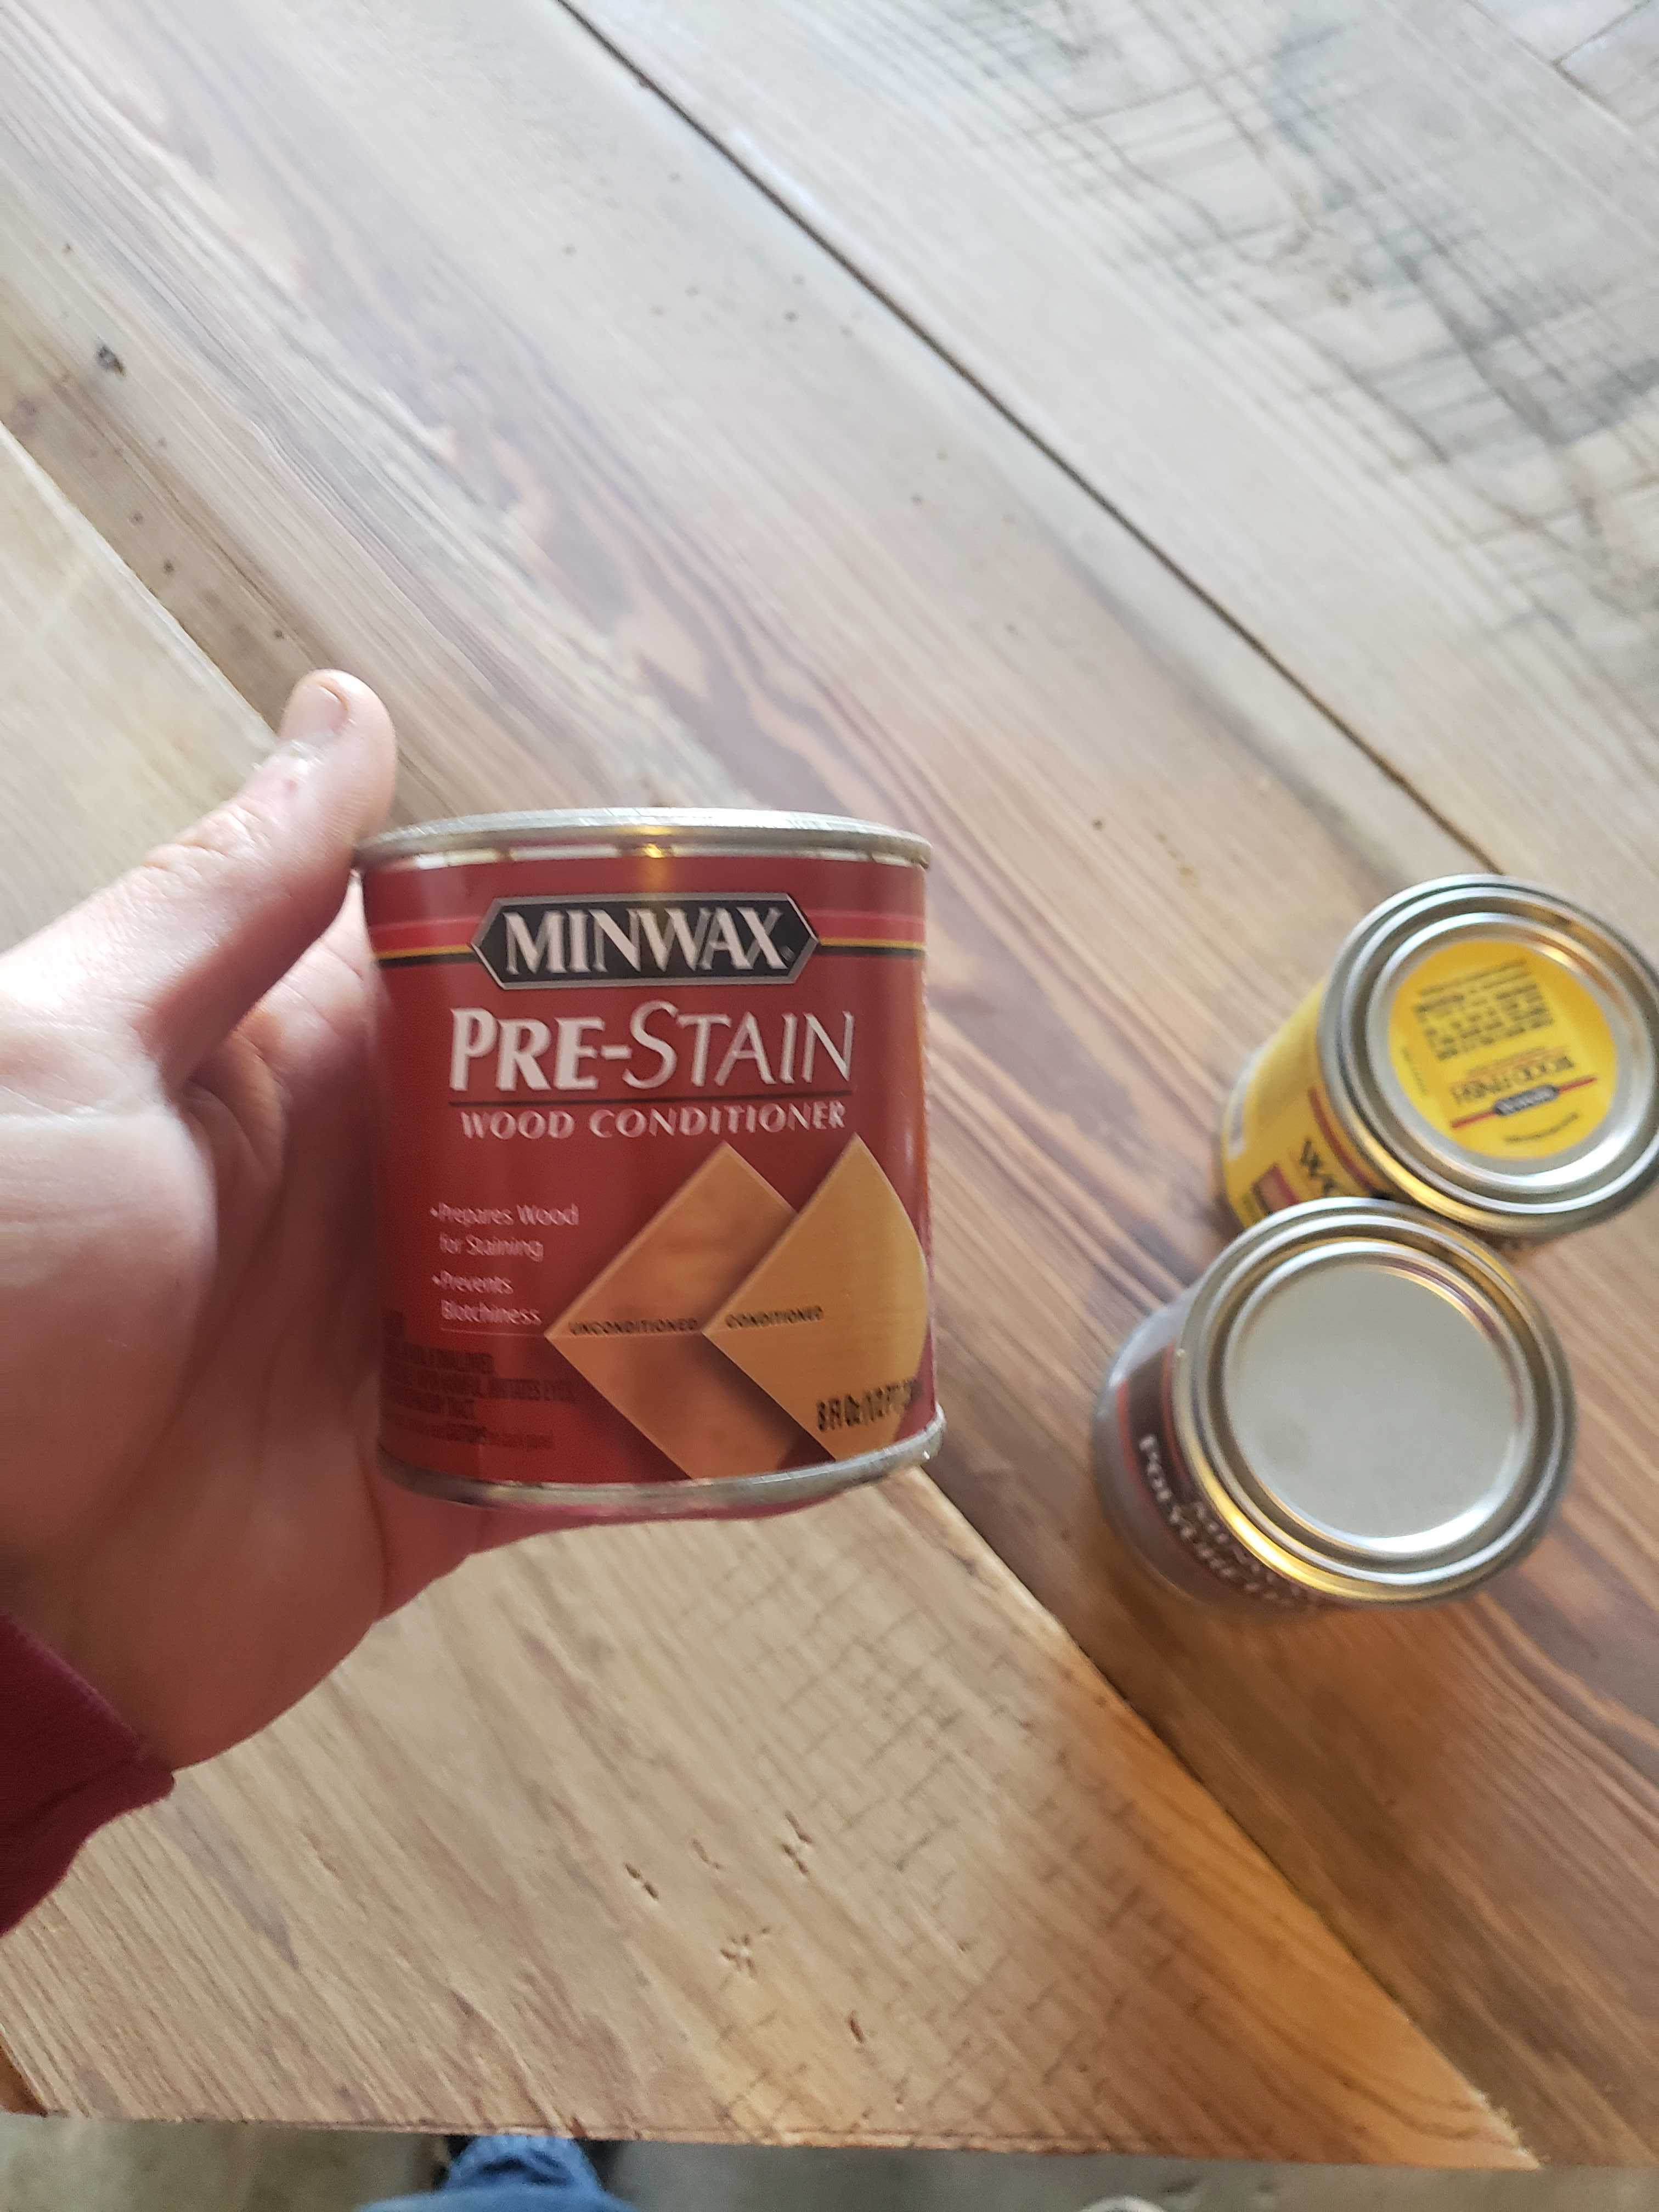
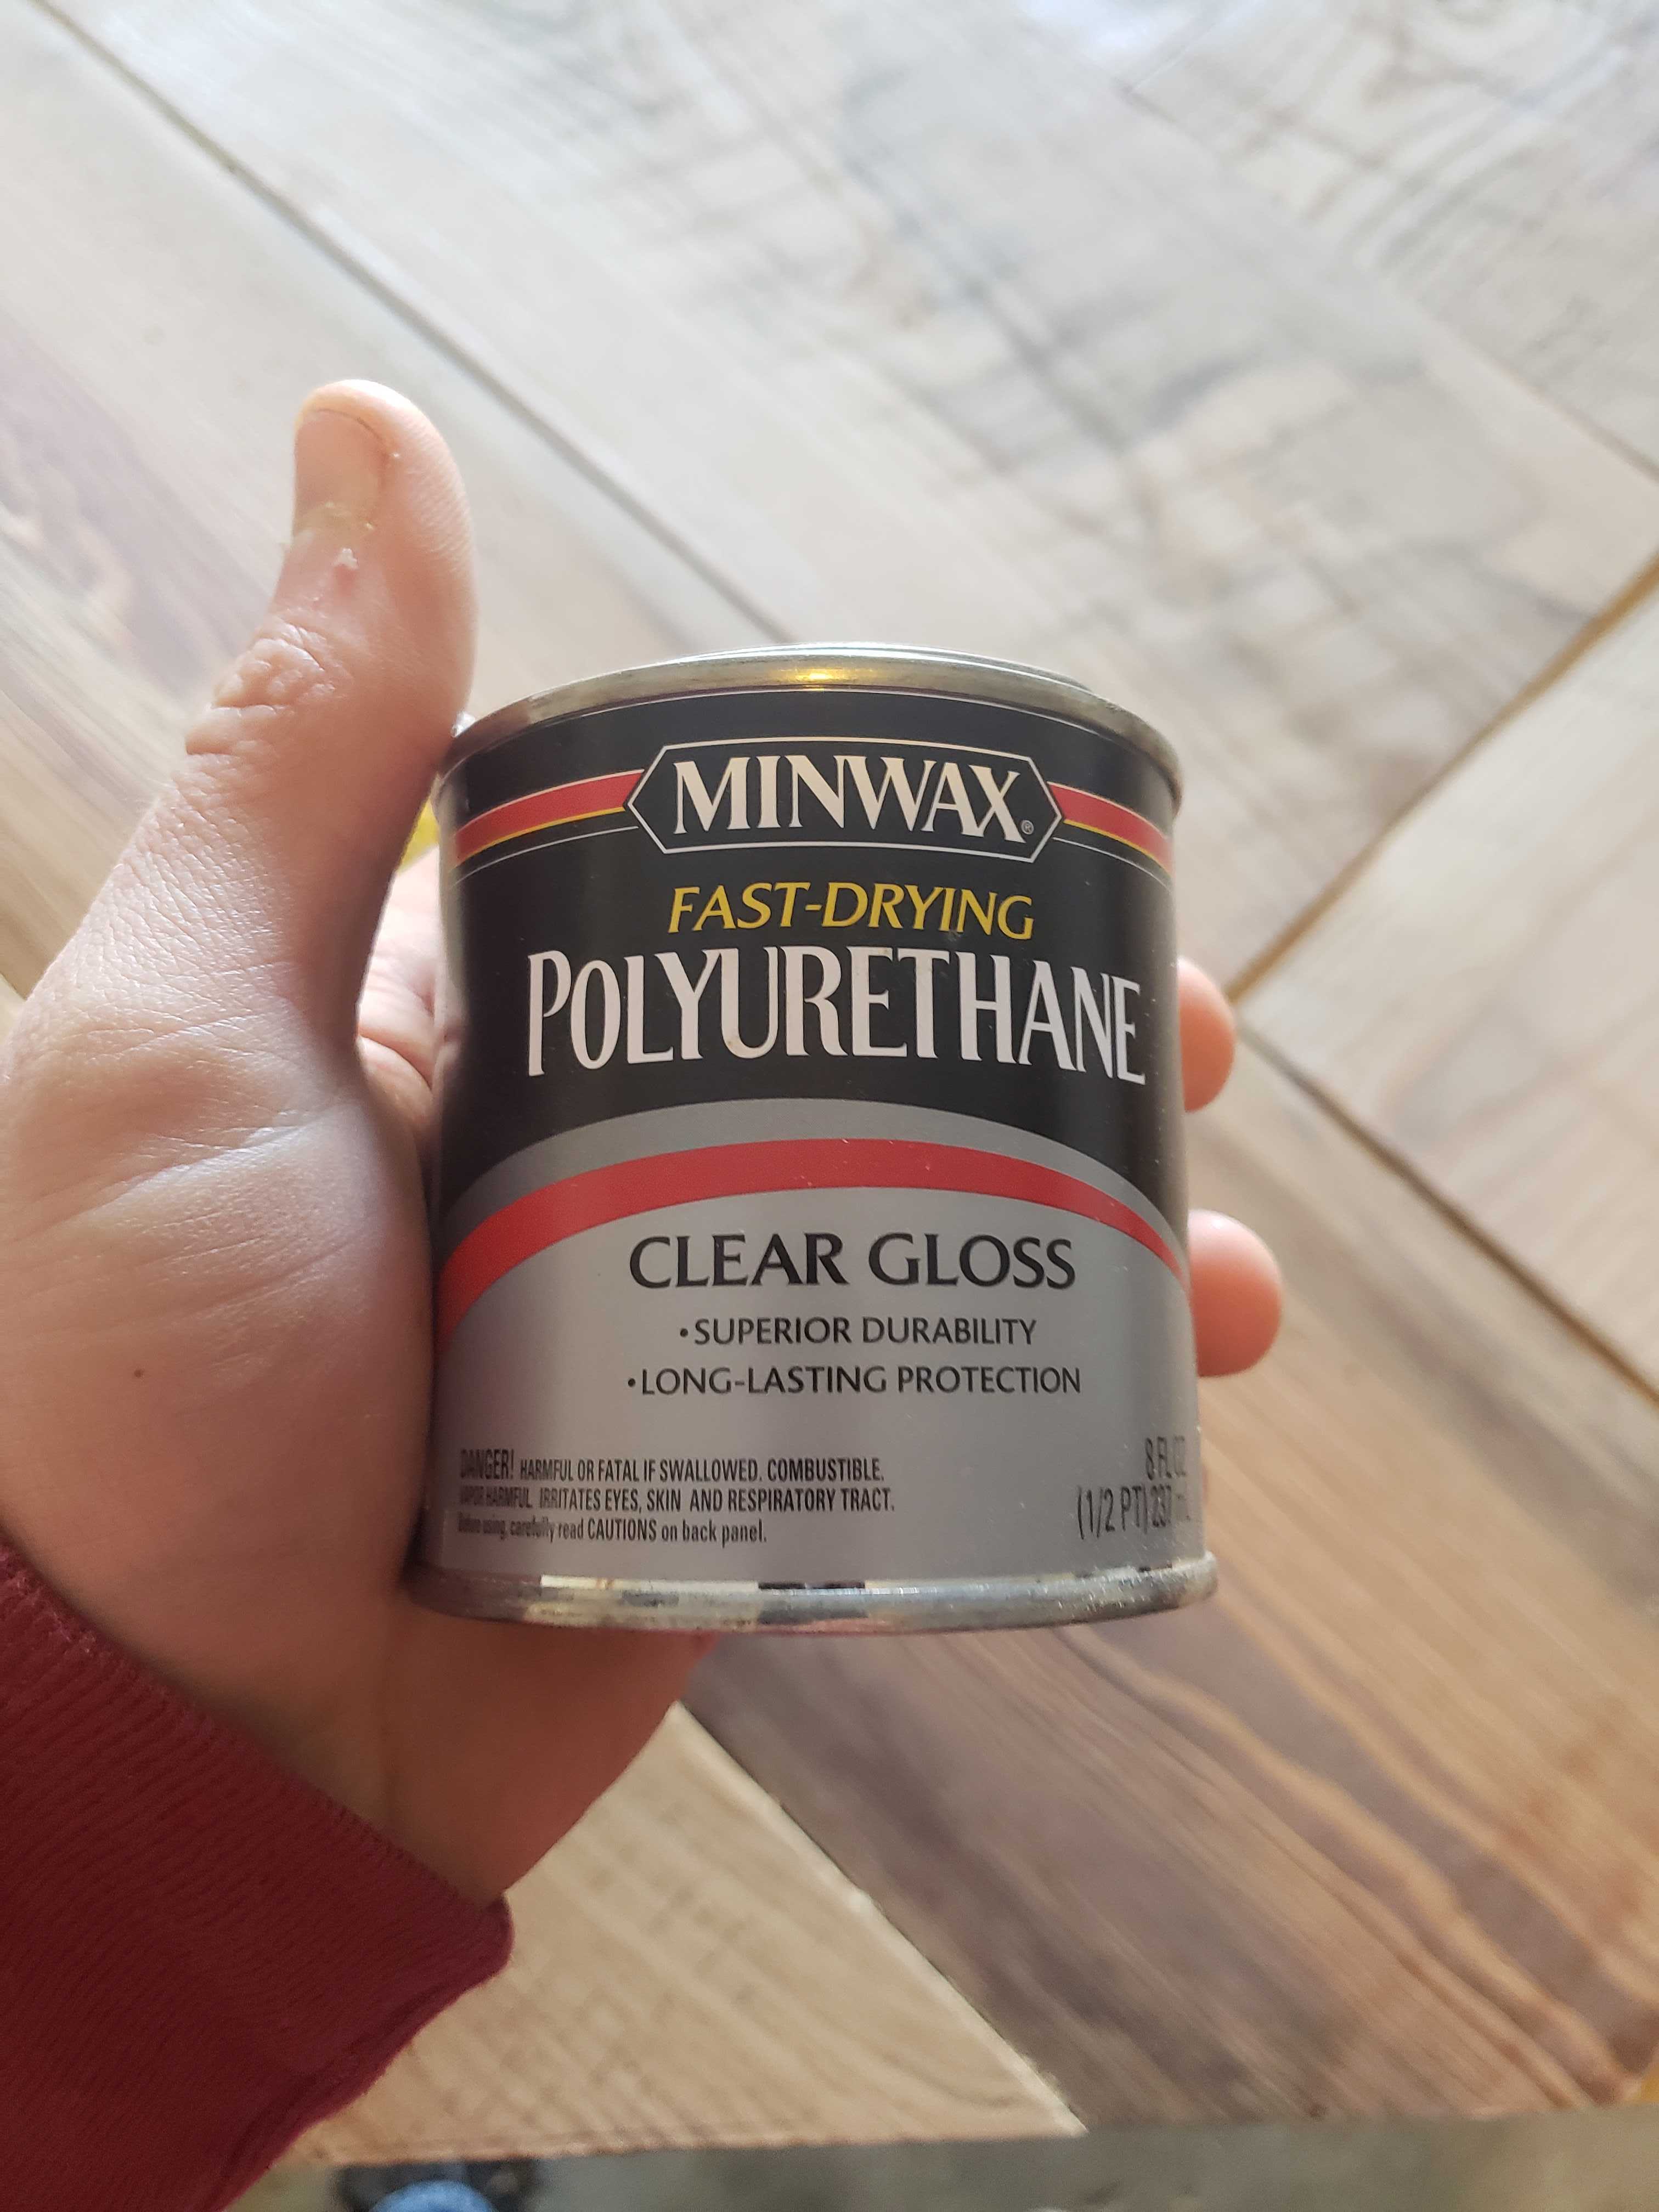
When staining, I only used a clear polyurethane on the top and applied 3 coats. The base, I added a pre-stain followed by 2 coats of polyurethane. I tested some natural wood stain on scrap wood, but found that it left the wood too dark, partly hiding the texture of the boards, which we wanted to feature.
The finished table turned out better than I had expected. It ended up being about 8’ 4” x 4’ 2”. I’m glad to have attempted this project, but was relieved to have finished.
Summary
2019 was a year of introduction and learning of wood working for me. I’m glad I took the challenges I did and am mostly happy with with I created. Hopefully 2020 will allow me to continue creating useful things for our home.