Upgrading a Tarball Installation of Redash 7.0.0 to Redash 8.0.0 Docker
Starting in Redash 8.0.0, tarball installations are no longer supported. At XMode, we were running Redash 6.0.0, when we decided to get on the most recent version of Redash (8.0.0). I first upgraded to 7.0.0 using the ./bin/upgrade script and followed instructions regarding the REDASH_SECRET_KEY environment variable. This was done on the existing Redash installation/server.
Because of the risk involved with upgrading and moving data to/from versions, I ran 2 instances of Redash during the upgrade. This allows for our users to verify the upgrade in a line by line fashion.
The Upgrade
To start, I created a new EC2 instance, upgrading our instance type, using the Redash AMI for the EC2 instance.
Once the new EC2 instance is running, you can access the Redash console, by going to port 80 of the public IP address of the EC2 instance, but it’s a clean install. So we’ll need to move the data over from the current Redash installation to make the migration actually happen.
Backing up your existing Redash installations
First, you have to backup your data from the Postgresql instance your current Redash is using. To do that, you’ll run a psql_dump command similar to sudo -u redash pg_dump redash | gzip > backup_filename.gz. Being on AWS, we then copy that file to S3 for future use. AWS or not, you’ll need to copy that data to the new Redash instance.
The New Redash Install
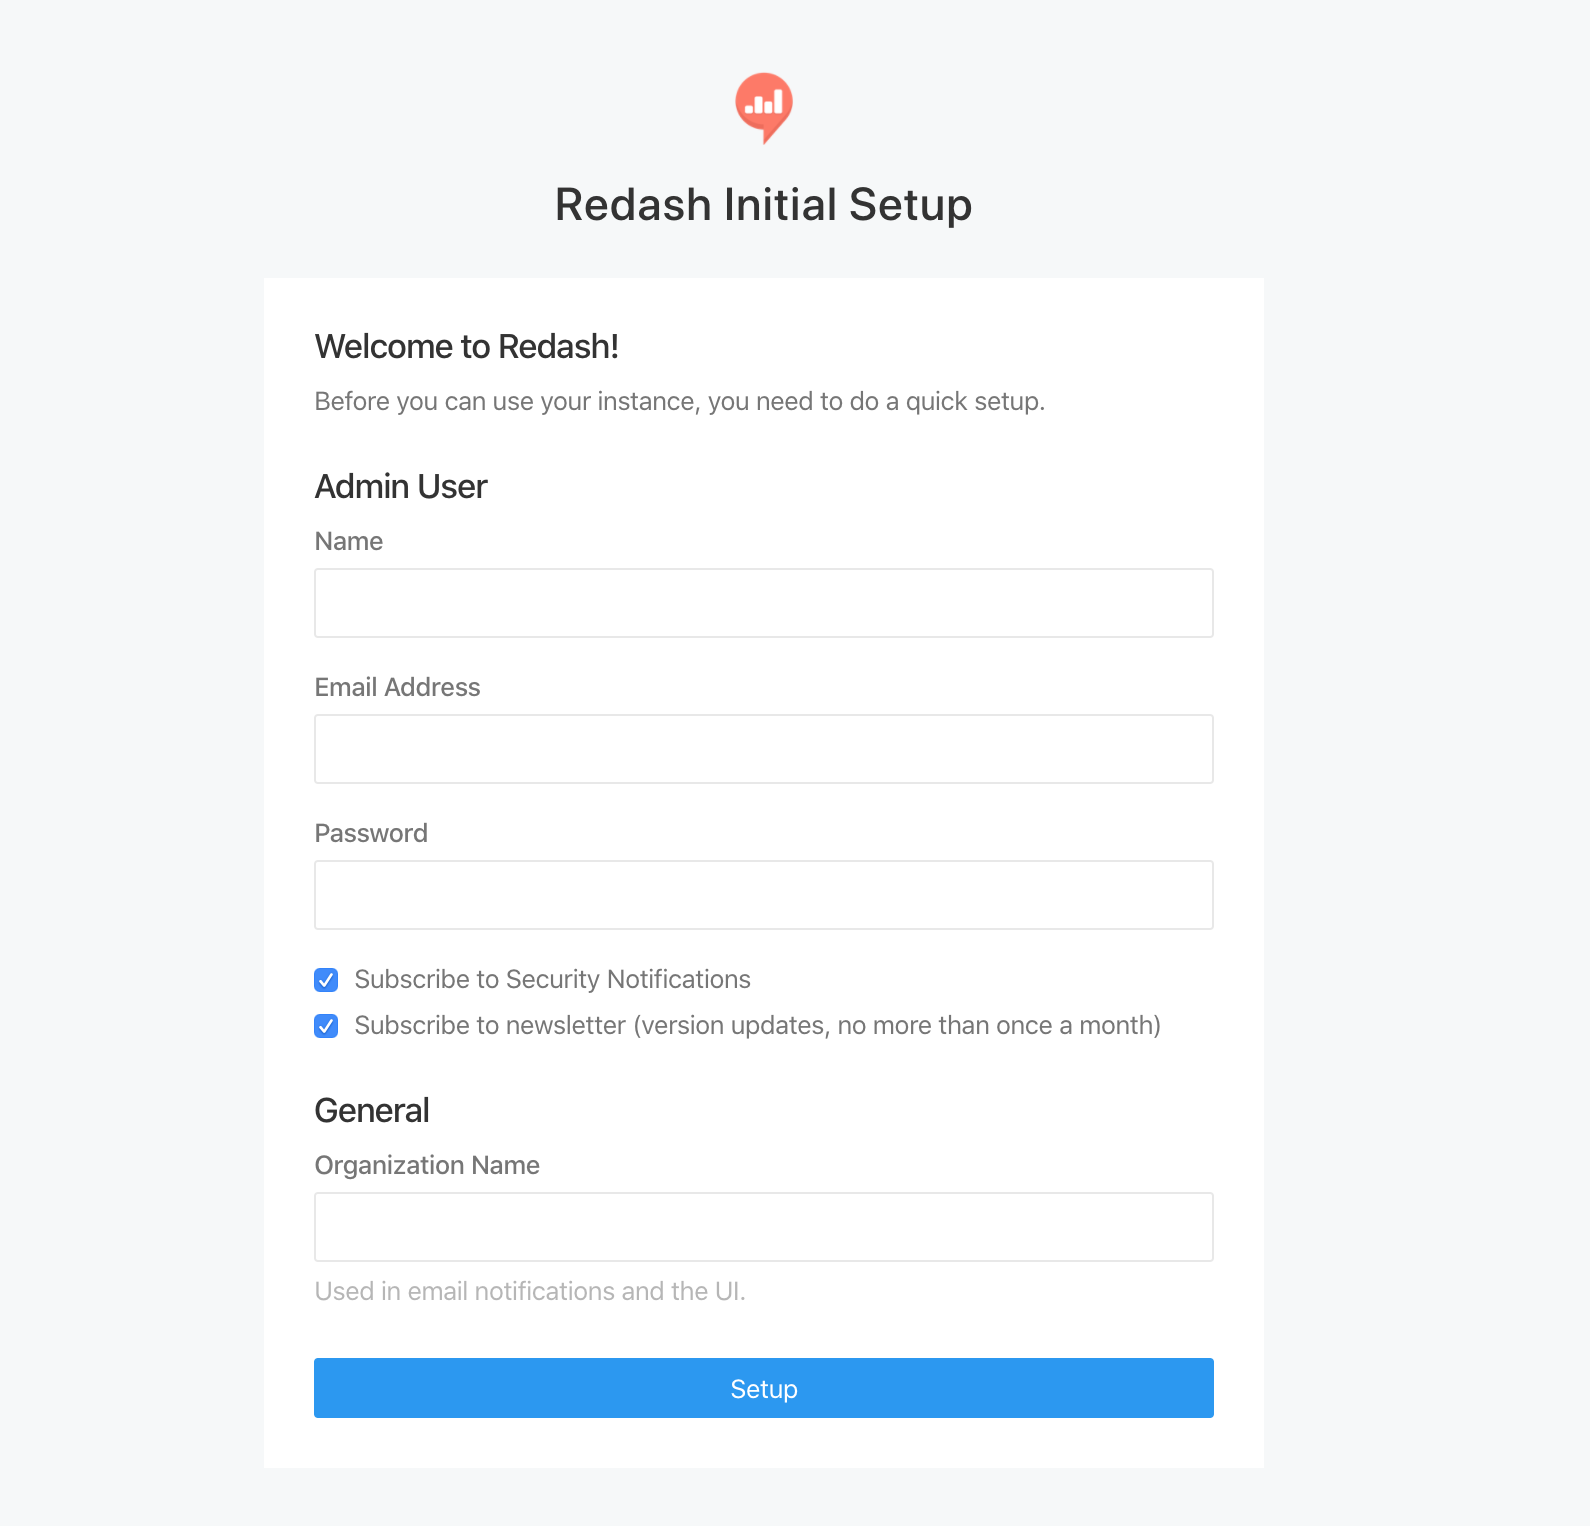
You should be able to see the Redash homepage now, but it’s at the initial setup screen.

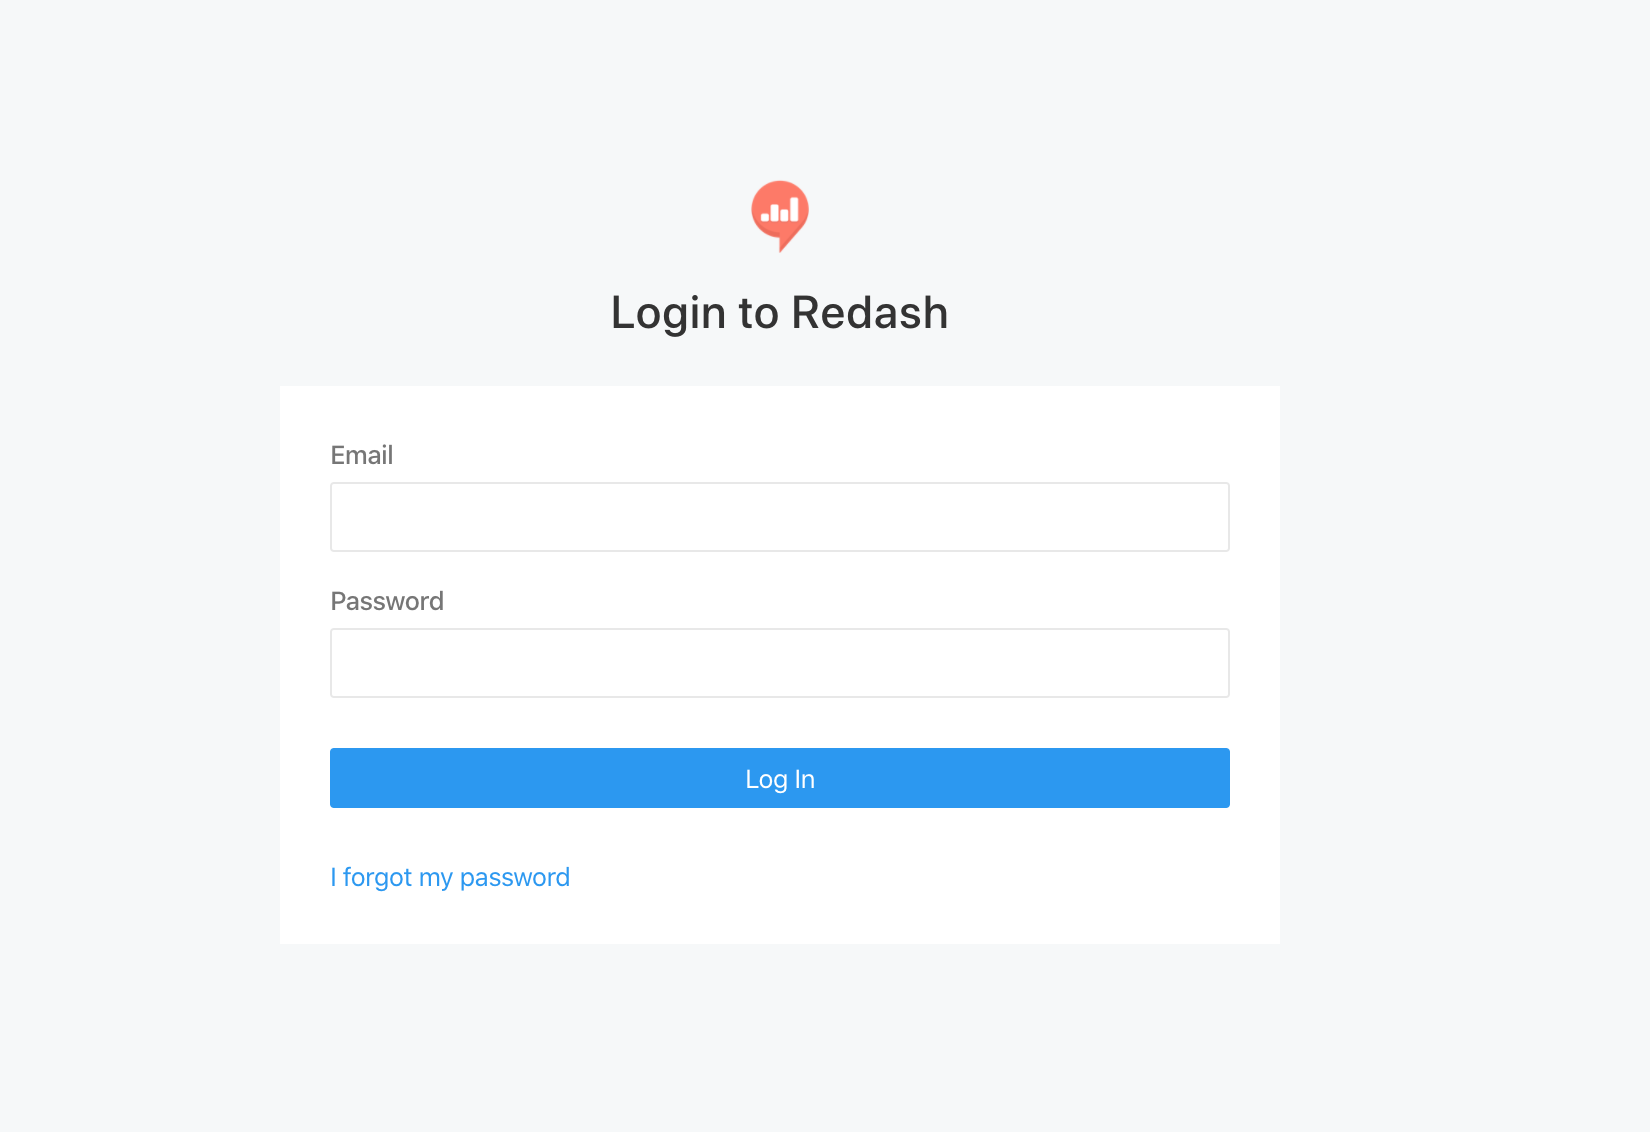
Once we load data, this will be the log in screen.
Next, ssh into the new Redash EC2 instance. You’ll need to update your packages and install the postgresql-client-common and postgresql-client packages using sudo apt install postgresql-client-common postgresql-client.
We’ve upgraded Redash few times, and have a redash Ubuntu user. It appears that the last Redash install which created a redash user was 5.0.0. We created a redash user on our new instance, but this is for internal purposes. You may or may not need to create the user. To create the redash user, the Redash installs used the adduser --system --no-create-home --comment "" redash command. The earliest I can find this command in the ./setup/amazon_linux/bootstrap.sh file is version 2.0.0. The AMI version of Ubuntu didn’t seem to like the --comment flag, so I removed the flag and the command, sudo adduser --system --no-create-home redash, succeeded.
Then, in order to put data into the Postgresql instance provided by the Docker image, we’ll need to open up the 5432 port on the Postgresql Docker container. To do this, you’ll add
    ...
    ports:
      - "5432:5432"
    ...
to the postgres: section to the docker-compose.yml file under /opt/redash/ directory.
Before recreating the Docker containers, you’ll want to update your REDASH_COOKIE_SECRET and REDASH_SECRET_KEY variables in the /opt/redash/env file with the values you’re currently using in your 7.0.0 install. In the 7.0.0 version, these variables should be in the /opt/redash/current/.env file. That file may also contain settings, such as email settings, that you may want to move to the new /opt/redash/env file; so review the variables carefully.
Now you’ll need to recreate the Docker images.
sudo docker stop $(sudo docker ps -a -q)
sudo docker rm $(sudo docker ps -a -q)
sudo docker-compose up -d
Before we insert data into Postgresql, we’ll need to first delete the existing tables. I accomplished this by dropping the public schema and recreating it. This will prevent errors/warnings while running the dump file to restore the database. Similarly, the dump file I generated did not have roles that we use, so I had to create a role manually using psql.
DROP SCHEMA public cascade;
CREATE SCHEMA public;

CREATE ROLE redash LOGIN;
Once you have your Postgresql backup file onto the new instance, you’ll run
gunzip backup_filename.gz
psql -h localhost -p 5432 -U postgres postgres < backup_filename
You’ll be able to find the password for the database in the /opt/redash/env file under the POSTGRES_PASSWORD variable.
This will load the database with the current Redash’s data. At this point, it’s good to note that if the in-use/current Redash changes while you’re working on the upgrade, the data imported to the new Redash instance is only as new/good as the most recent backup. Doing this upgrade before people start using the system may be in your best interest to prevent work being lost.
To see the changes, you can do a hard-refresh on your browser and you should see your dashboards, queries, alerts, etc in your new Redash instance. After a review by your team, you can move your domain name to your new instance and terminate your previous instance. You may need to rerun some of your queries/dashboards to be up to date.
When you refresh/visit the new Redash instance you should see the log in screen, rather than the initial configuration screen.

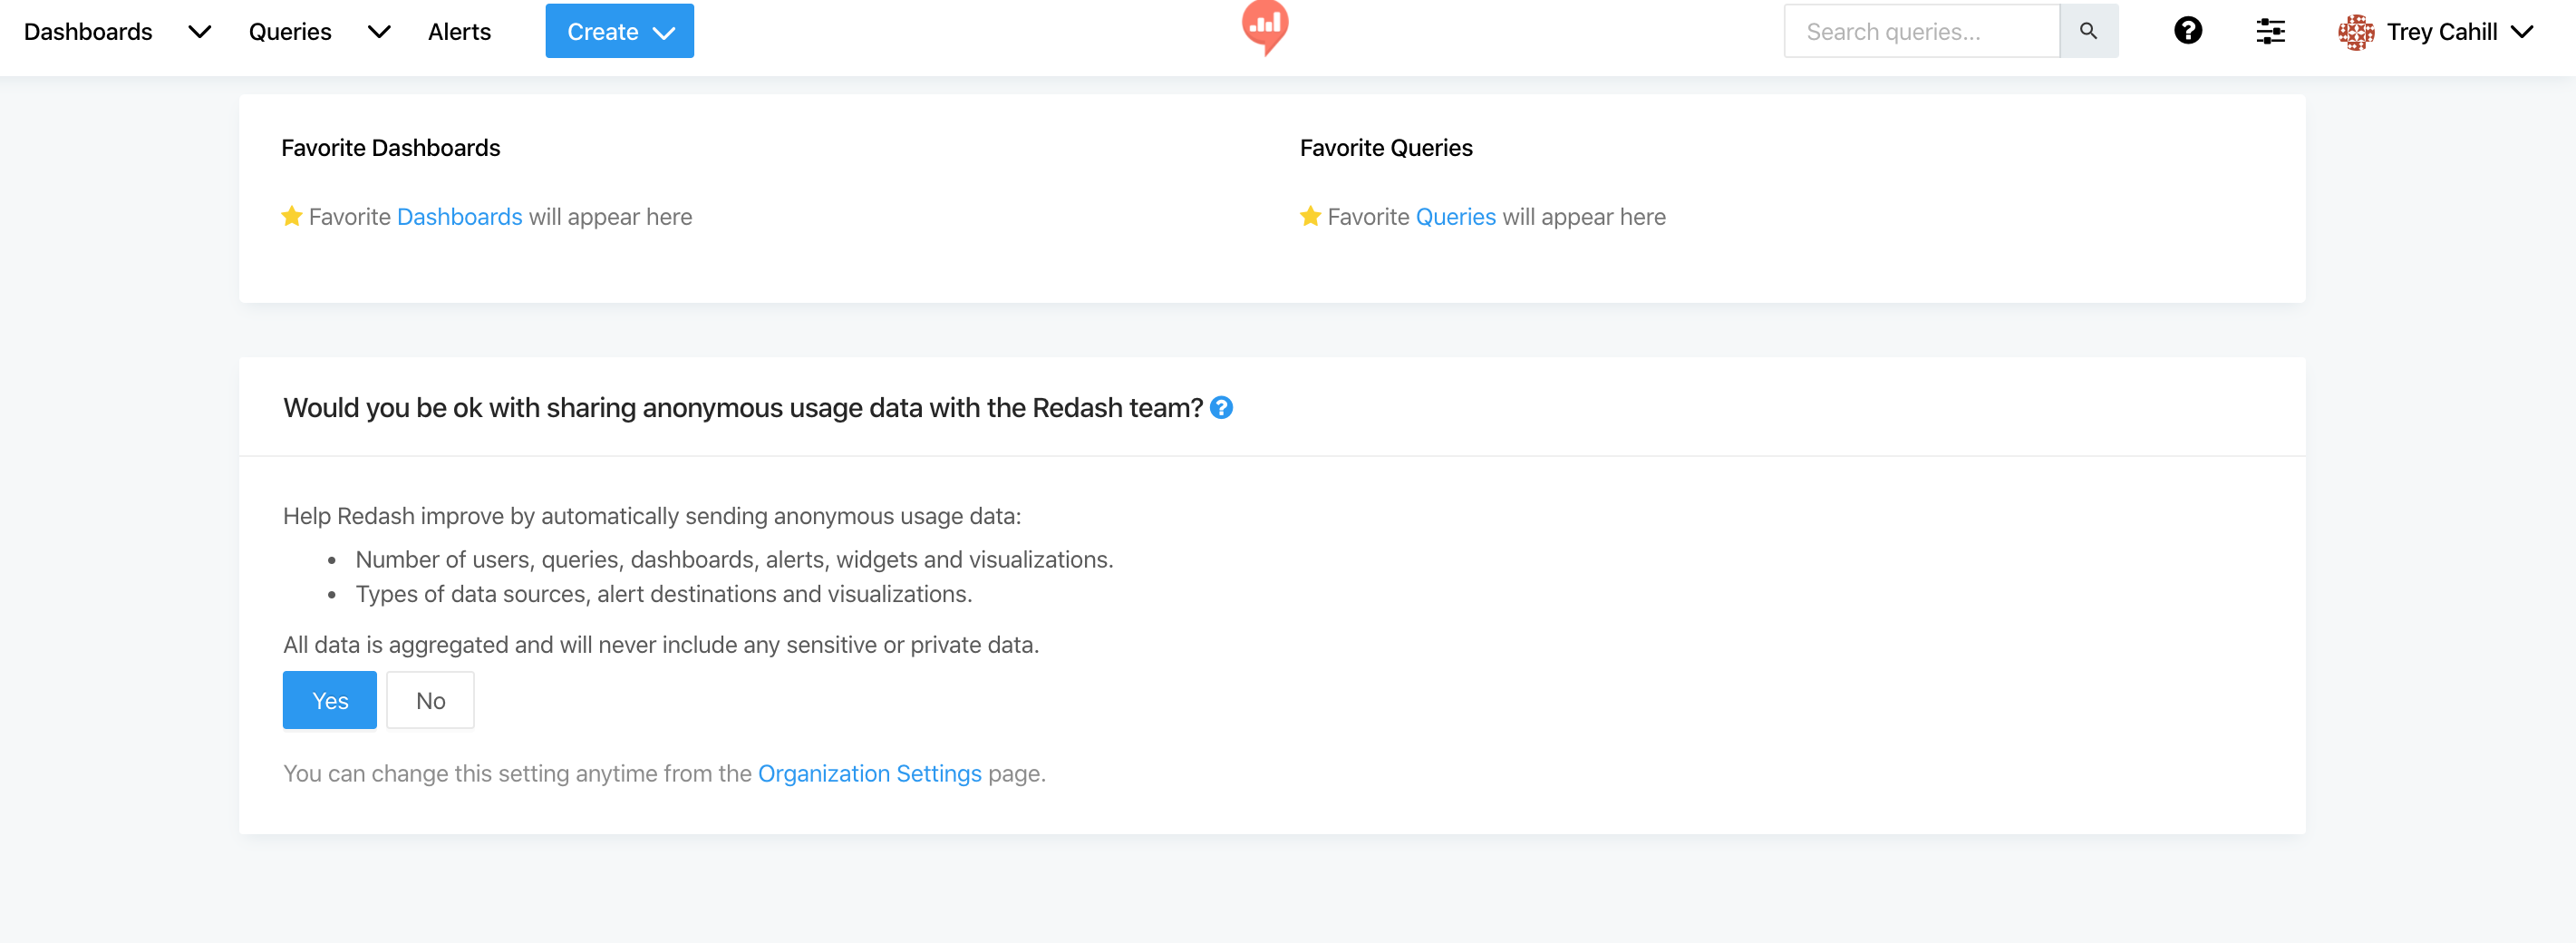
Once you log in, you should see something like:

Mail settings
After finishing the steps above, Redash worked well, but there was a warning It looks like your mail server isn't configured. Make sure to configure it for the invite emails to work.. I’d copy and pasted the email settings from the previous installation and could not figure out why emails were not working. I first tested with the command sudo docker-compose run --rm server manage send_test_mail <email_address> to ensure that it wasn’t a bad warning. This resulted in an Socket.error: [Errno 99] Cannot assign requested address error, so the warning was correct.
After many attempts to solve this, I found a solution from the Redash forums. The solution appeared to be to remove double quotes. I also had to move any comments off of the same line as the variable declaration. Otherwise, the entire line was read, resulting in the comment being included in the variable value. After restarting the containers with,
sudo docker-compose down
sudo docker-compose up -d
to pull in the new environment variables, the warning went away. Then I used the send_test_mail command to test the mail settings and the test was successful.
For as simple as the solution was, solving these email took way longer than needed.
Summary
At first, I was intimidated by the prospect of this upgrade, but once I realized this was mostly copying the database, the upgrade became simple. You could probably point both instance to an actual Postgresql database hosted not in Docker, but I chose not too.